DIY Winter Window Boxes With Evergreens & Dried Flowers
After the growing season is over and all of the container plants have died off, planters and flower boxes can look a little bare. I like to spruce them up (no pun intended) by using evergreens and dried flowers to create made-for-winter arrangements for my window boxes.

Window boxes look very bare and bleak after the annuals are finished, so I like to decorate them for the winter season.
Fortunately, this is an incredibly easy project to do.
Because I want different shades of green, I go around my garden and lop off twigs from as many different evergreens as I can find.
This year, I chose clippings from cedar, juniper with its gray berries, blue spruce, holly with its red berries, Tsunga Canadians ‘summer snow' and Sedum ‘autumn joy.'
I purchased a bunch of seasonal dried twigs, grasses, and ornamental flowers from the Floral department at Costco.
Adding large pine cones and fruit completed the arrangement.
Once I had assembled the supplies, it only took an hour to make a winter window box on the living room window.
It was so quick and easy that when I had some leftover supplies, I decided to make a second winter flower box arrangement for the kitchen window at the back of my house.
Keep reading to find out how simple the process is.
Supplies
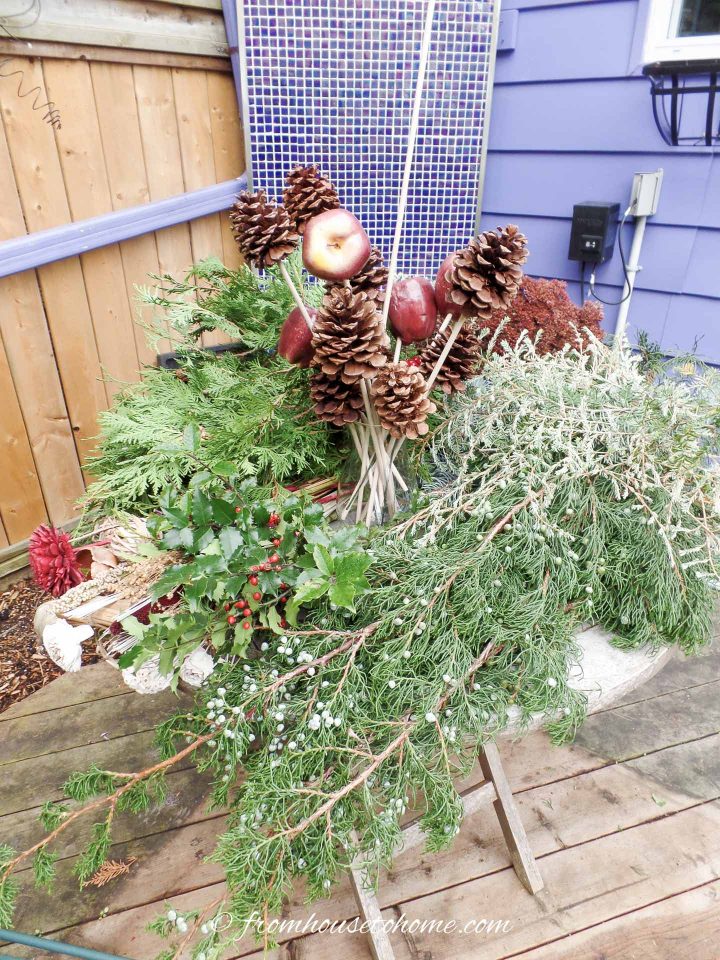
Materials
- 1/4″ wood dowels
- evergreen boughs – I used cedar, spruce, juniper, ‘summer snow' tsunga and holly
- flowers from the garden that dry well e.g. sedum ‘autumn joy', hydrangeas, roses and carnations
- purchased dried flowers, twigs, grasses
- styrofoam artificial fruit – I used apples, from the dollar store, to coordinate with the rusts and reds in the Sedum flowers and reeds
- large pine cones
Tools
- miter saw or hand saw
- pruners
- white glue
- drill
How to make a DIY winter window bow with evergreens and dried flowers
Make Pine Cone And Apple Picks
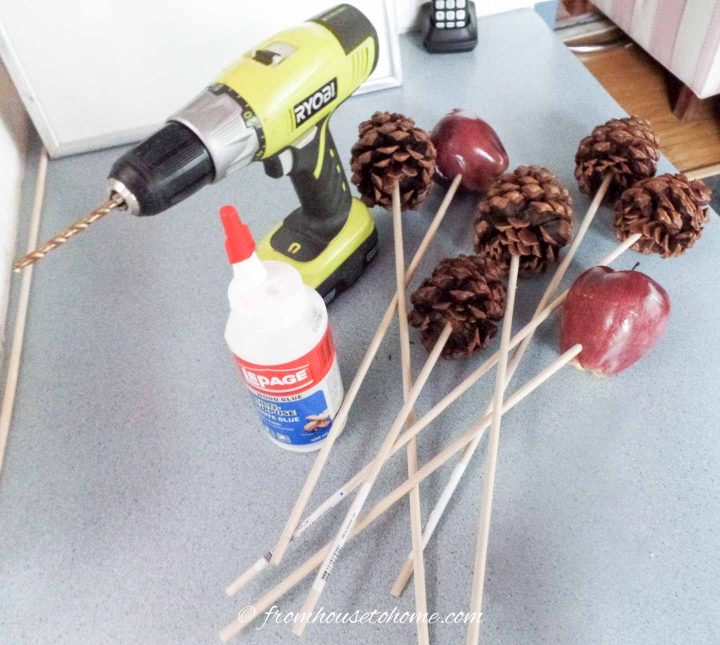
Before I started my winter planter, I made the pine cones and styrofoam apples into picks that will stick into my arrangement.
Cut the wood dowels into various lengths that are about 1 1/2 feet long
Drill a hole in the stem end of the pine cones using a 1/4″ bit.
Fill the hole with white glue and insert a piece of 1/4″ doweling into it. Set aside to dry.
Use the dowel to poke a small hole into the styrofoam apple.
Fill the hole with glue and then reinsert the dowel. Set aside to dry.
Leave dirt in the window box
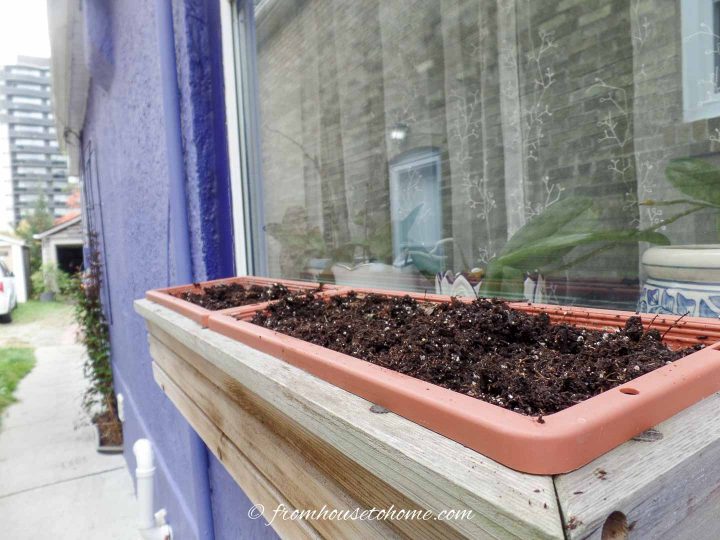
When I removed the annuals from the window box at the end of summer, I purposely left the soil in the container with the forethought that it would anchor the branches and dowels in the winter arrangement.
Now I dampened this soil to make inserting the material easier.
In my climate, it will freeze and hold the branches firmly in place all winter.
Fill the flower box with evergreens
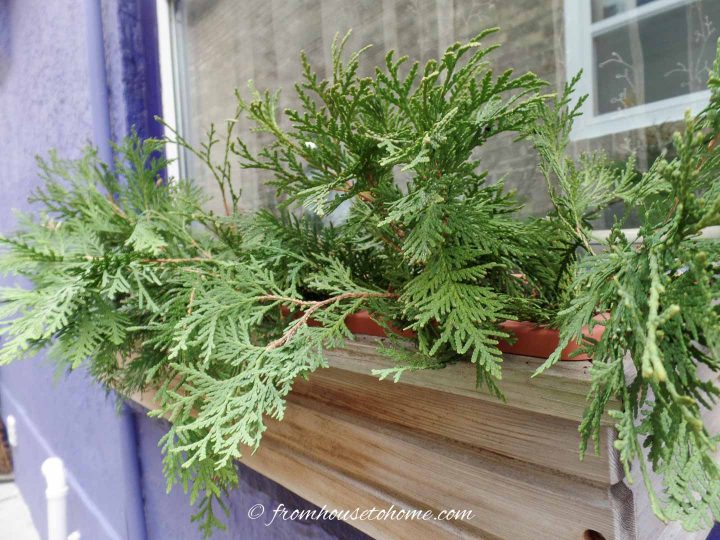
Start with the cedar branches and insert them into the soil at an angle so that they drape over the front of the window box.
Use the pruners to cut the stems to desired length.
Next put the juniper branches along the back, pushing them firmly into the mud.
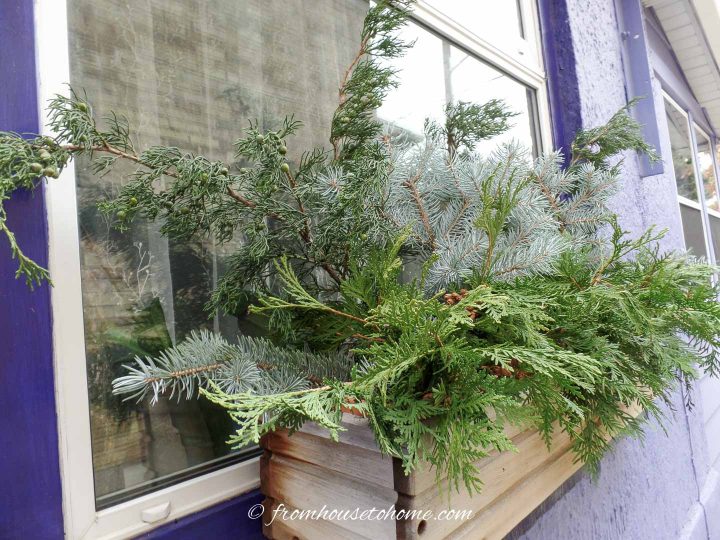
Add the blue spruce twigs at the ends of the window box and along its center.
Continue by adding the ‘summer snow' tsunga and holly twigs.
The window box should be lusciously full of draping evergreens.
Add dried flowers
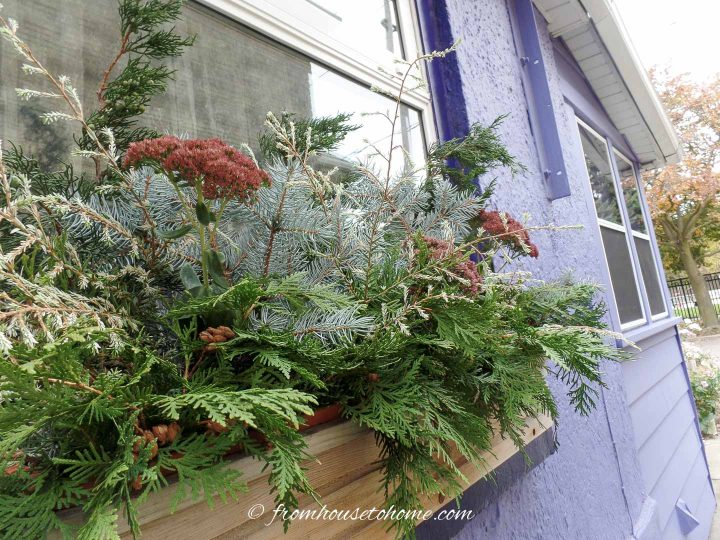
Cut the stems of the sedum to a length to allow them to nestle into the greenery.
Carefully insert twigs, reeds, and dried flowers to fill in the spaces.
Put taller ones towards the back and shorter ones towards the front.
But to make it look organic, don't have them line up in a straight row.
Push in faux apple and pinecone picks
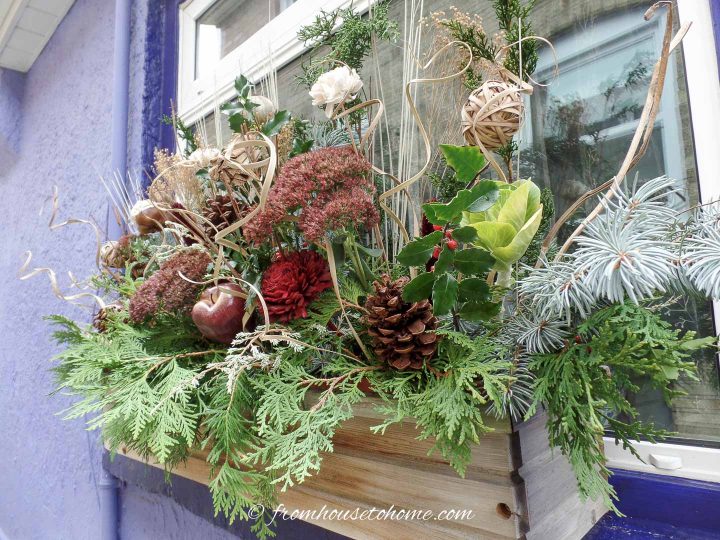
Then add the pine cone and apple picks to finish the winter flower box arrangement.
Distribute them evenly throughout the window box.
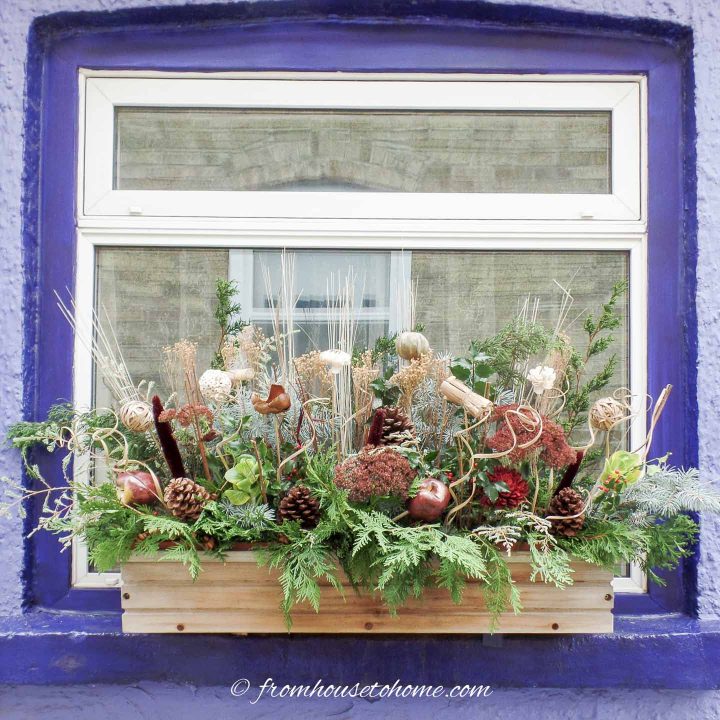
Make adjustments to the lengths of the stems as needed.
I decided to cut some of the stems a little shorter so they didn't stick up quite so far. But do whatever looks good to you.
The finished window box

The finished window box looks beautiful but not too Christmas-y so it can stay up all winter.
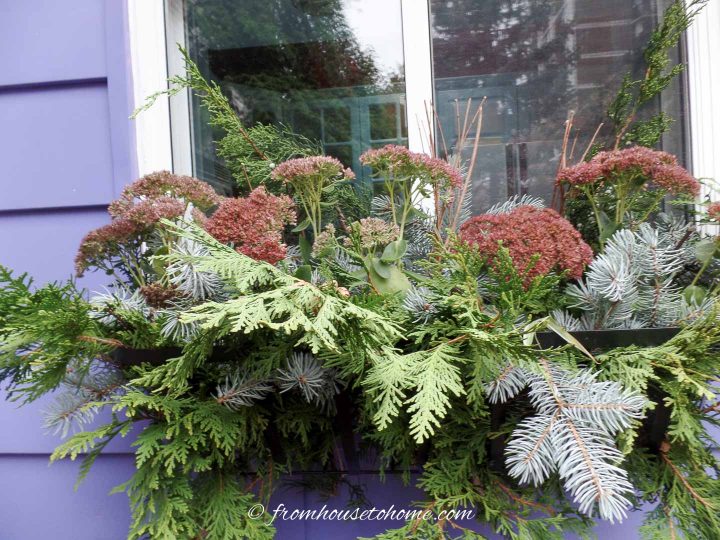
I used the same method as above to decorate the window box under my kitchen window.
However, this planter is a hay rack rather than a solid wood window box.
So I inserted additional evergreen branches into the slots of the hay rack which gives it a fuller look.
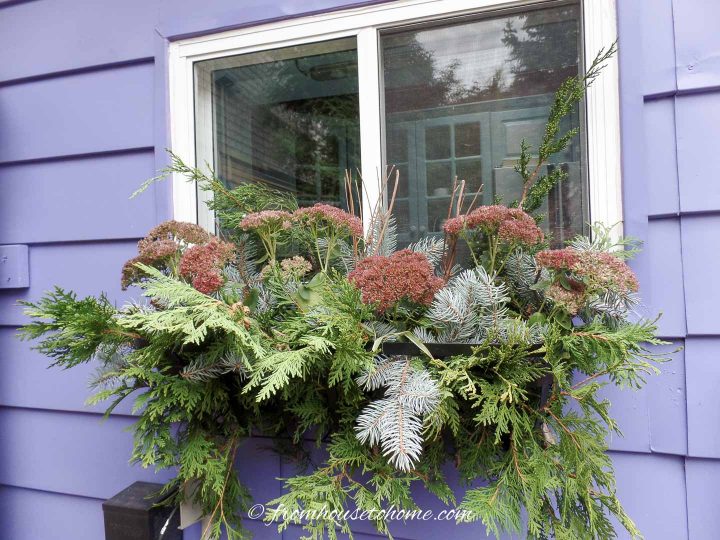
This only took me 15 minutes to put together and I think it looks very festive.
Other Outdoor Winter Decor Ideas You Might Like
- DIY winter window box with blue and white accents
- DIY evergreen winter planter
- Crafty Christmas wreath
- Feather boa Christmas wreath
Have comments or questions on how to create winter window boxes? Tell us in the section below.
Pin It So You Don't Forget It!

This post was originally published on November 15, 2019 but was updated with new content on November 23, 2024.


i love your article on winter window boxes. i want to try what you are recommending. You say clippings from my evergreen, but when I cut them they will die soon and turn a dismal color. how are you using clippings from evergreen?
Hello Danita, It has been my experience that evergreens, such as juniper, spruce, holly, and cedar, will stay green all winter. I cut mine in early November when I do the window boxes. I leave the soil from summer in the boxes and dampen it before I insert the clipped branches. When the soil freezes it anchors them in place.
Your winter window boxes are beautiful……I do this too but am inspired with yours! I’ll “doll” mine up. Thank you.
Thanks Pat for your kind comments. I do like the look of window boxes no matter what season it is.