Create Your Dream Patio in a Day with These Simple Deck Tile Tips!
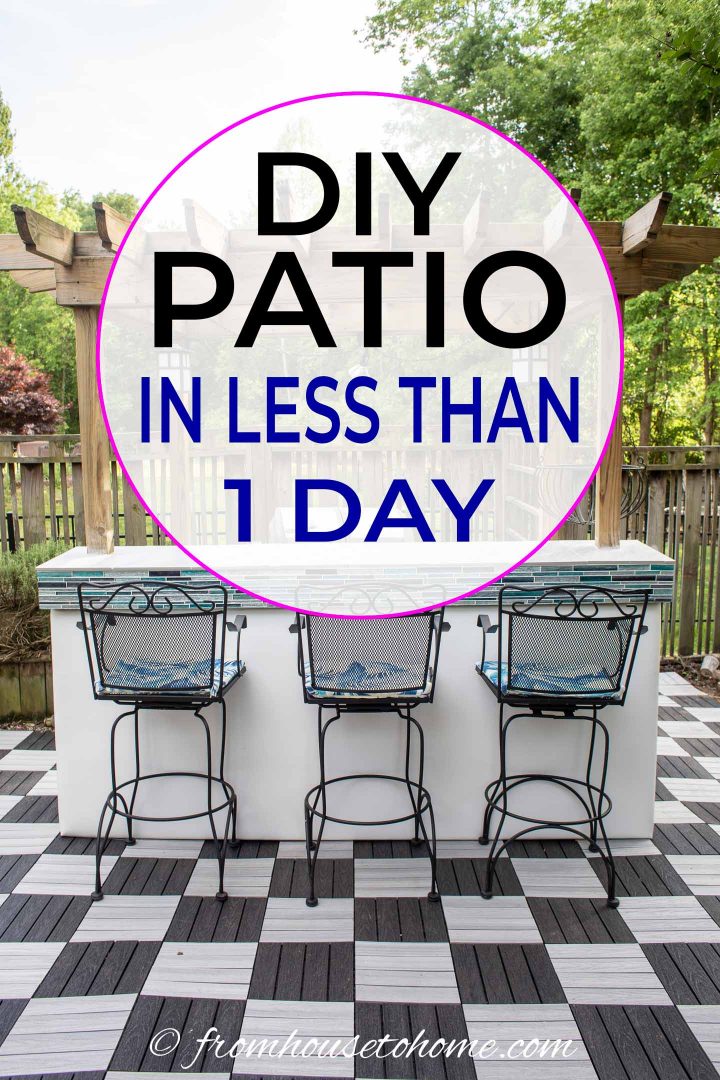
Now that it has finally cooled down a little, I have been able to get out and do some yard work that has been on my “to do list” for a while. One of the projects that I have been anxious to tackle is replacing the wood tiles in front of my outdoor kitchen area.
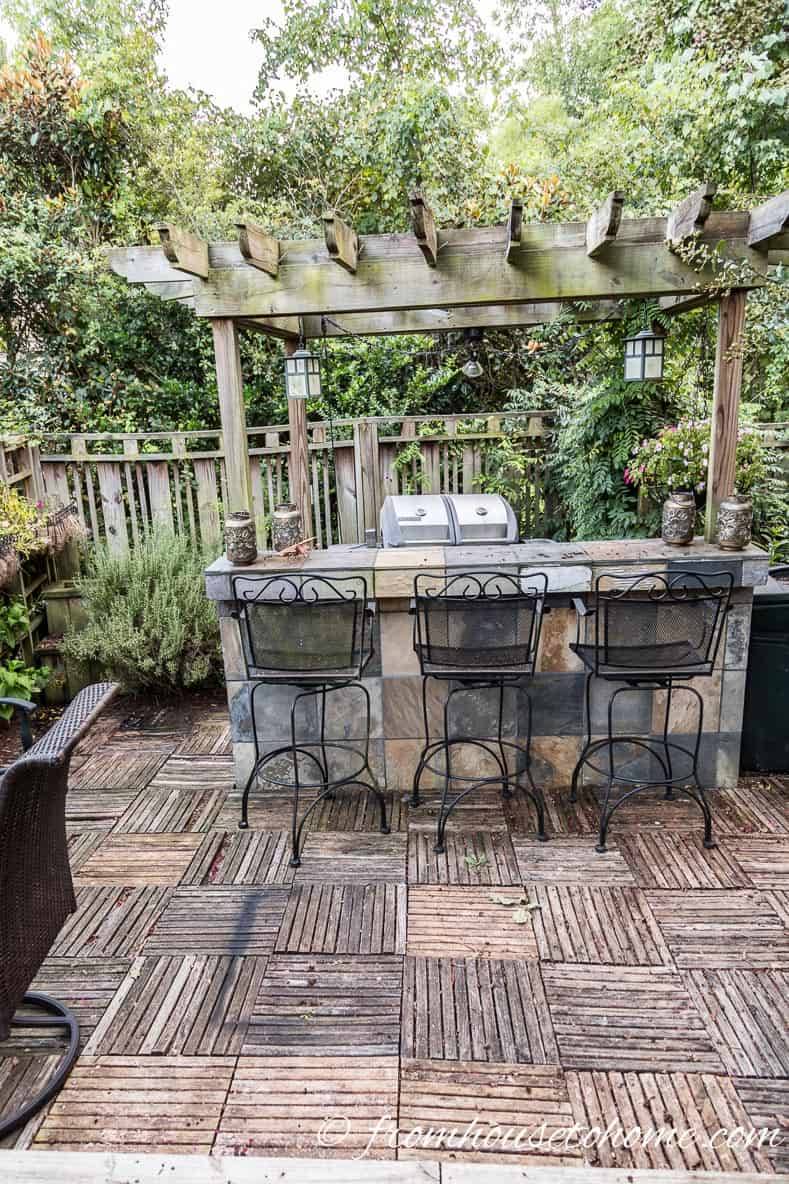
We made these tiles out of the left over boards from my fence, so they were very economical and they worked quite well for a while.
The problem is that the tiles where made from 1” x 4” and 1” x 2” boards. Those thin boards don’t stand up very well against the weather or people walking on them.
So I ended up with a lot of rotting and broken tiles which had to be replaced on a regular basis…not very safe or nice to look at!
I finally decided to replace them with composite deck tiles. They aren't the cheapest solution around, but they are really easy to install, easy to keep clean and they don’t rot.
Plus you can put them down right over concrete or dirt (if it's level). And the whole project doesn't take more than an afternoon!
In this case, I think it's worth spending a little more money to save time and effort.
Read on to see how to install deck tiles.
1 | Order The Tiles
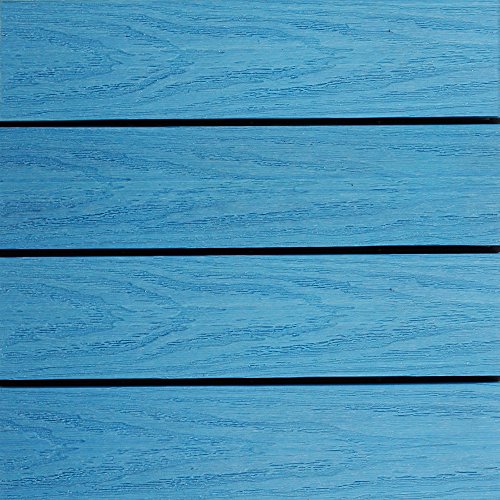
Since these tiles are not wood, they come in a variety of colors…so step one was to decide which one I wanted. I was originally thinking of going with a really fun color like these blue tiles*.
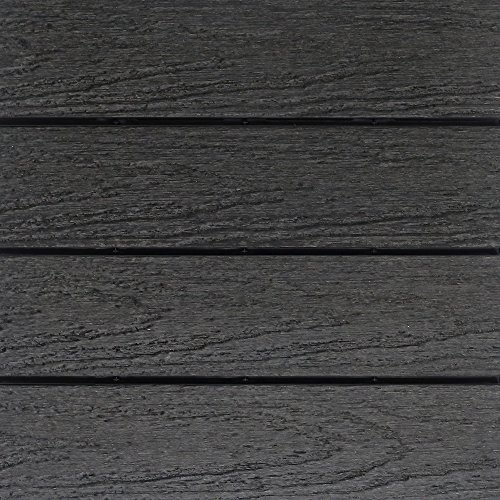
Or maybe something more grounded like these dark grey tiles*.
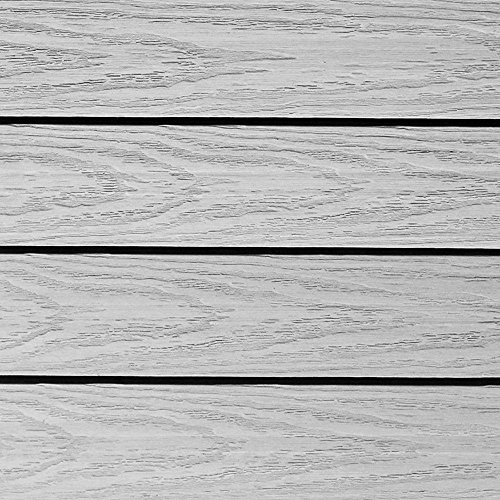
Or a light grey like this one.*
I couldn’t make up my mind which one I liked best, so I ordered a bunch of samples to see them in person.
I laid them out and left them there for a little while…and then mother nature made the decision for me. All of the tiles except for the lightest one got so hot in the sun that I couldn’t walk on them (I do like to walk around in bare feet)…which also meant that my dog wouldn’t want to walk on them either.
Decision made…light colored tile it is!
Once you have decided on the color, measure the length and width of the space, and multiply them to come up with the square footage that you need. Then order the tiles.
2 | Prepare The Space
The one lesson I have learned that makes the tile installation so much easier, is to make sure that you are putting them down over a level surface.
Installation Over A Flat Surface
If you are installing over a concrete patio or flat, compacted dirt, then you don't need to do any preparation to make the surface flat.
The only thing you'll need is to install some edging around the area where your patio will be. I stood flagstones up on end for this. But you could also use standard patio edging (like you would for a brick patio) or even pressure treated 2″ x 4″ boards.
Installation Over An Uneven Surface
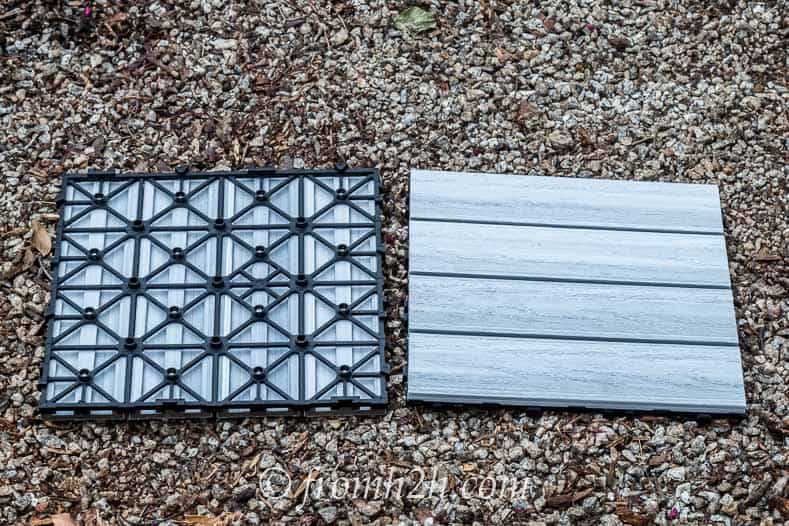
If you are creating a patio from scratch, chances are you have some bumps and valleys that need to be flattened out to make the tile installation go smoothly.
1. Start by removing any grass and plants that are the area.
2. Then depending on how high you want the tiles to be, you may need to dig out a couple of inches of soil.
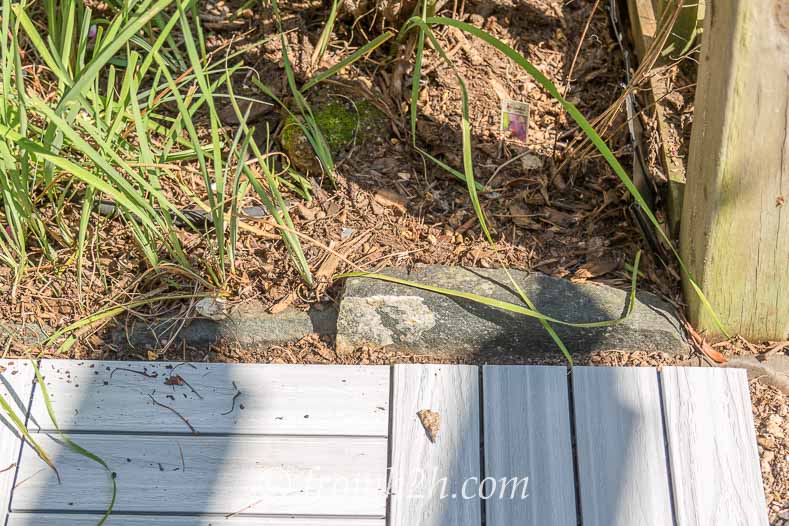
3. Install edging around the perimeter. This will help keep the tiles in place. I stood flag stones up on end as the edging, but you could also use standard landscape edging pieces.
4. Lay down landscape fabric. You can also put this on top of the gravel, but I find it doesn’t disintegrate as quickly when it is under the gravel.
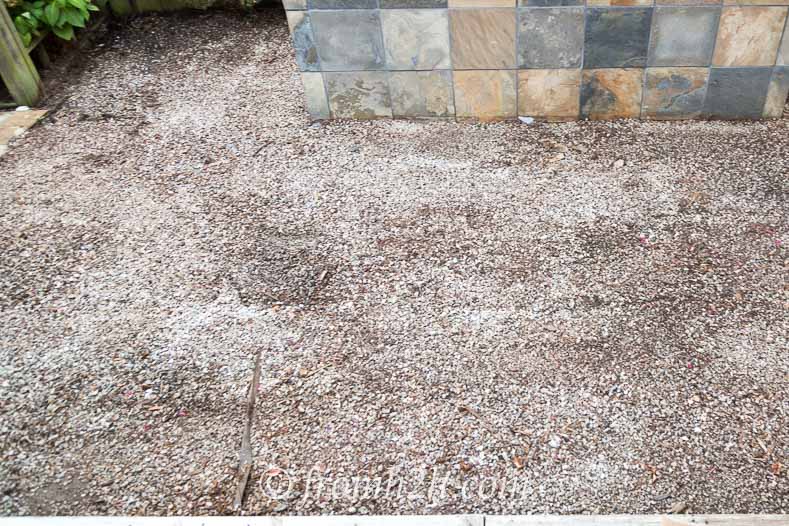
5. Fill the area with at least 2” of pea gravel.
6. Use a rake to level the gravel. This is an important step…the tiles will be much easier to install if they are even.
7. Pack the gravel down.
Now you are ready to starting tiling!
3 | Install The Full Tiles
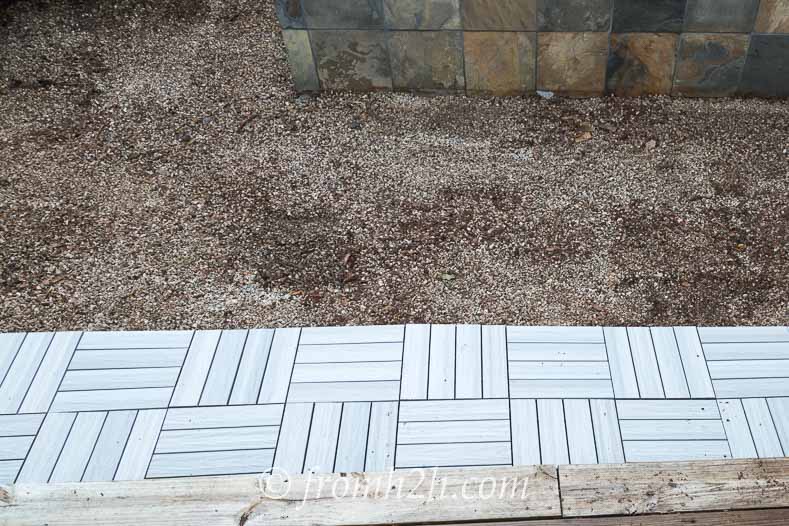
1. The first row is pretty easy. Make sure the tile is pointing in the right direction.
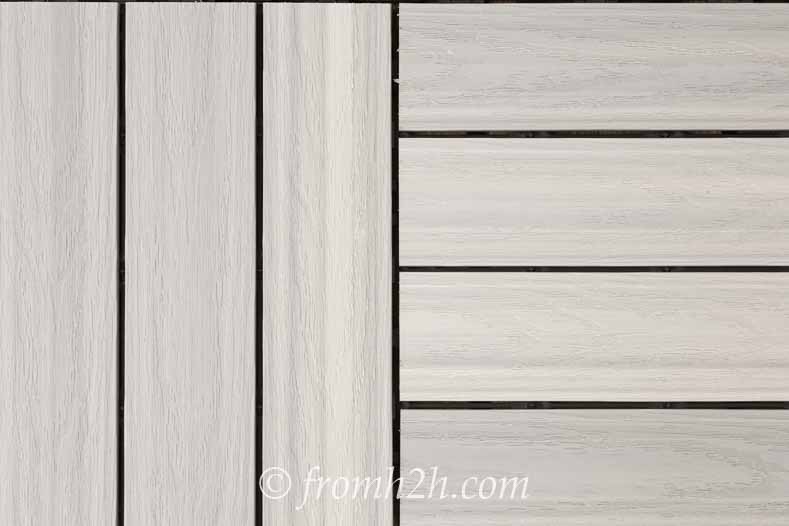
I rotated each of the tiles to make a cross hatch pattern.
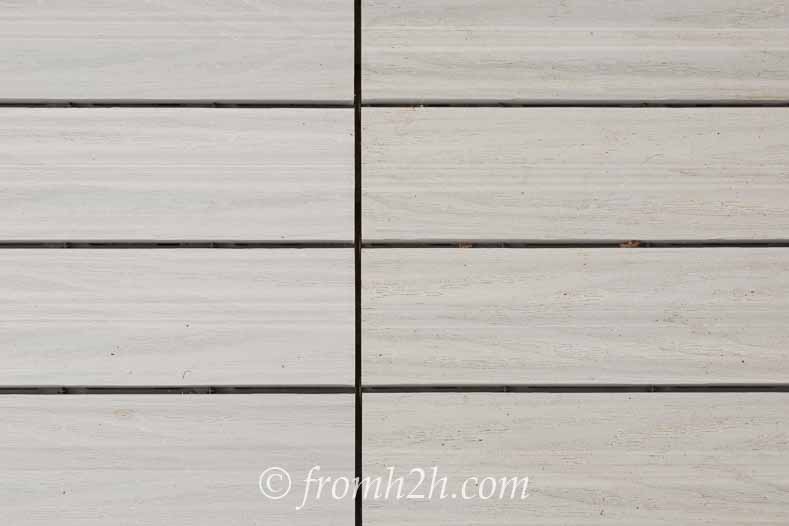
But you could also have them all pointing in the same line if you prefer that look.
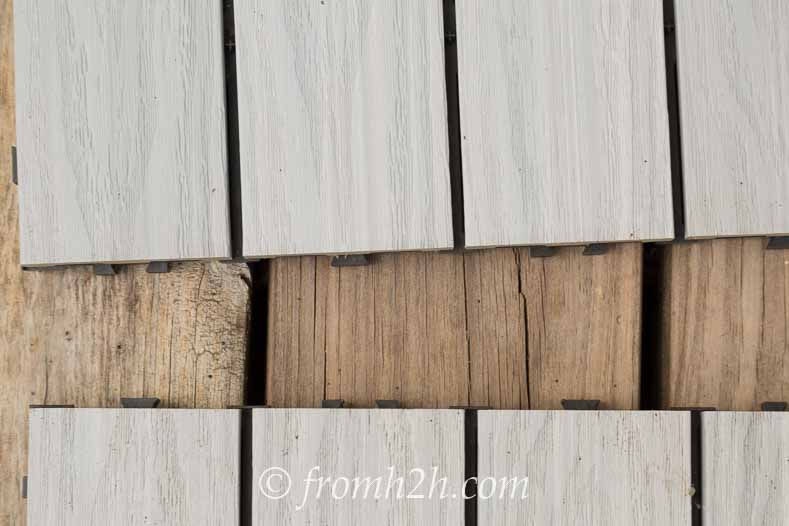
2. Then line up the connectors on the edge of the tiles.
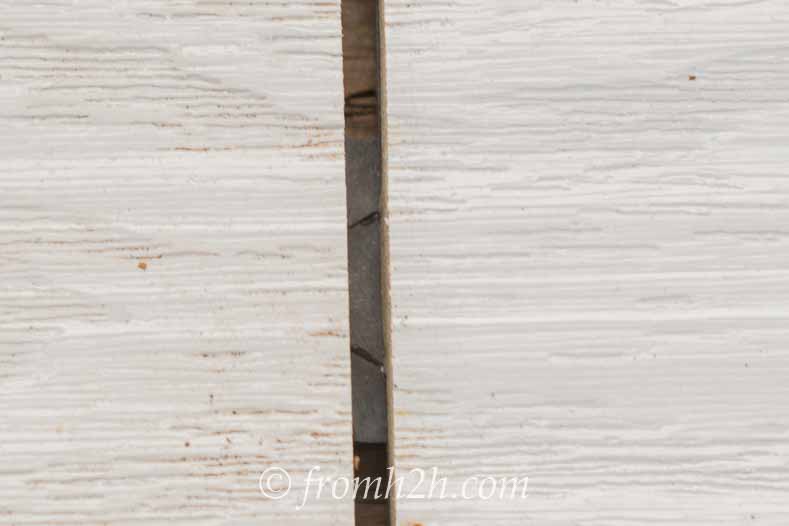
3. Push the notches from one tile down over the other tile so that they click together.
4. Keep going until you get to the end of the row. If you need to cut part tiles to finish the row, leave them off for now (we’ll cut them all at the end).
5. If you have any sections where the tiles are supposed to fit exactly (without needing any cuts), you will want to complete at least one row in each of those areas first before filling in the rest.
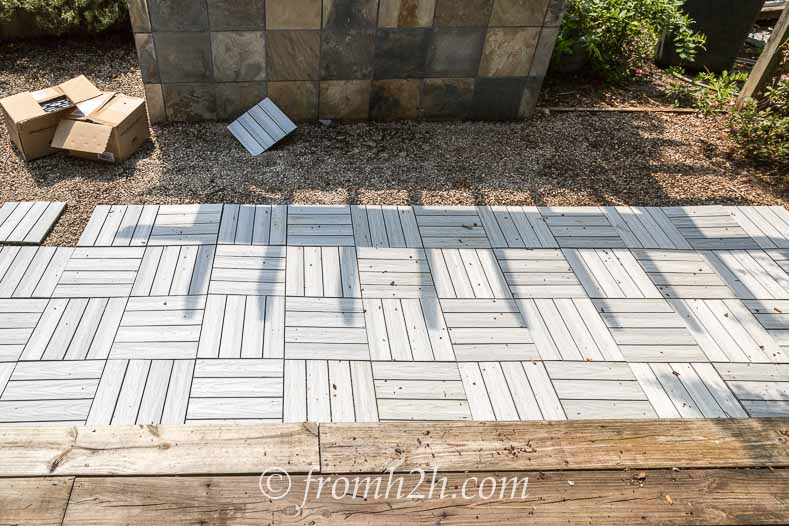
I didn't do this and had filled in all of this area.
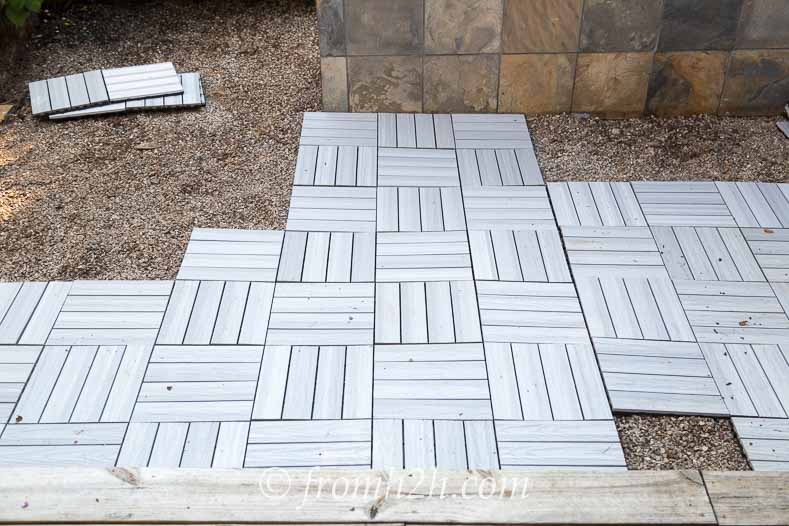
And then I realized that the tiles closest to the deck needed to be pushed up closer to it, because they weren't going to fit at the bar end…so I had to take up a lot of the tiles and start over.
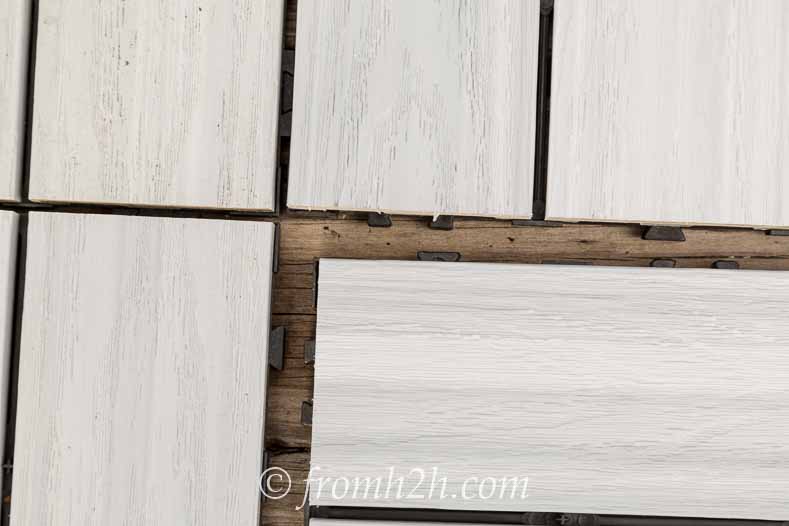
5. When you get to the second row, you will need to connect the tiles on 2 sides. I found it worked the best if you start with the connectors in the corner and then work out from there. Getting both sides of the corner to line up is the hardest part…once you get that to work, the rest of the connectors should just fall into place.
6. Keep going until you have laid all of the full tiles.
4 | Lay Part Tiles
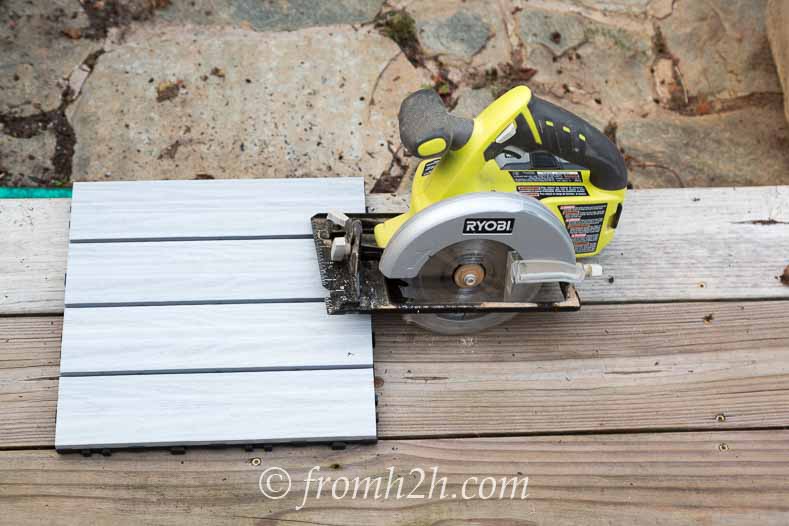
To cut part tiles, use a circular saw, miter saw or jig saw.
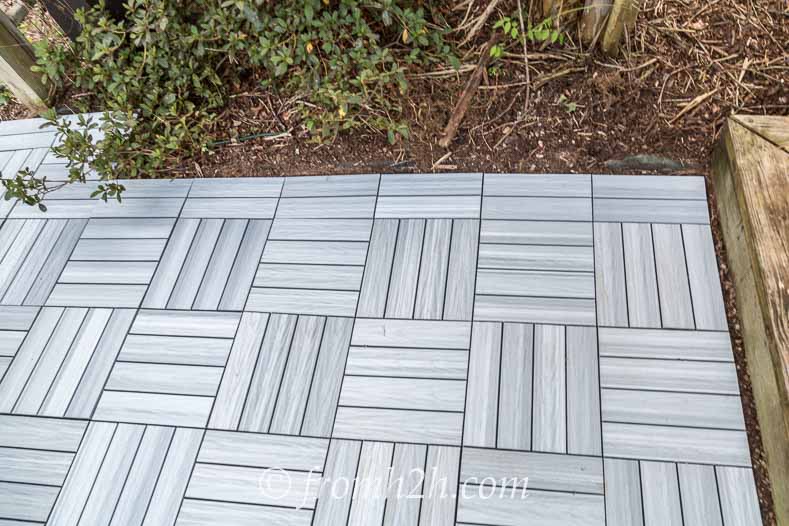
If you’re lucky, you can cut along one of the divider lines (no measuring required).
I actually laid all of the edge tiles pointing in the same direction so that I could cut all of them along the divider line…and it makes it look like an edging.
Otherwise, you’ll need to measure the space that needs to be filled and cut the tile to that width.
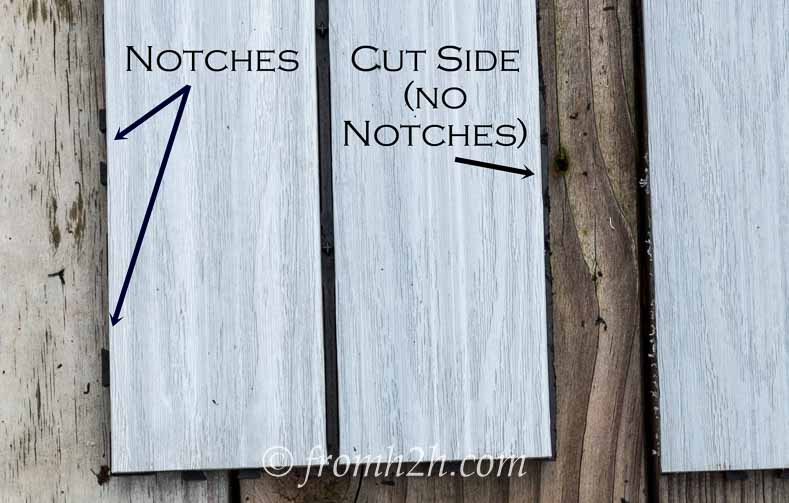
Make sure that you are cutting an end piece from the tile…otherwise you won’t be able to connect it to the rest of the tiles.
5 | Enjoy Your Finished Patio
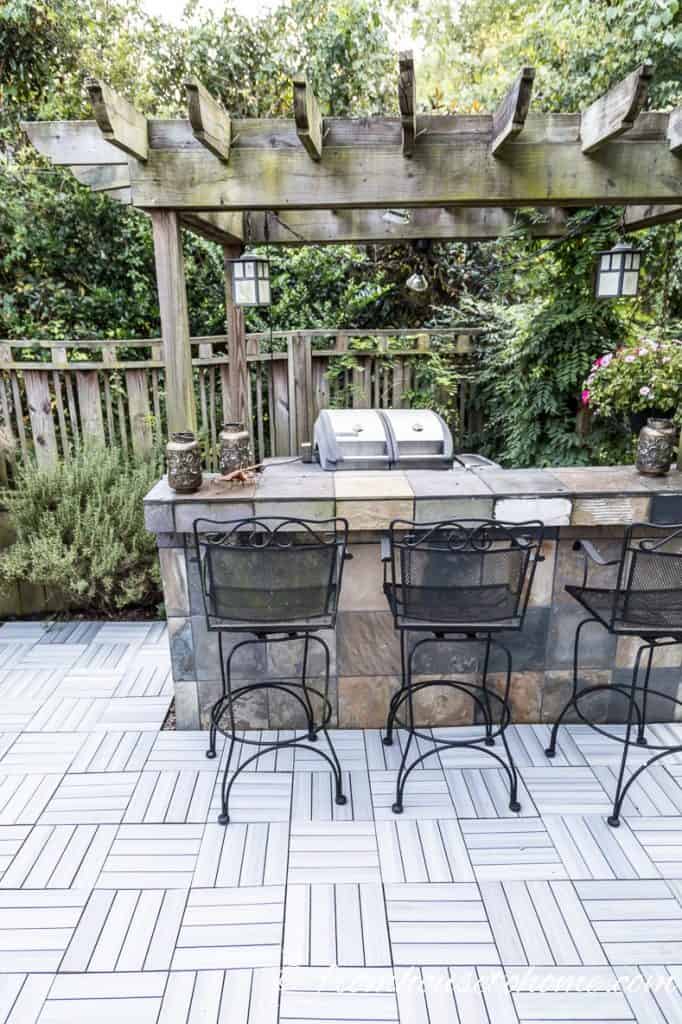
The whole tiling project was finished in an afternoon (it would take longer if you are starting from scratch and have to prepare the space more than I did).
It makes the whole area look like new.
And it is much easier to clean than my old deck tiles. The leaves and dirt don’t seem to stick to it the same way as they did to the wood.
Most of the time the leaf blower takes care of anything that falls on it (and if not, the hose does).
6 | Change The Tiles Out
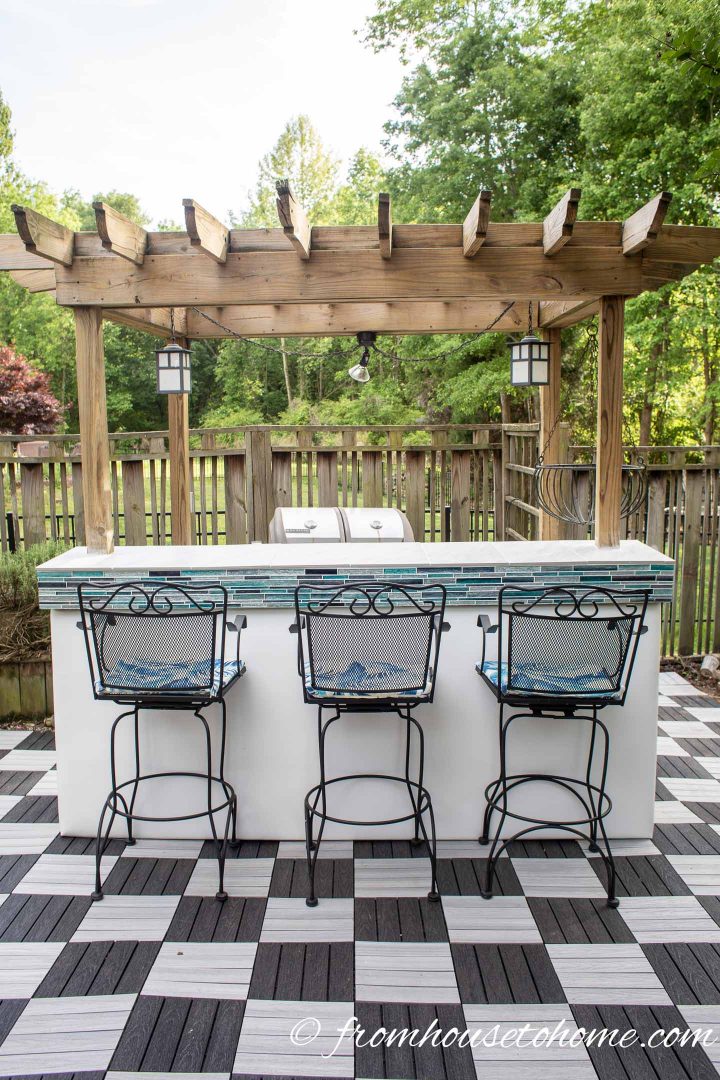
Then if you get tired of the color, just want a change, or move to a new house and want to take them with you…it's no problem!
The deck tiles pull apart just as easily as they went together.
As part of my recent deck makeover, I decided to replace some of the tiles with darker grey ones to create a checker board pattern, and I love the result! Even better? It only took a couple of hours to do.
Now I’ll just have to invite some people over to enjoy the new space.

