12 Garden Tool Storage Ideas (How To Organize Garden Tools)
Whether you're a seasoned green thumb or just starting out, chances are you could use some help organizing your garden tools. These DIY storage ideas for your garden shed (or garage) will keep your tools in good condition and easy to find when you need them.
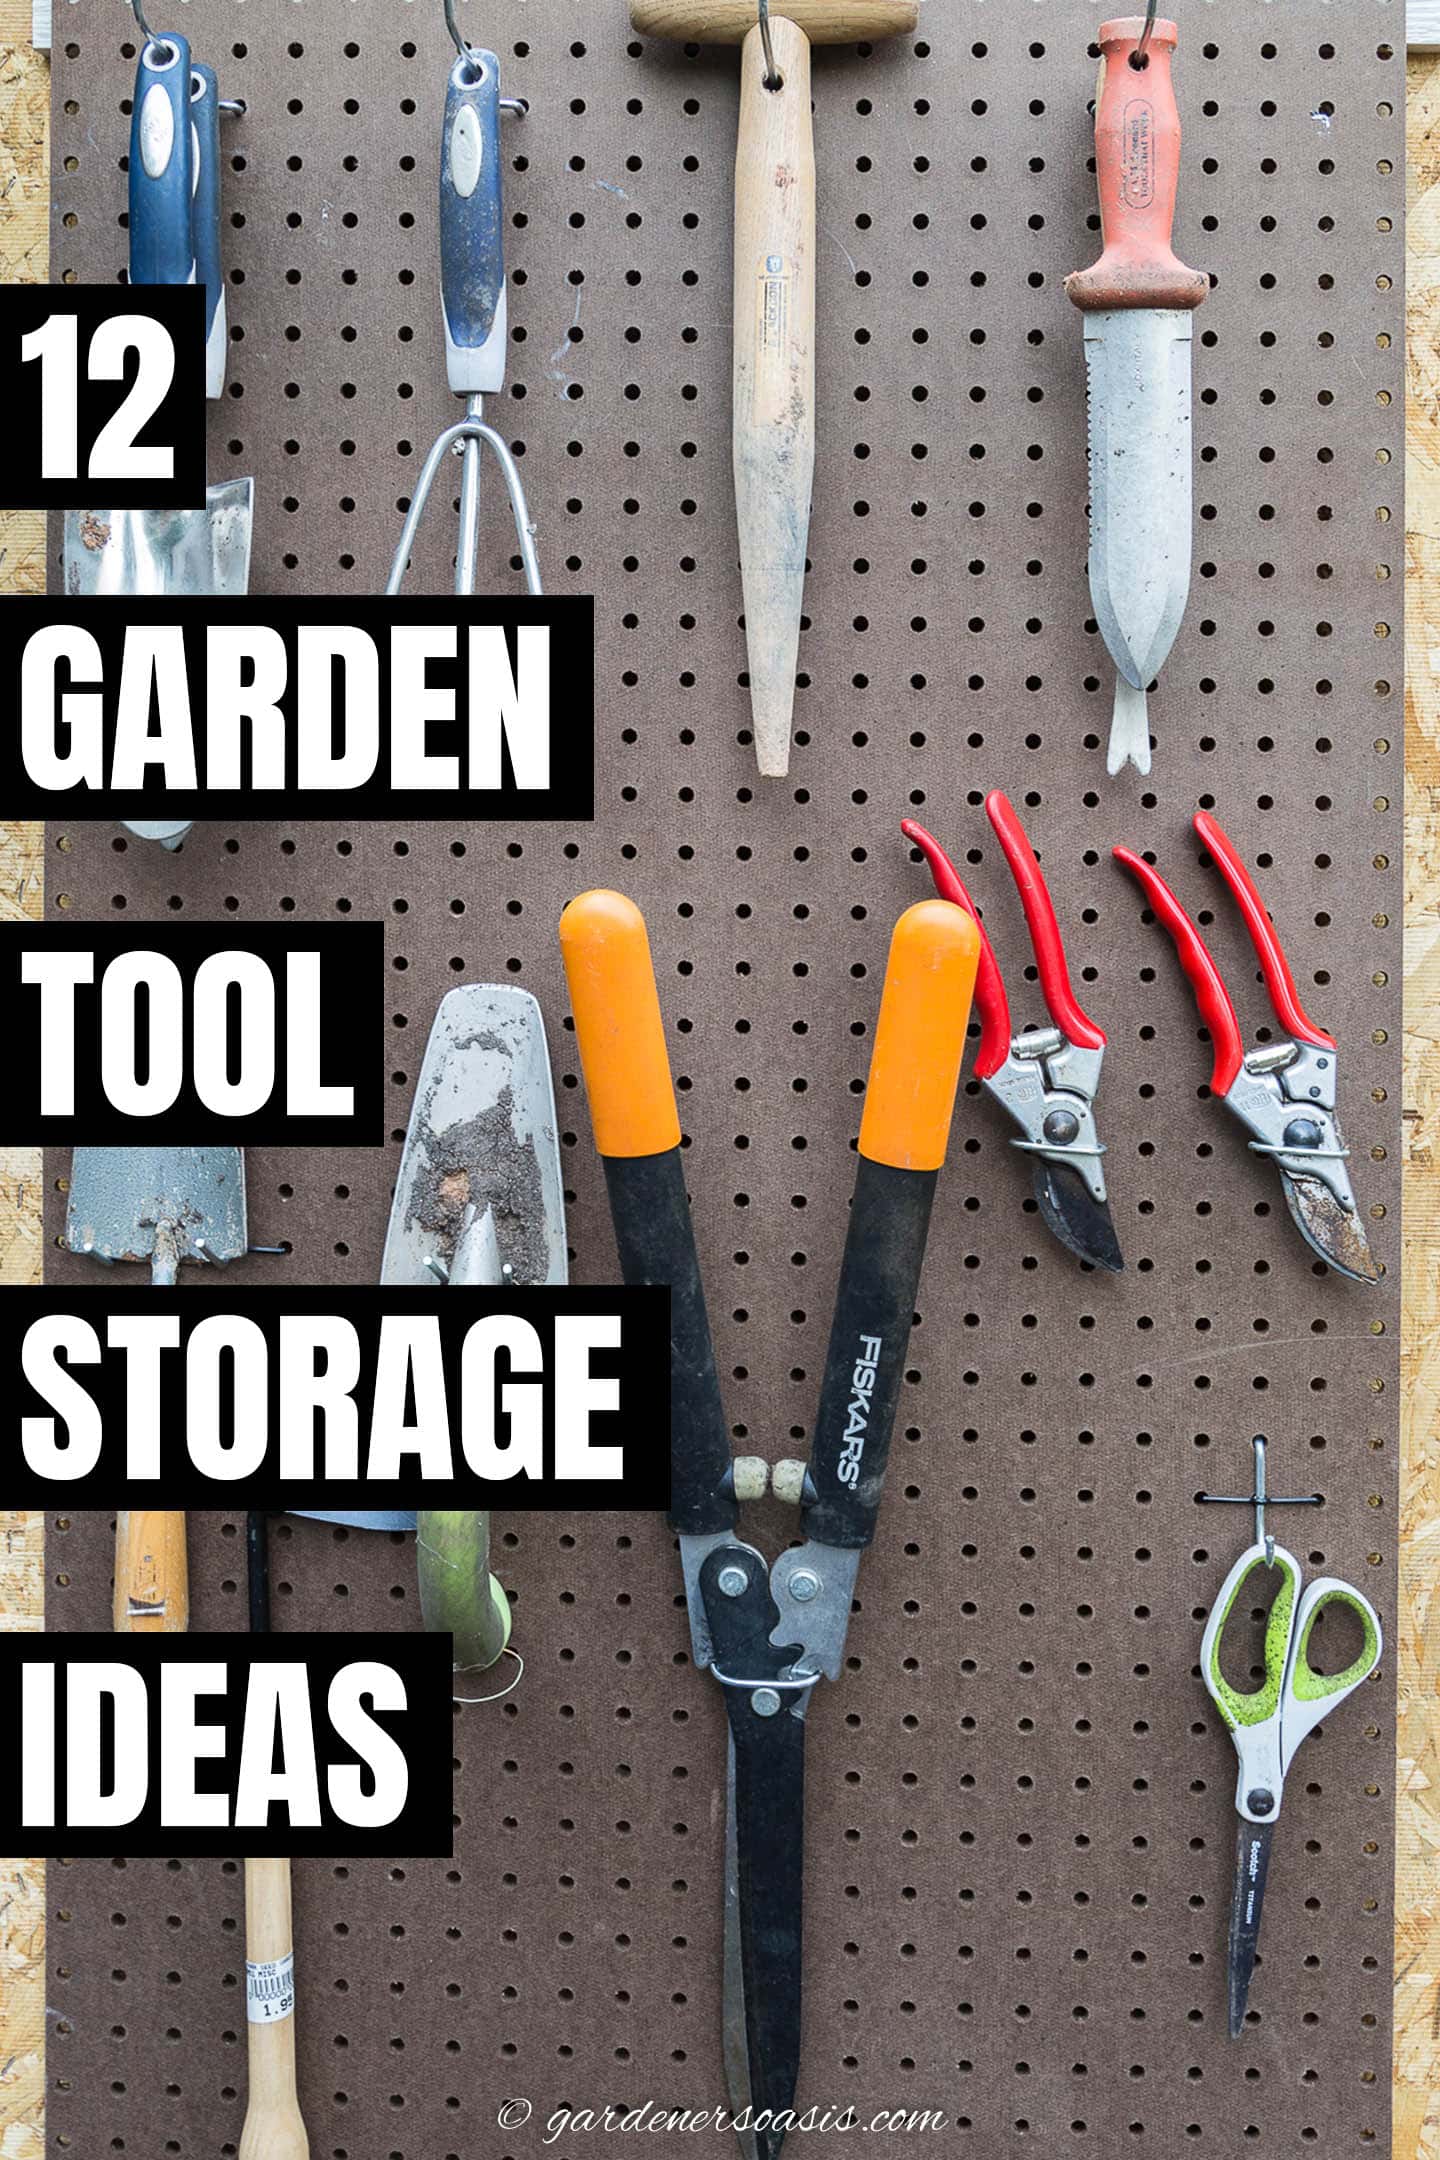
Finding my garden tools when I need them is an ongoing issue around here.
So I decided that some tool organizing was in order.
This storage system had to be so easy to use that I would actually put the stuff back where it's supposed to go.
And, I didn't want to spend a lot of time or money putting it up.
I was amazed at how many storage solutions you can create just using materials you probably already have!
Read on to see my easy and inexpensive DIY garden tool storage ideas for organizing your shed (or garage).
1 | Hang pegboard for Garden Tools
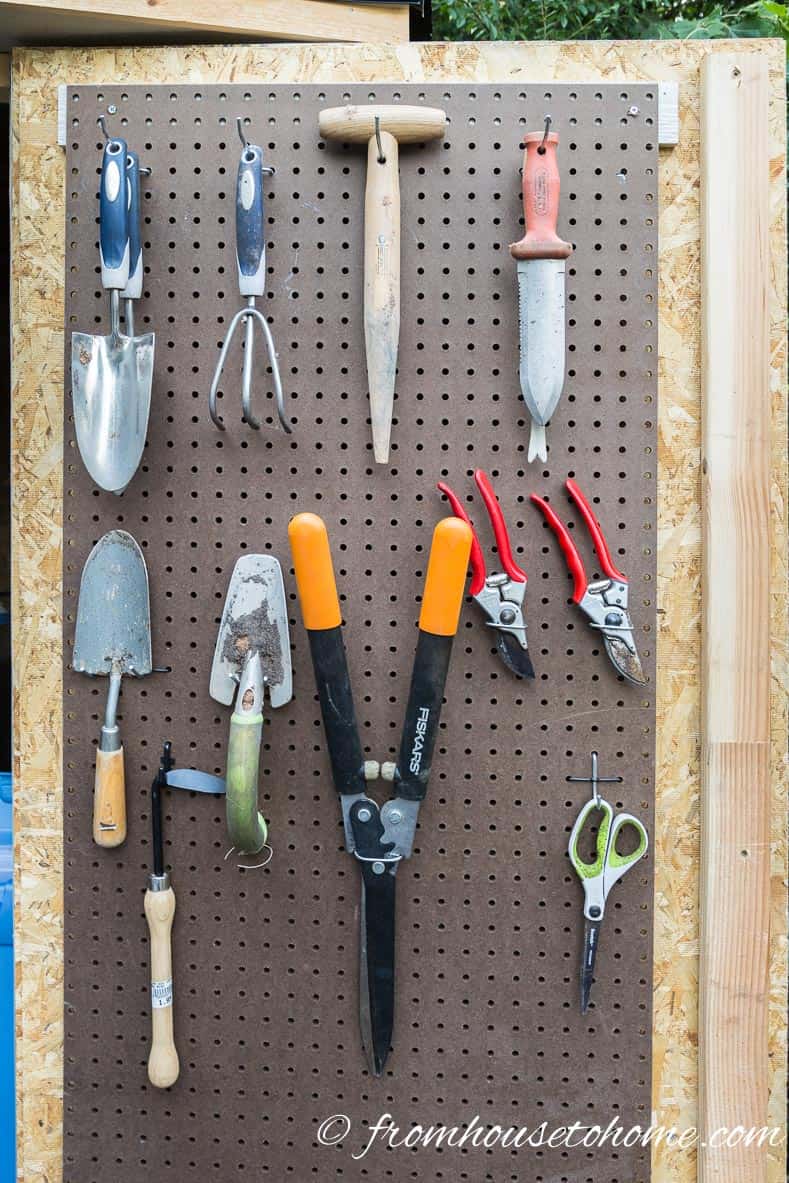
My first organization idea was to use pegboard.
I think it's the best organizational accessory ever! So of course I had to use it to store some of my garden hand tools.
To make the tools really easy to access, I hung a large piece of pegboard on the inside of the shed door.
That way I don't even have to go into the shed to get them.
The best pegboard hooks for garden tools
Here are the pegboard accessories I found that work the best.
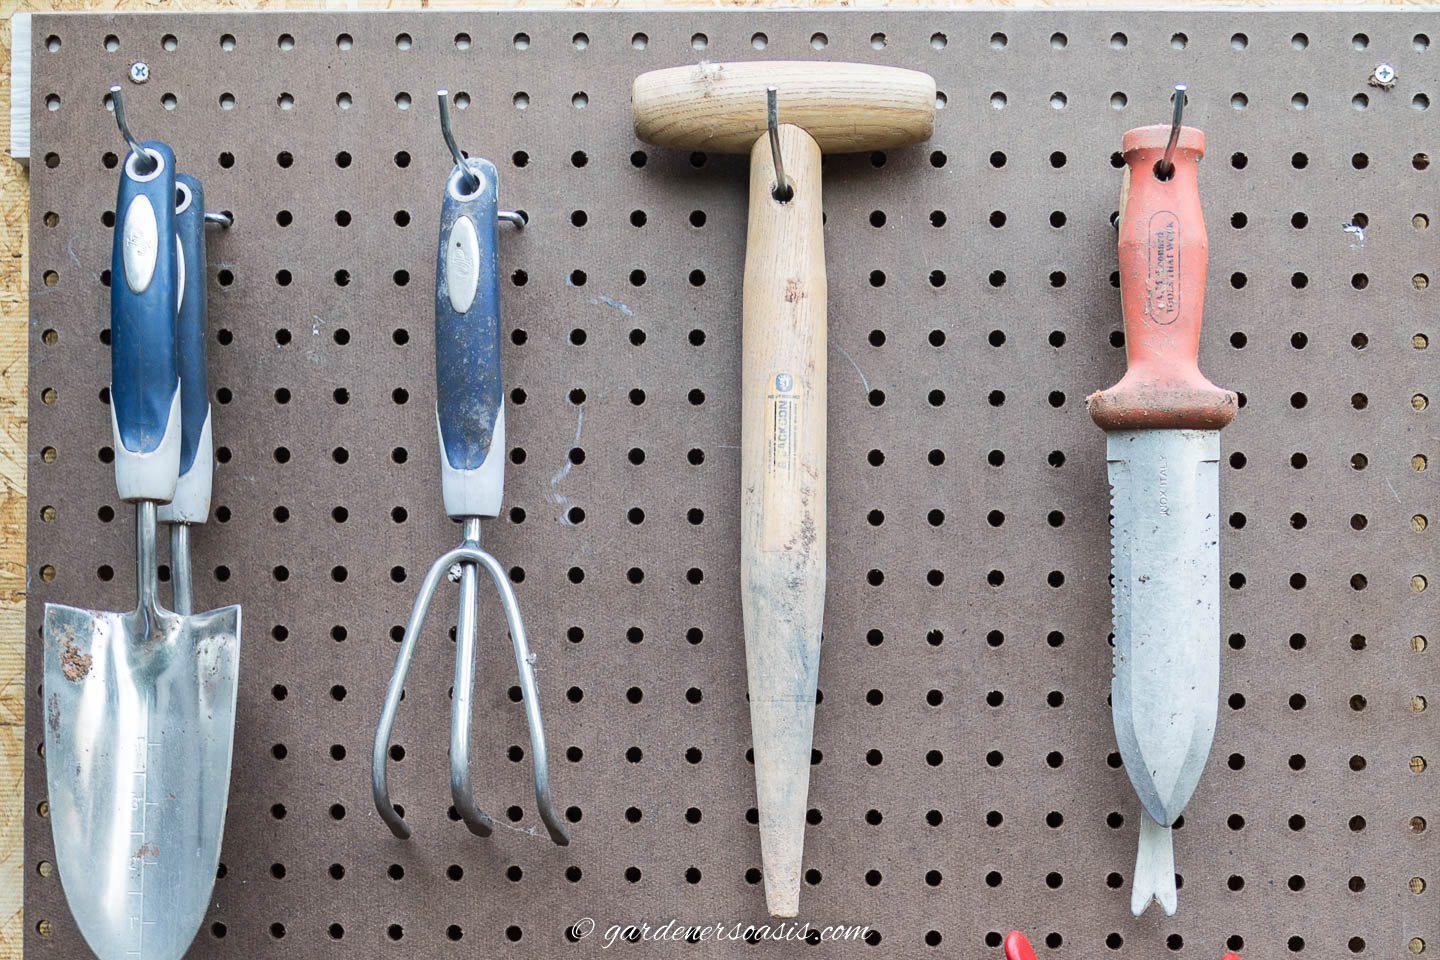
For the garden tools with holes in the handles, use a straight hook*.
If you have multiples of the same tool, the long hooks are great because you can hang more than one tool on each hook.
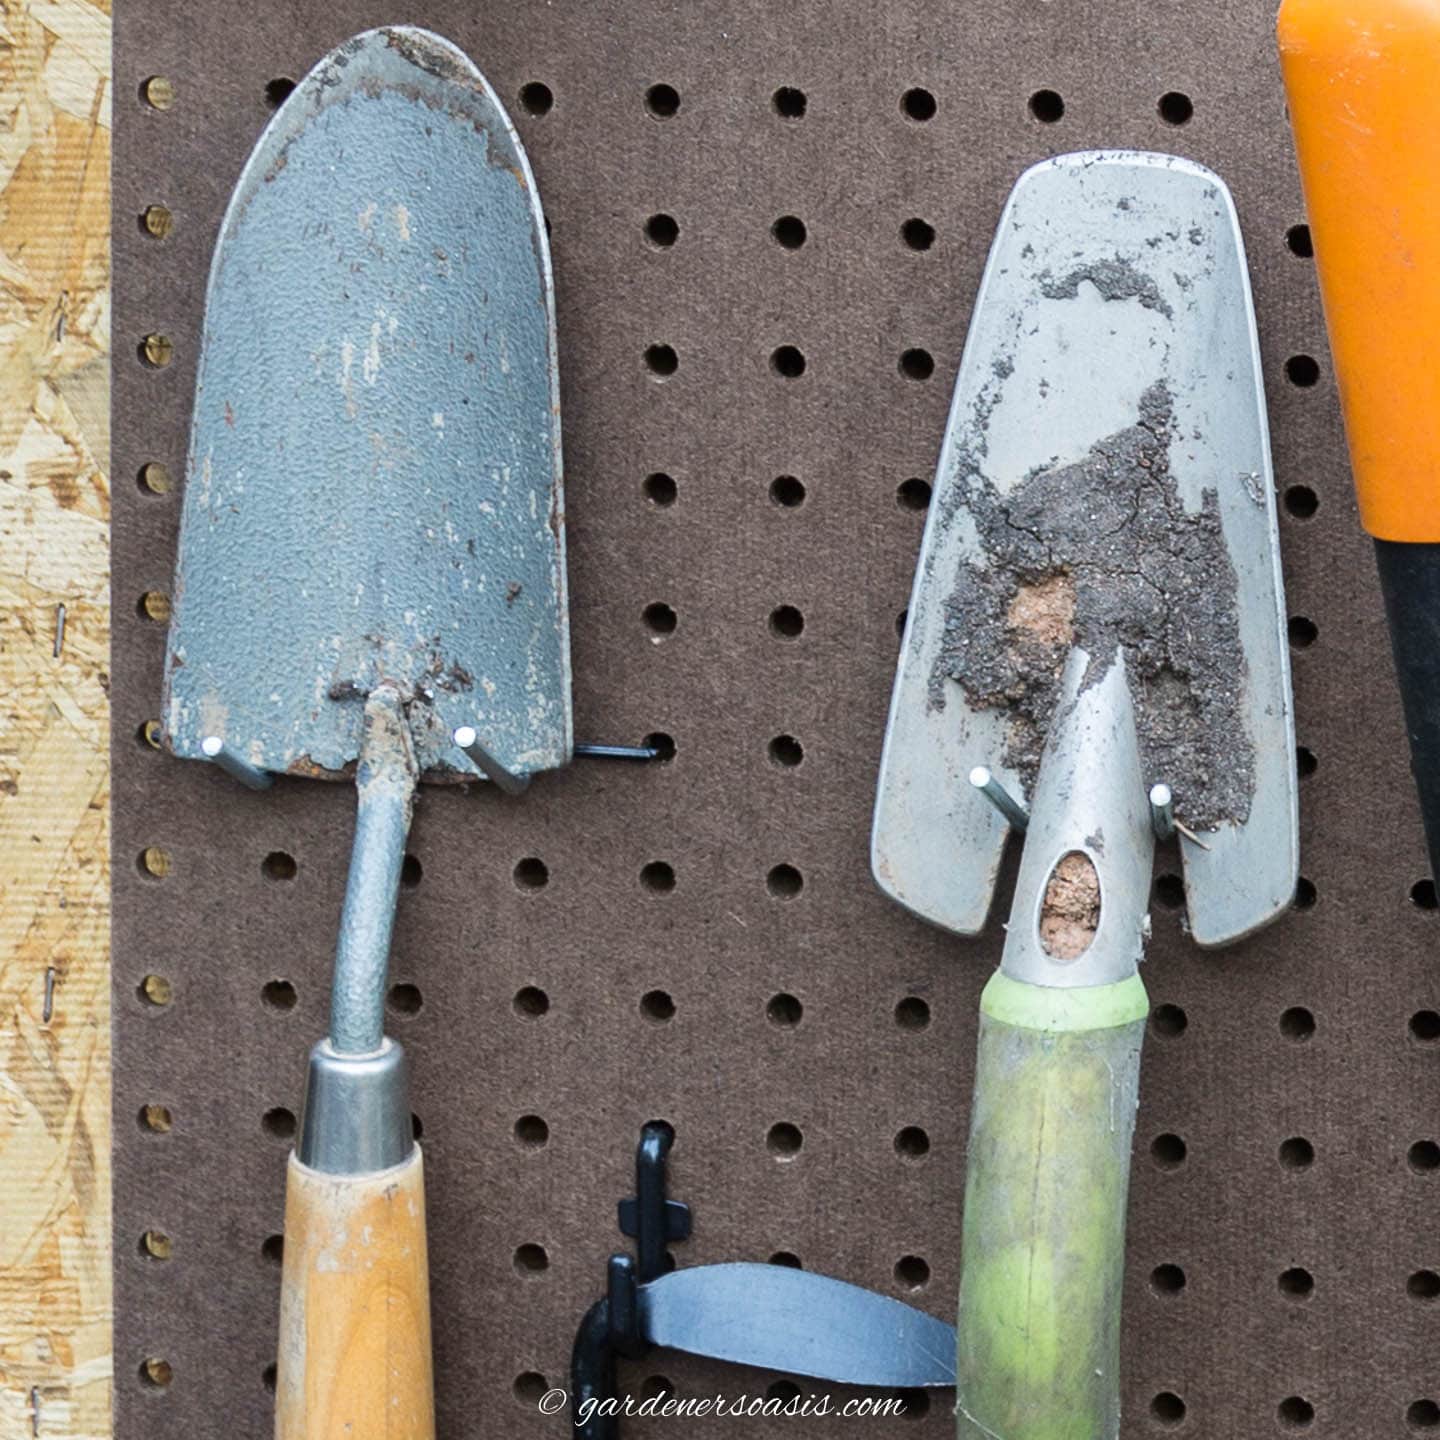
For garden tools without holes, place 2 straight hooks (same kind as above) in adjacent pegboard holes.
Then hang tools such as trowels with the handle pointing down between the two hooks
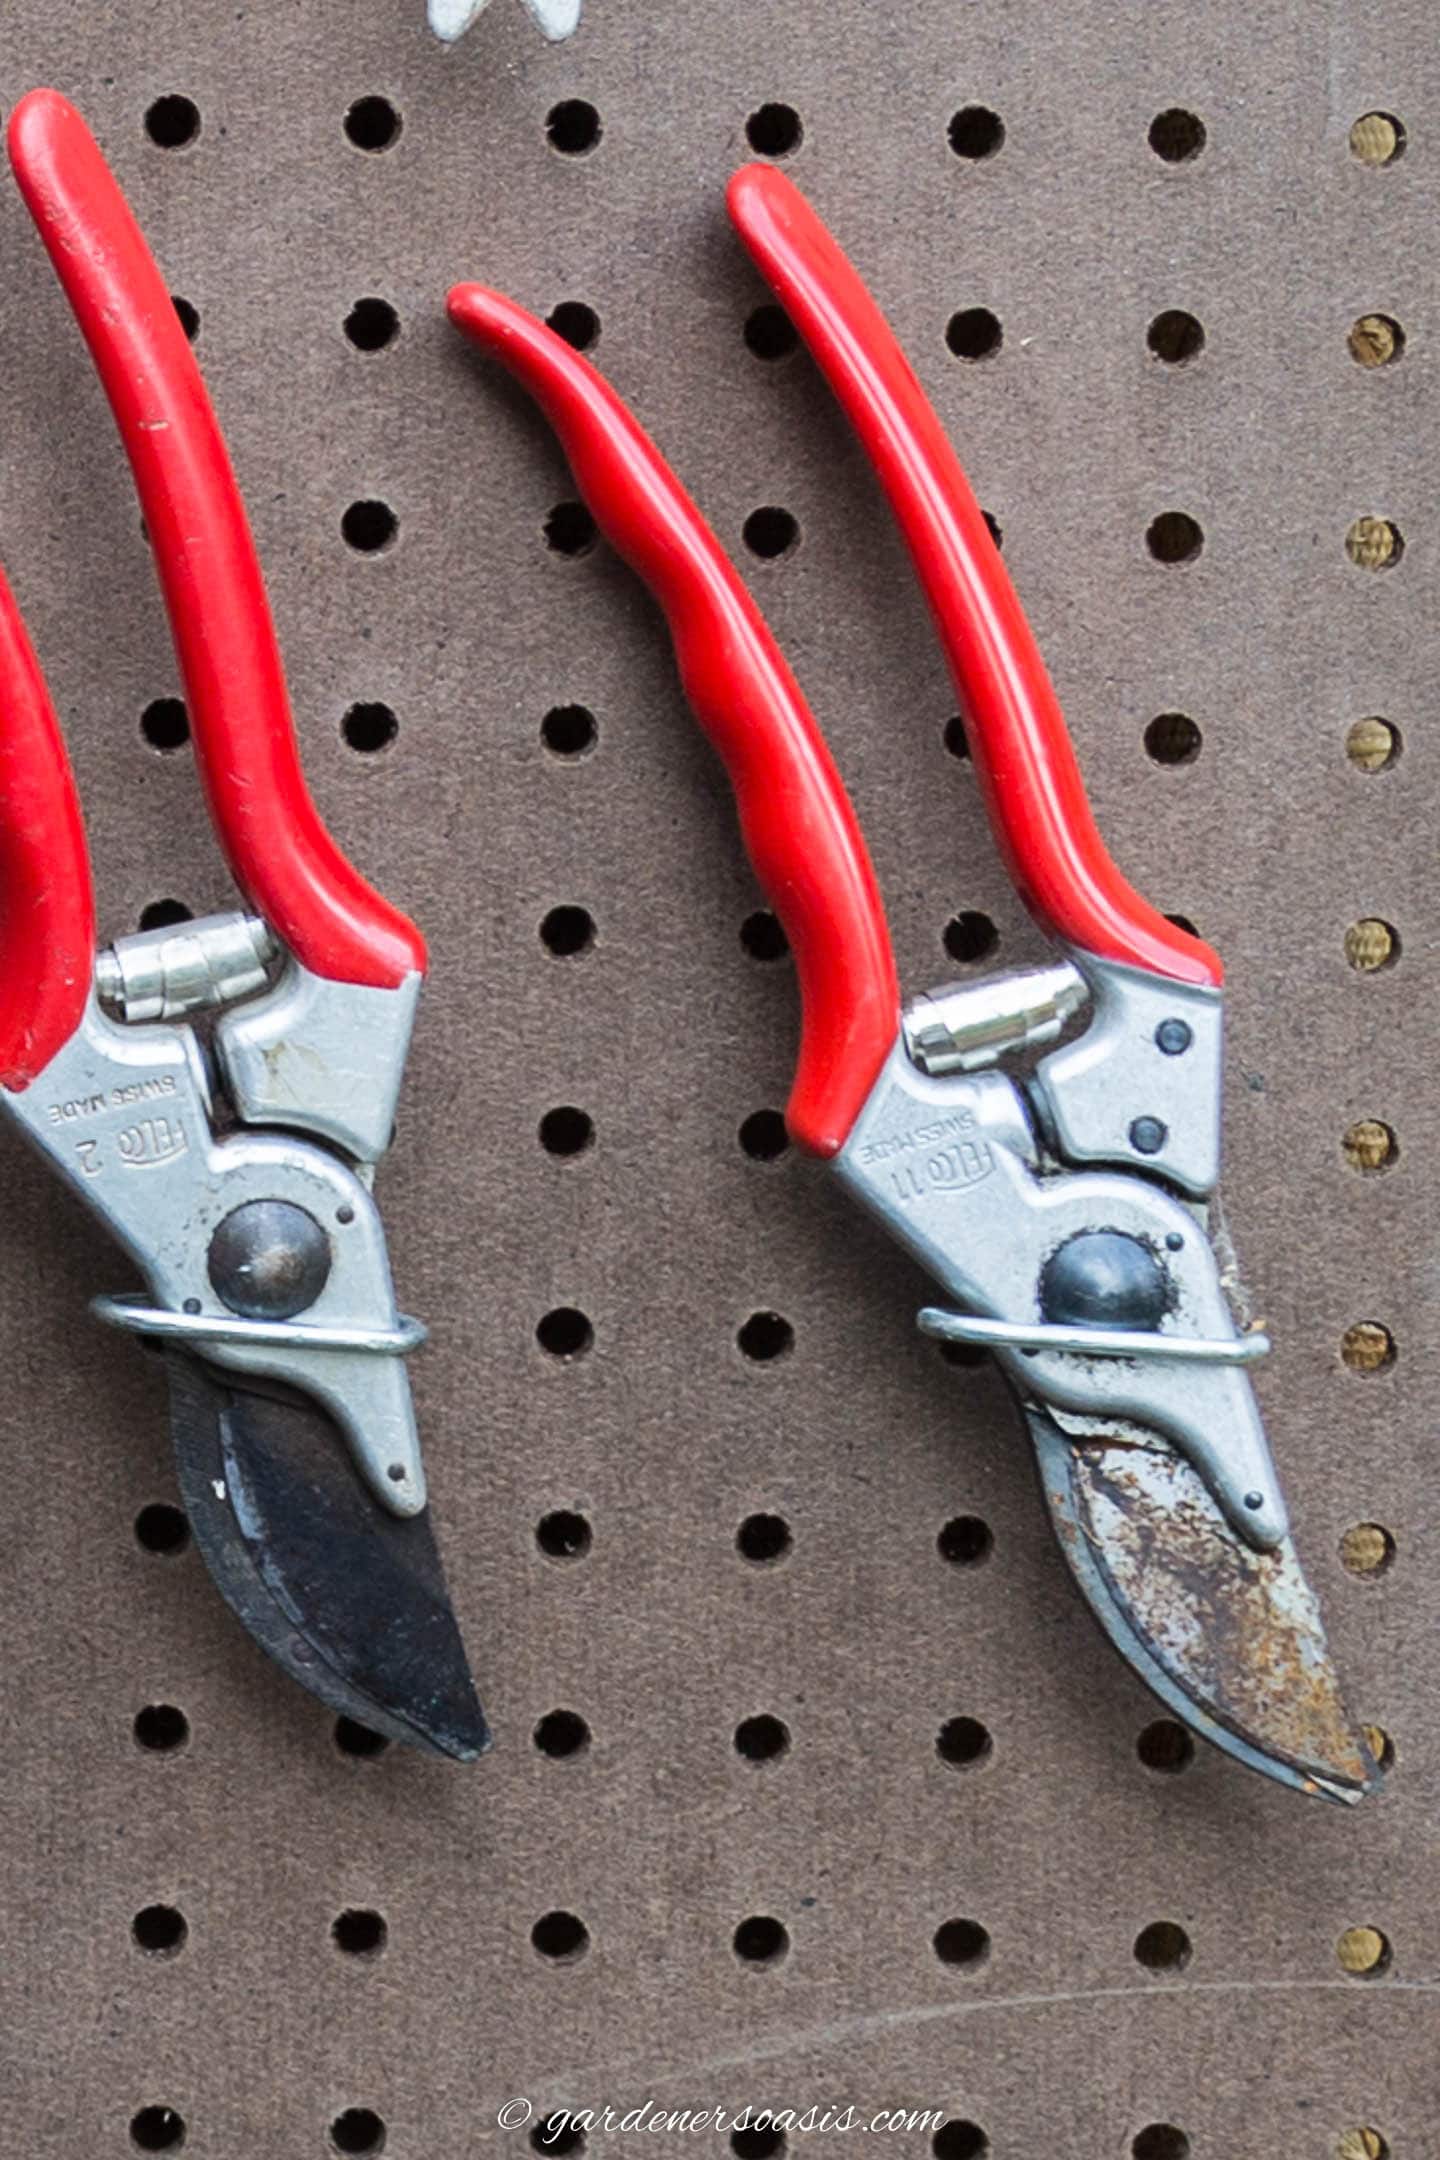
For pruners and garden shears, the pegboard plier hooks* work really well.
Once you've got the hooks installed, just slide the closed blades down into the circle.
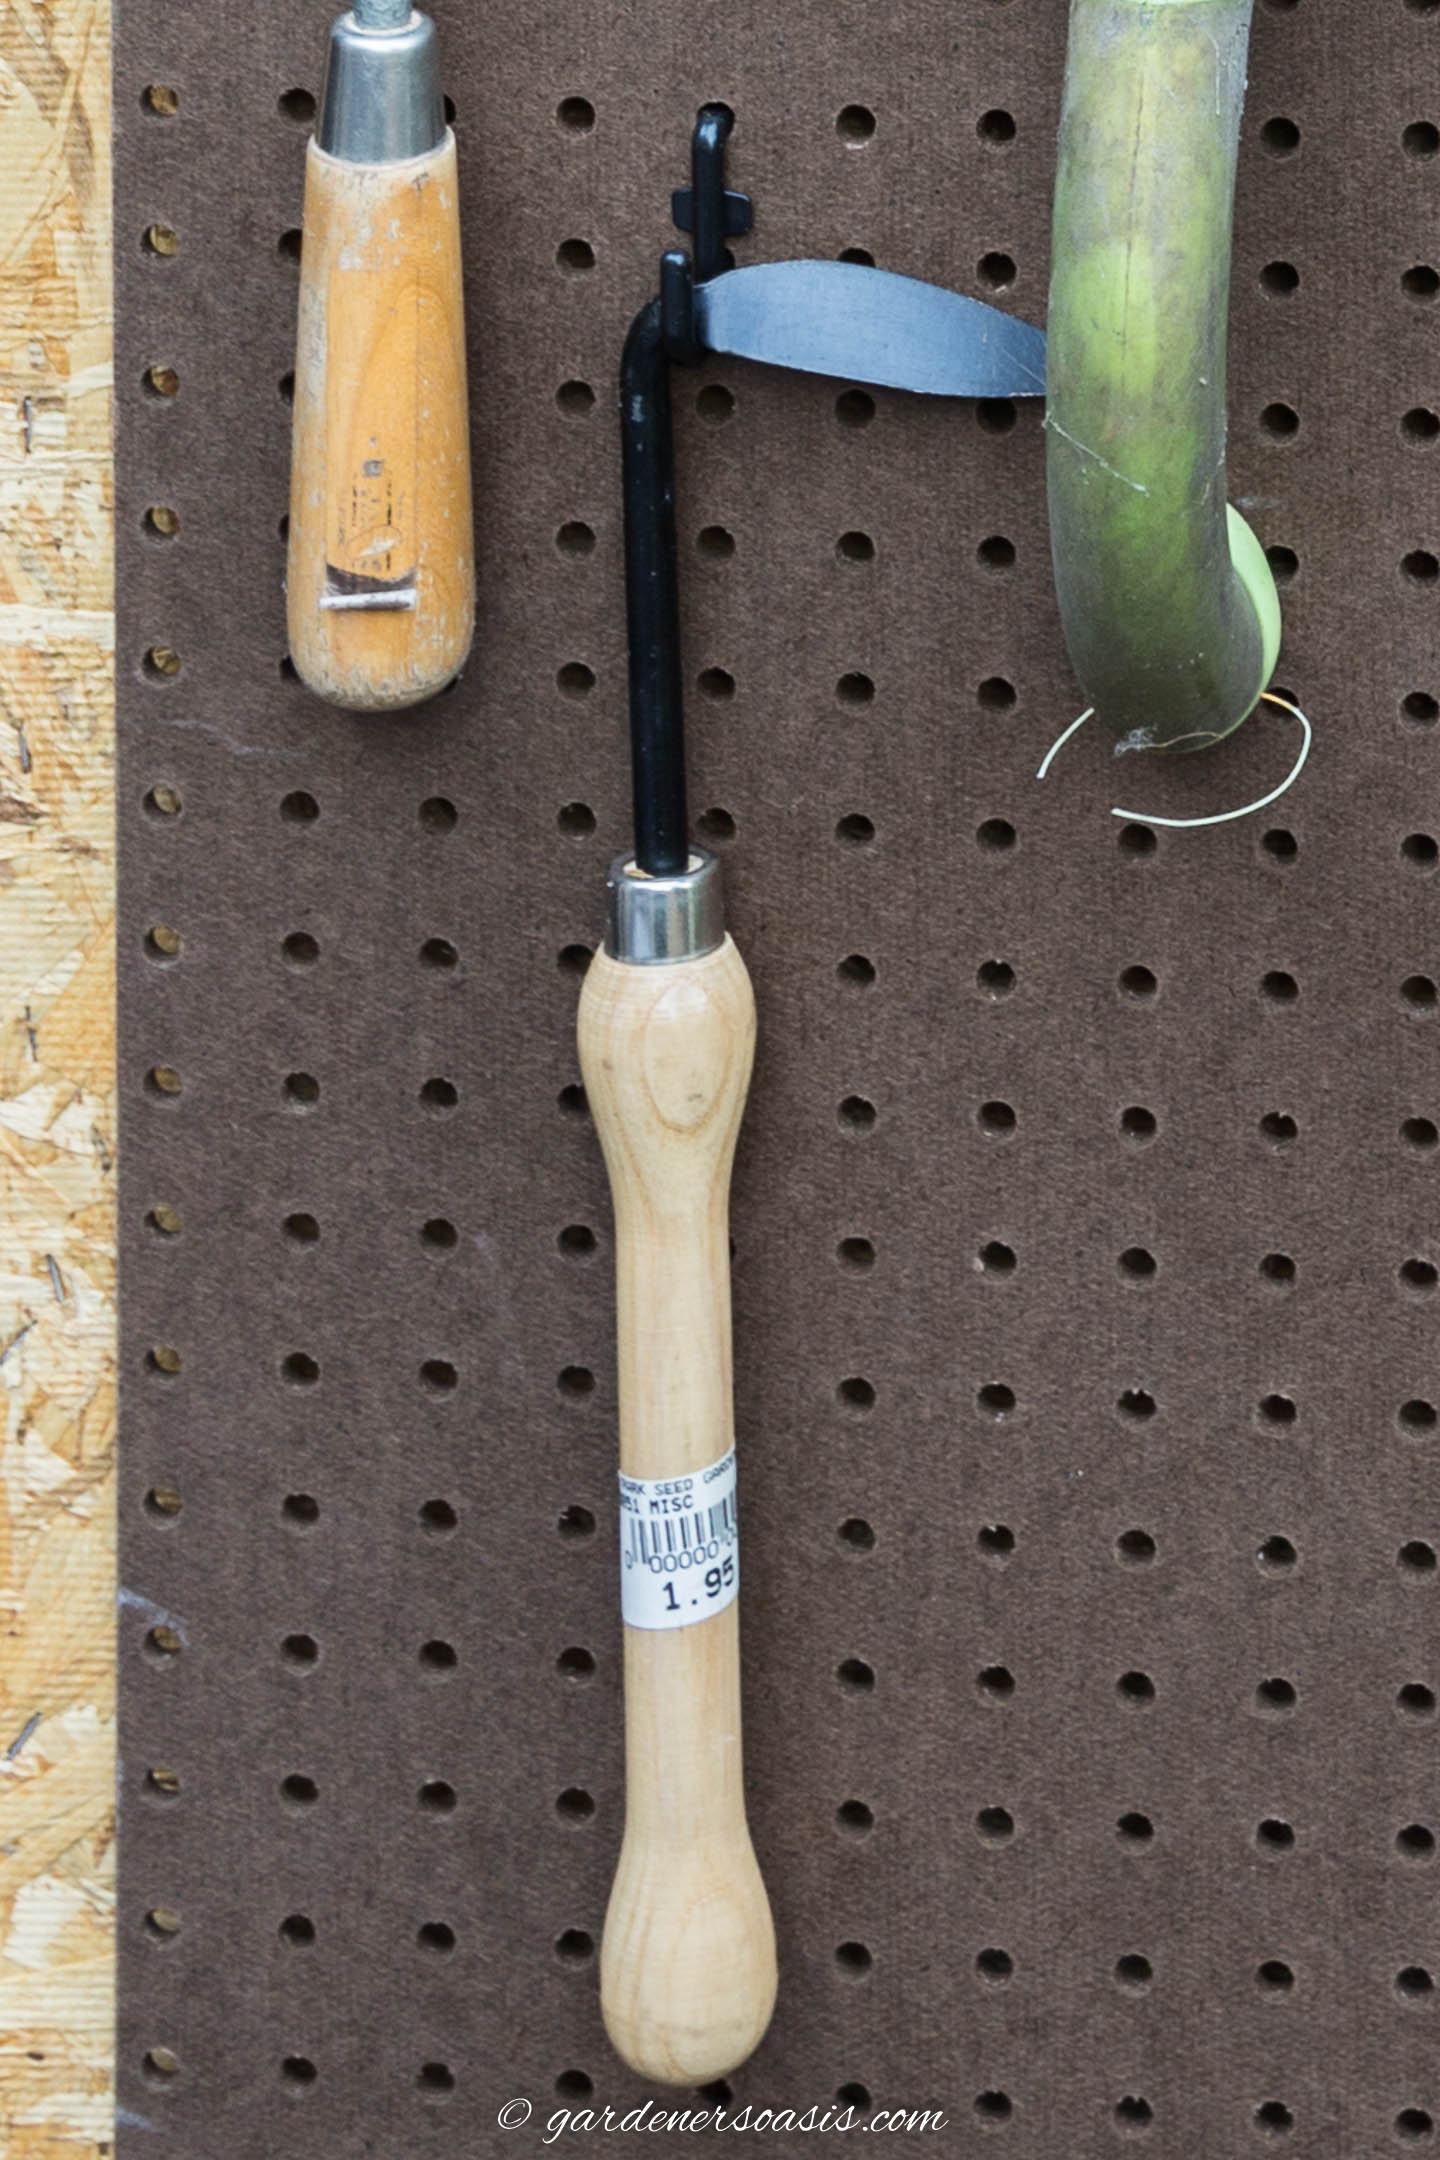
J hooks* work well for things with large holes in the handles (like scissors) or rounded blades at the end (like crevice weeders).
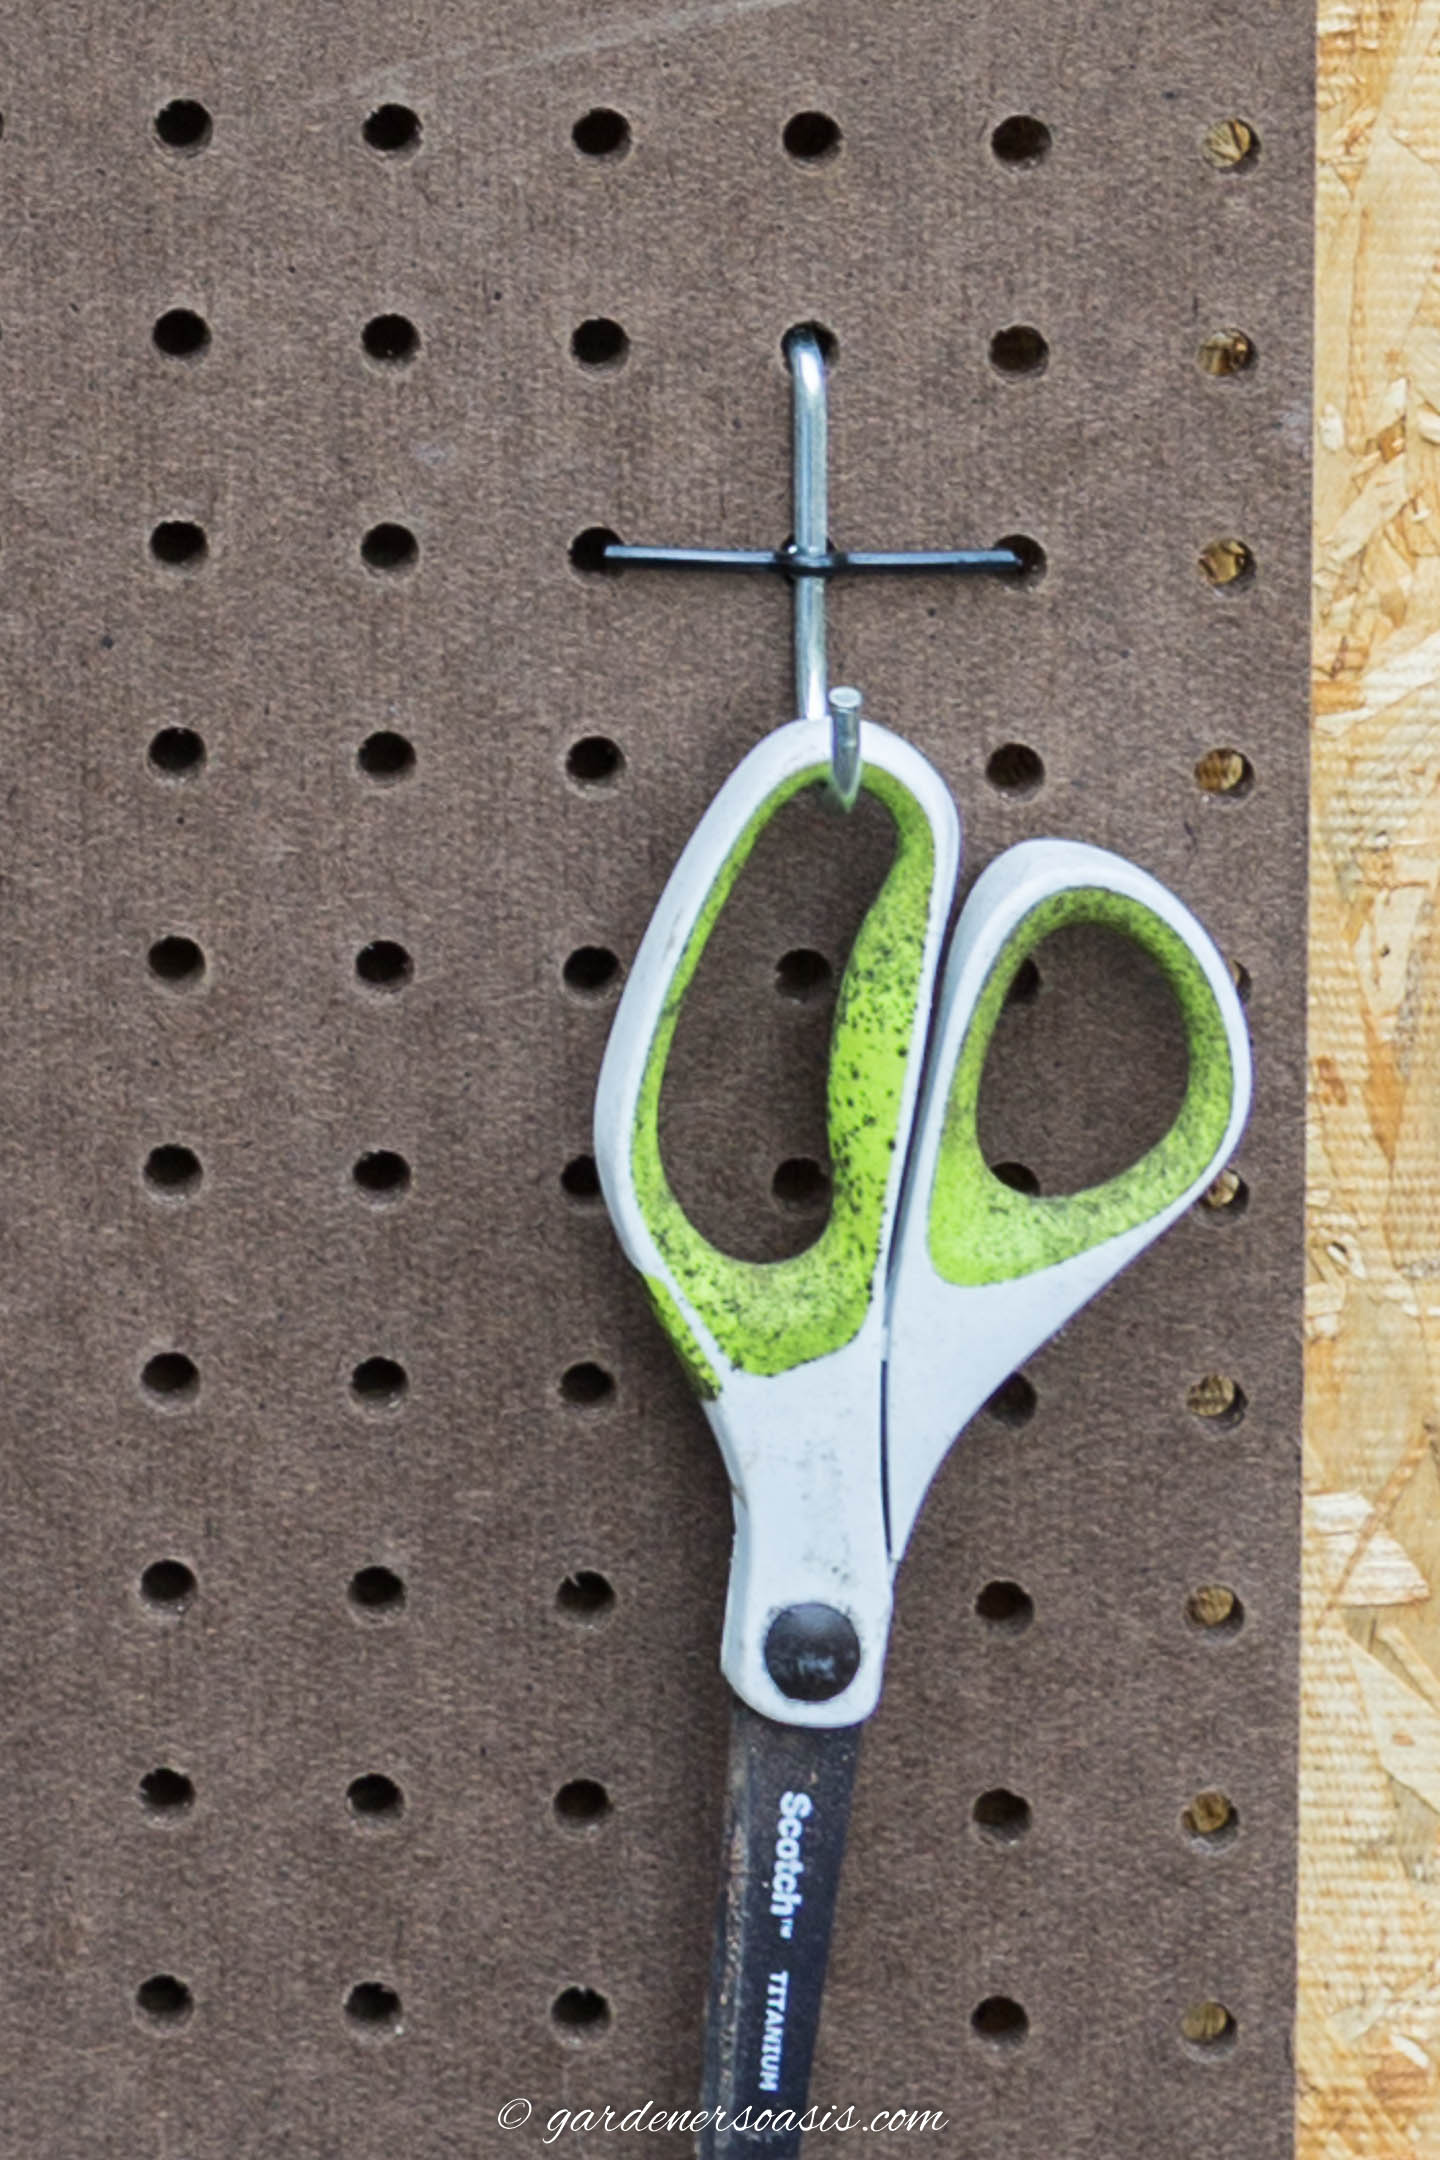
Also, I highly recommend using these pegboard locks*. They keep the hooks from falling off the board every time you go to take a tool off.
Which saves a whole bunch of frustration (and hunting for hooks on the ground).
Best way to hang garden tools
When you're laying the board out, it works best to put smaller tools at the top and longer ones at the bottom. (Let the long tools hang down past the bottom edge of the pegboard if necessary.)
That will give you the most usable space on the board.
Then fill in any gaps with the smallest tools.
2 | hang garden hoses with chain
One of the things I seem to have a lot of is hoses, and I have always found them hard to store.
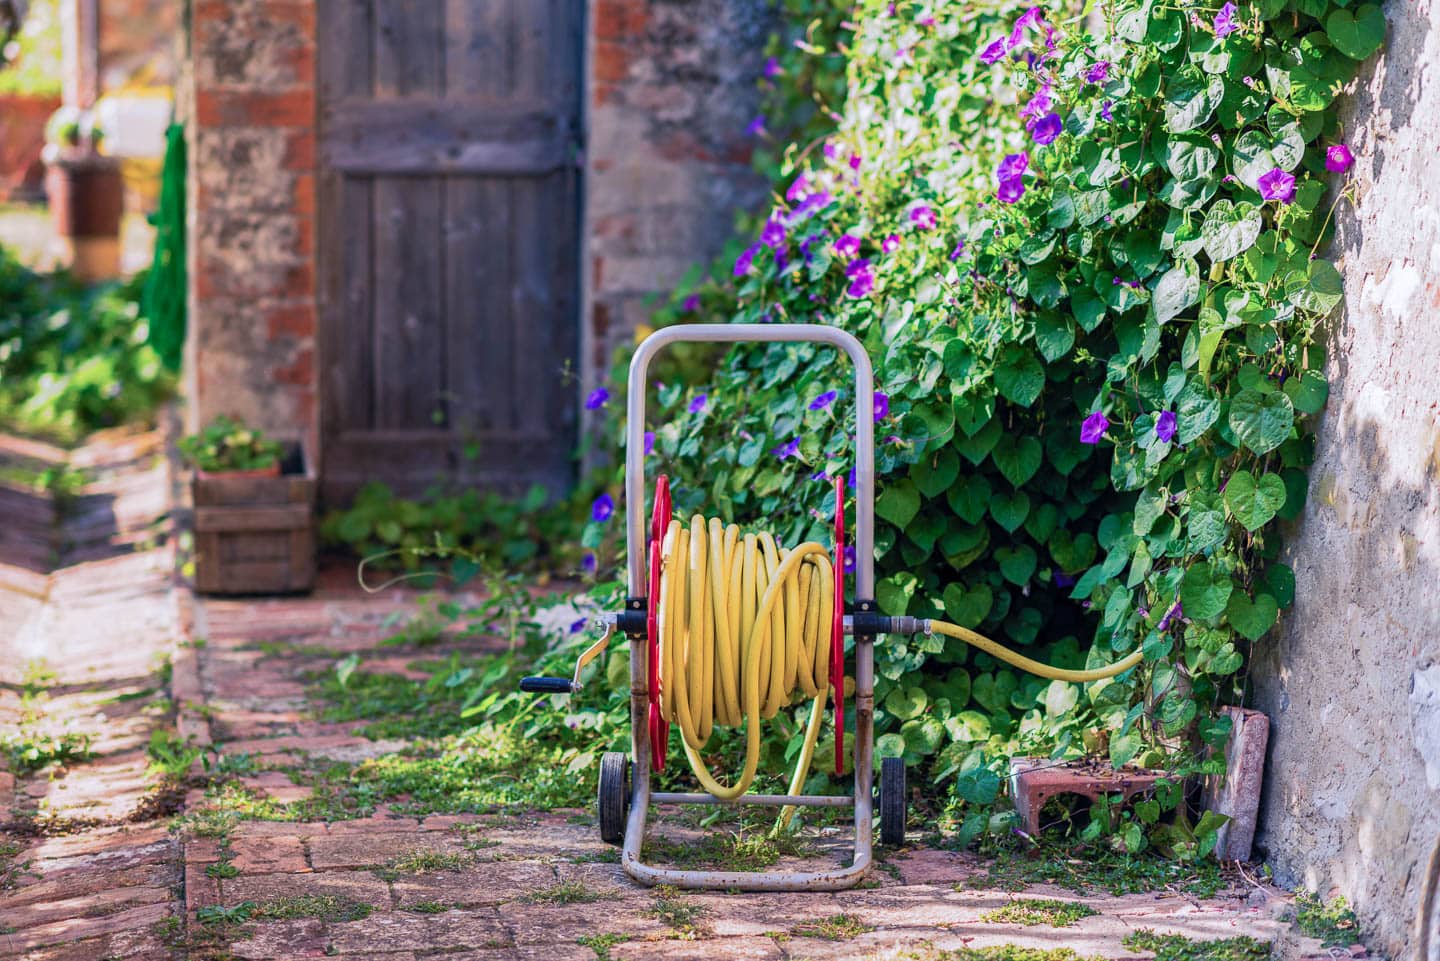
I have tried the store-bought hose reels*.
Which work but they can be awkward to move around. And they always seem to break after a couple of years.
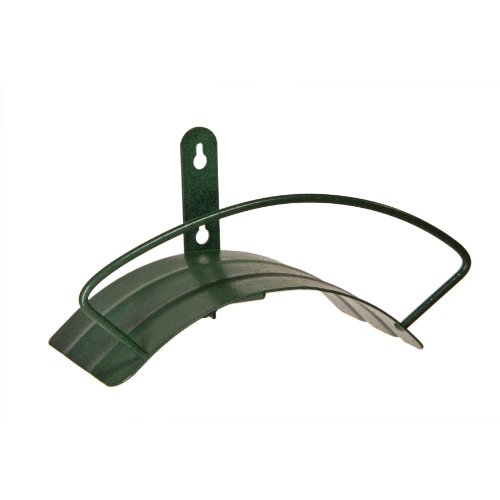
I have also tried the U-shaped hose hangers*.
Which don't usually break but the hose never seems to stay on it properly.
And to be useful, you can only put one hose on a hanger. Which means you have to buy a bunch of them if you have as many hoses as I do.
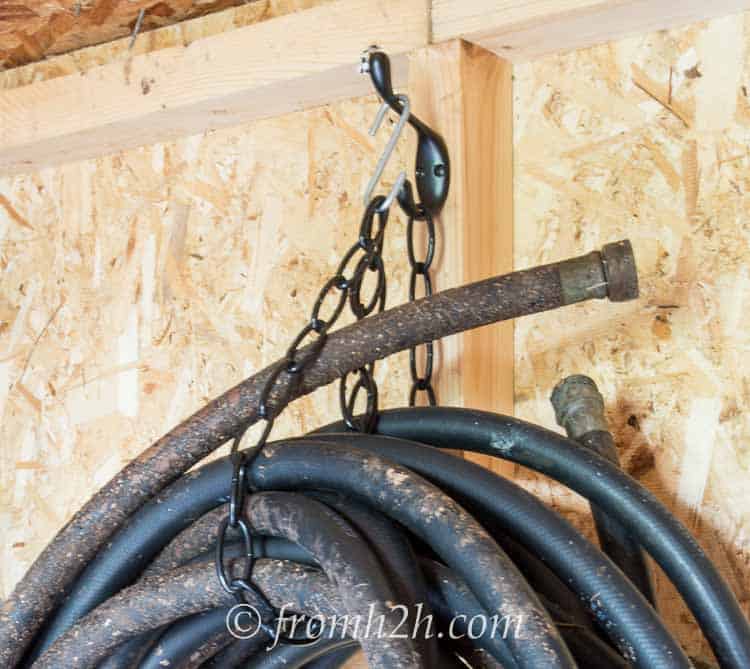
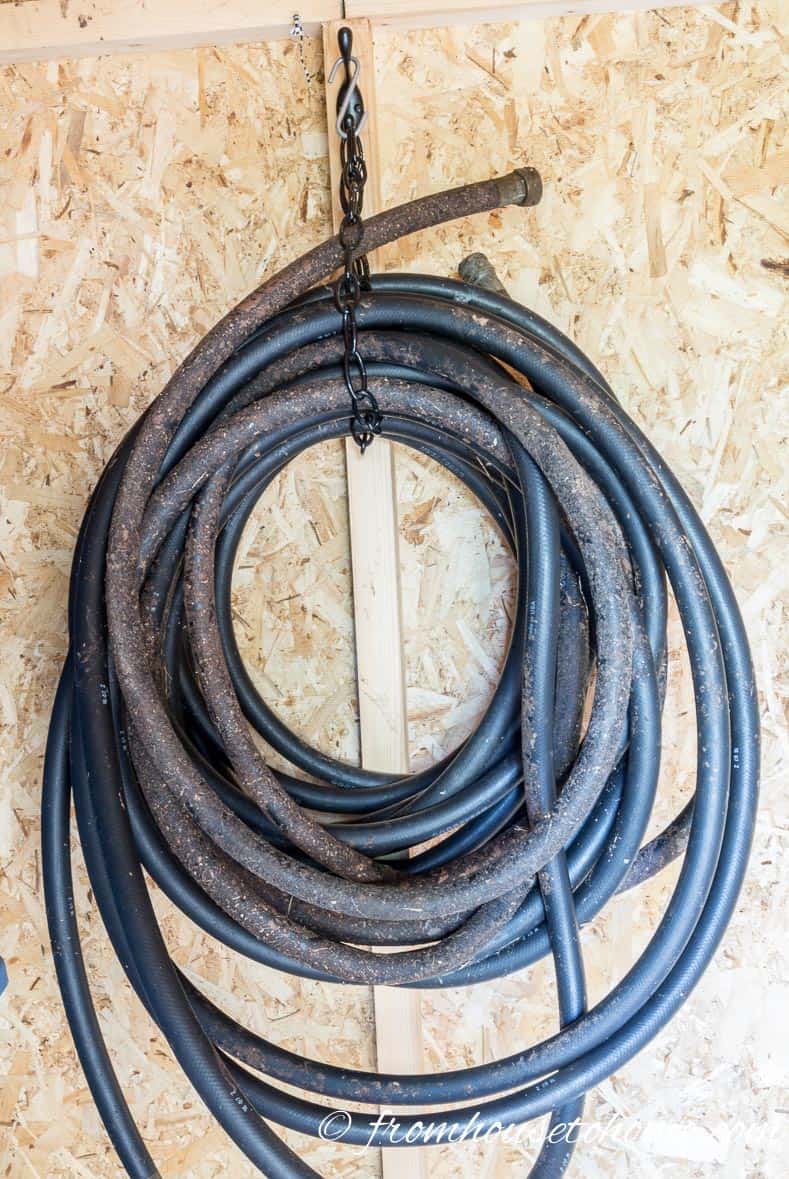
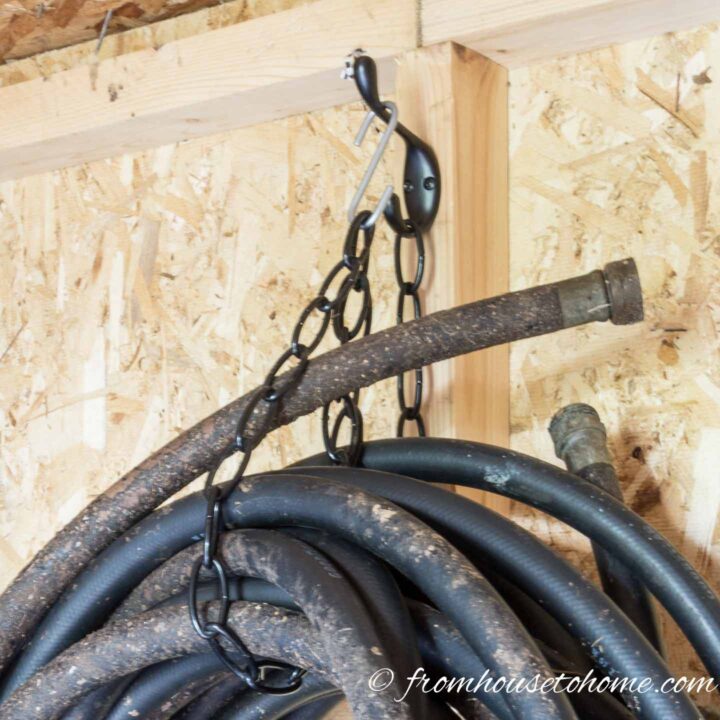
I finally found this solution for hanging hoses with a coat hook* and chain. I used this plastic chain* because it's heavy duty but does not weigh as much as the metal kind.
Simply attach the coat hook to the wall and hang one end of the chain over the bottom hook.
Then put the chain through the center of the rolled-up hose and hook it onto the top of the coat hook.
To hold a second hose, repeat with another length of chain. This hook has 2 hoses on it, with enough room to spare for another one.
In this case, I used an S-hook to attach the chain to the coat hook because the chain link wouldn't fit over the top of the hook. That may not be necessary depending on the size of your chain.
3 | Repurpose kitchen rods for garden storage
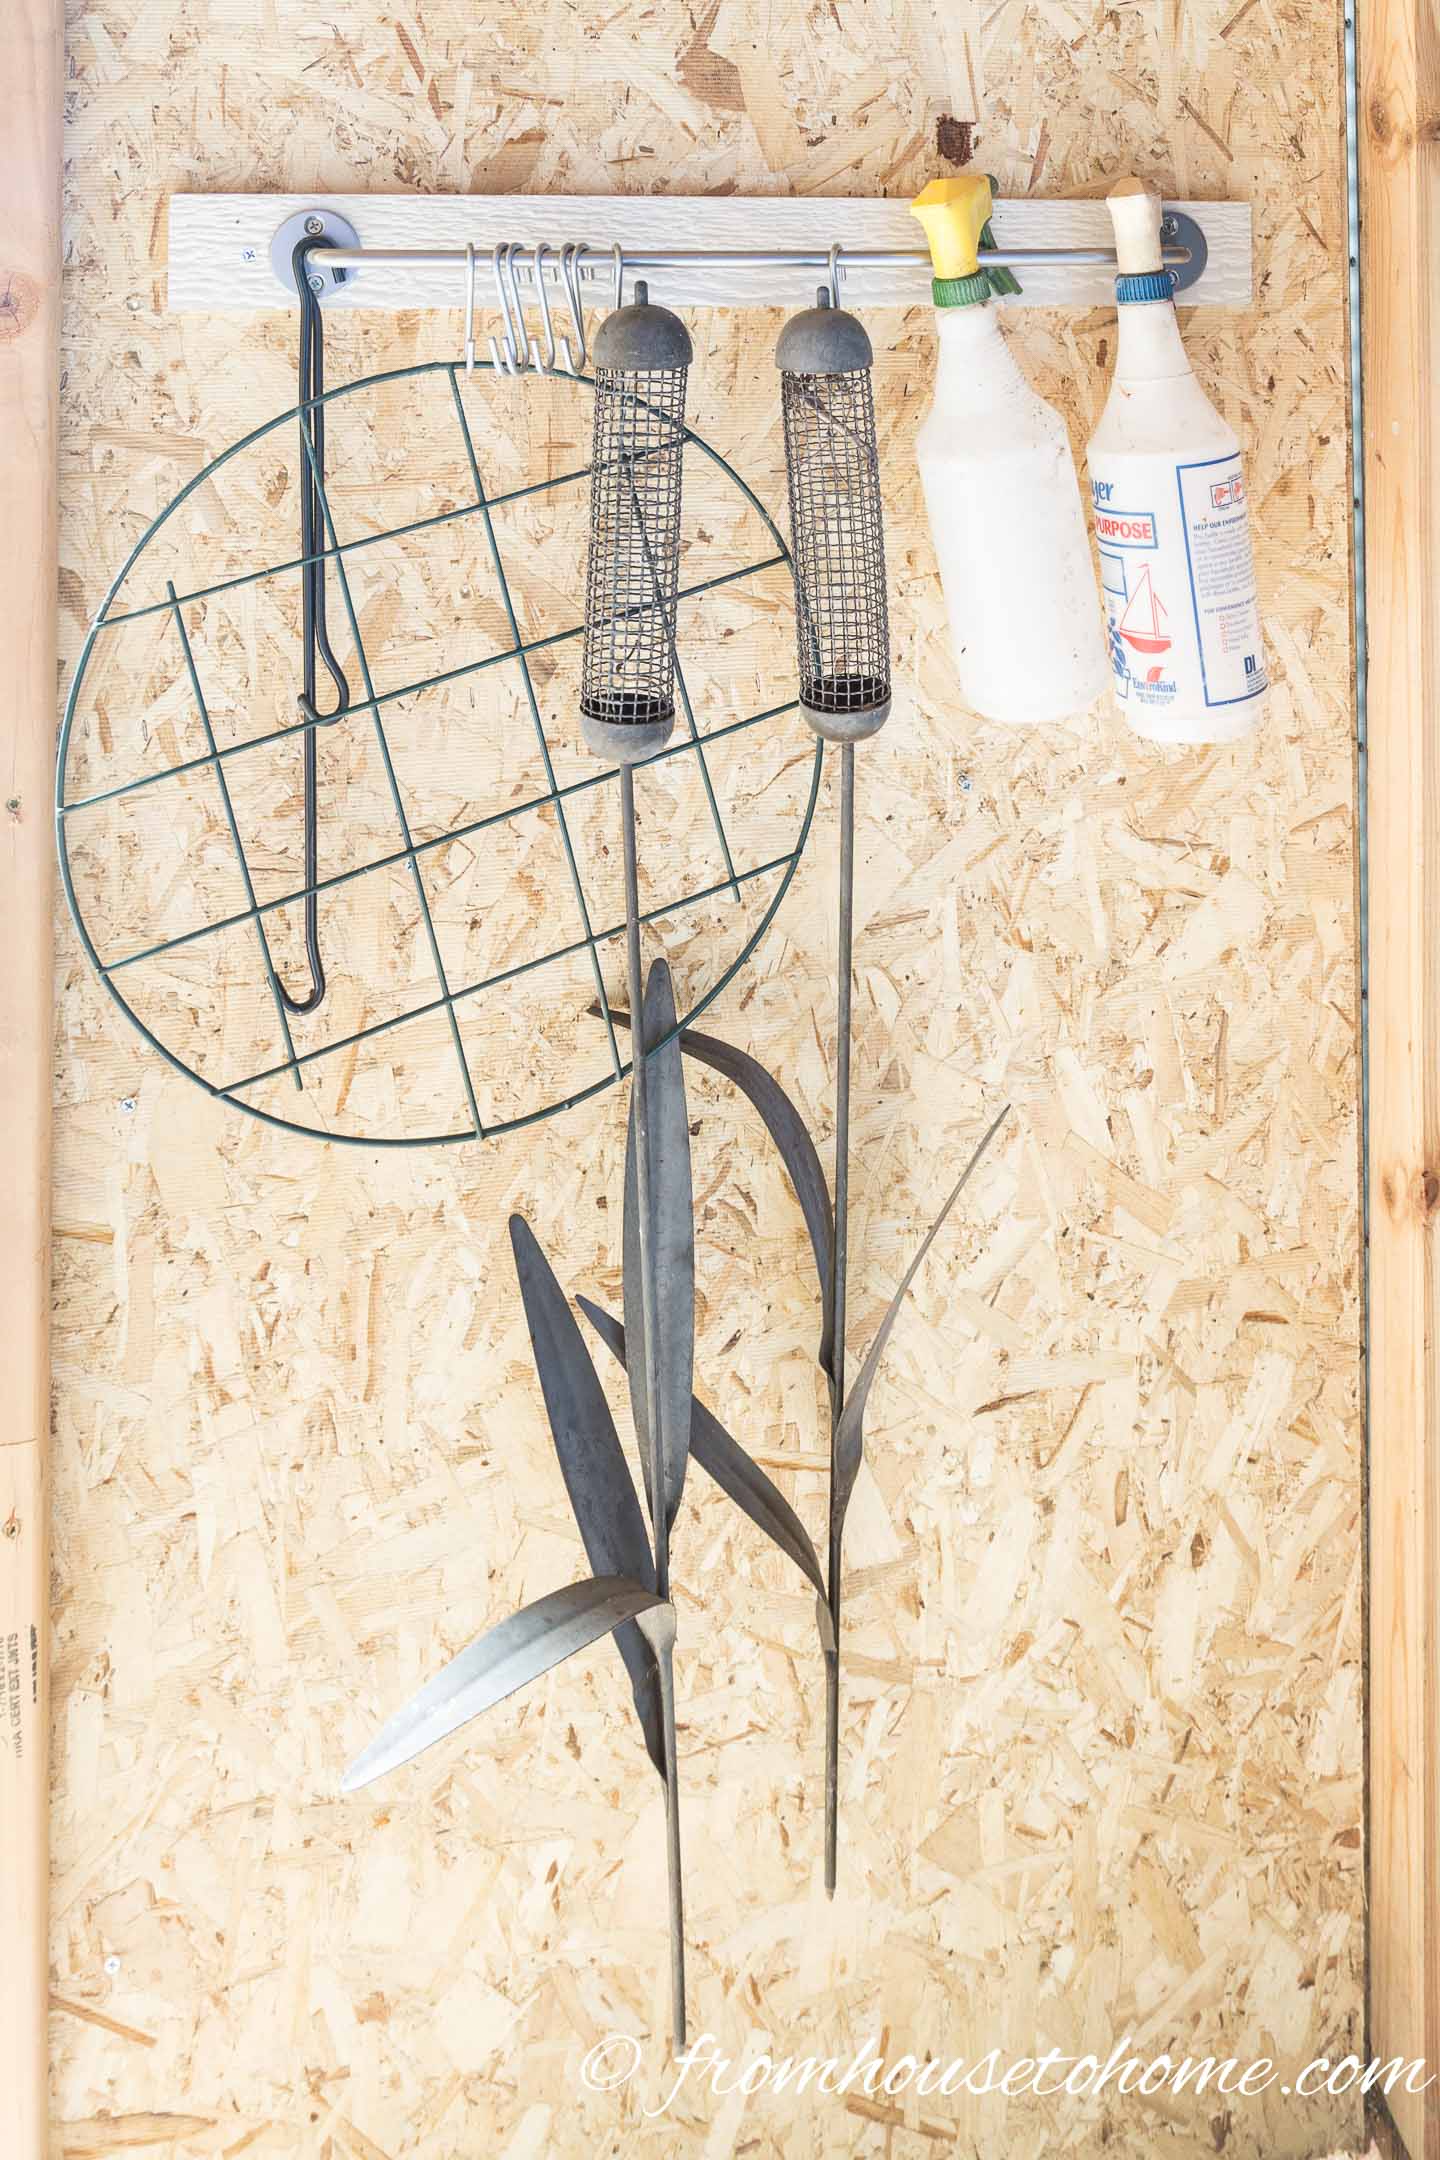
The next garden tool organizer idea uses a kitchen hanging rod.
Hanging spray bottles from an IKEA kitchen rod* makes them so much easier to manage. No more falling over on the shelf!
They come with S-hooks that are great for hanging other garden supplies like flower cages and small bird feeders (that's what those black round metal cages are).
4 | Hang your garden gloves in pairs
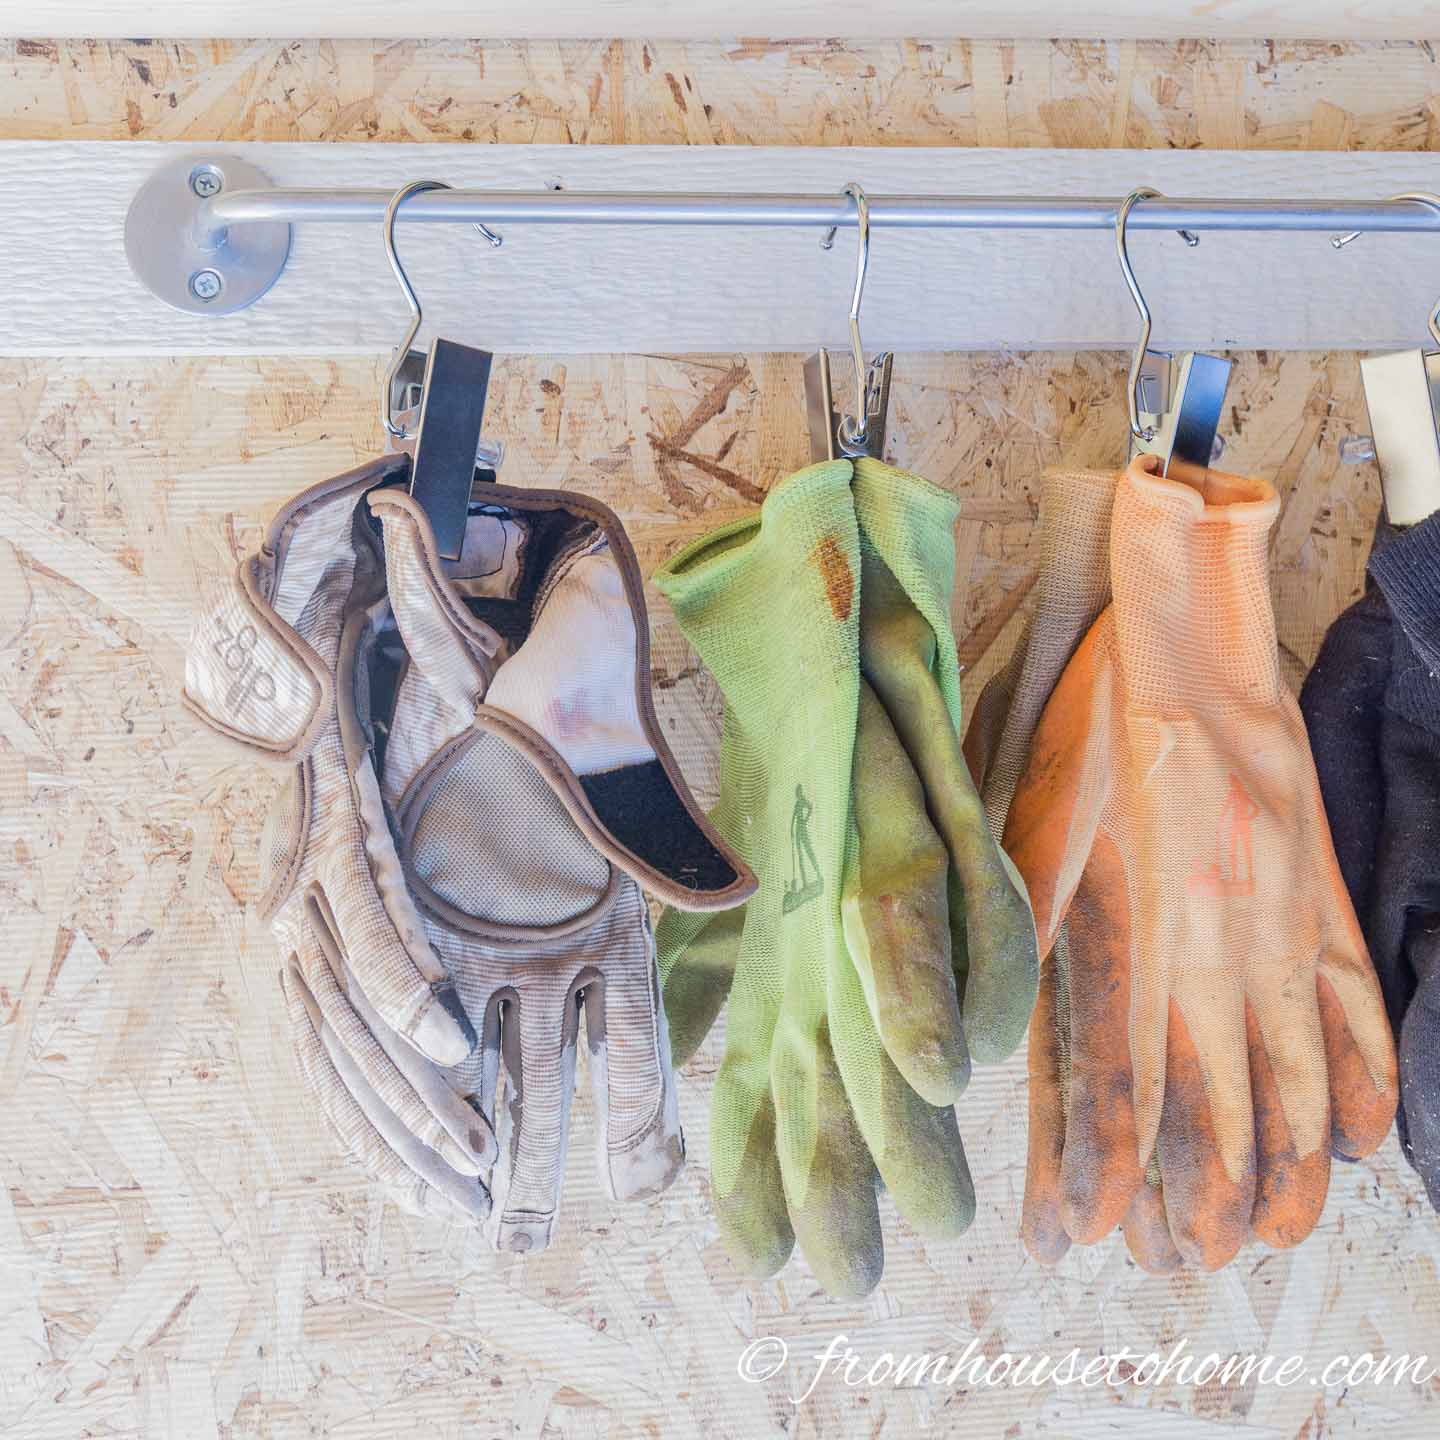
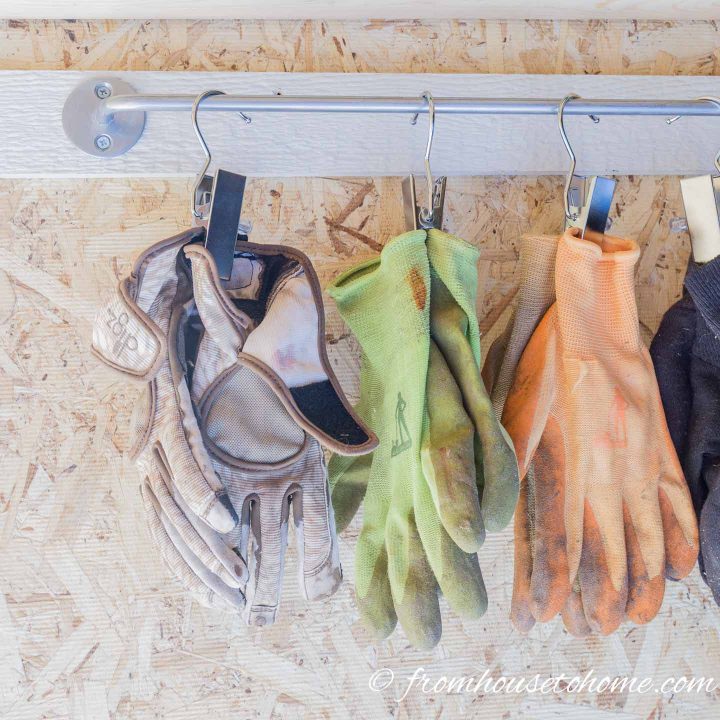
Finding gloves gets a lot easier if you can hang them on the door of your storage shed, too.
Use the same IKEA kitchen rod from above and some hooks that have clamps* on the end to hang them up in pairs.
Then you'll never have to search for the missing other glove again.
5 | Repurpose a paper towel holder

Along a similar line, a paper towel holder is great for hanging string and tape.
It allows you to pull the string off the roll easily and cut it. (Make sure you keep a pair of scissors on your pegboard so they are always there when you need them.)
Or you could remove the whole roll and take it with you if you need to do that. Just remember to put it back so you can find it again next time!
6 | Make a DIY garden tool rack with wire shelves
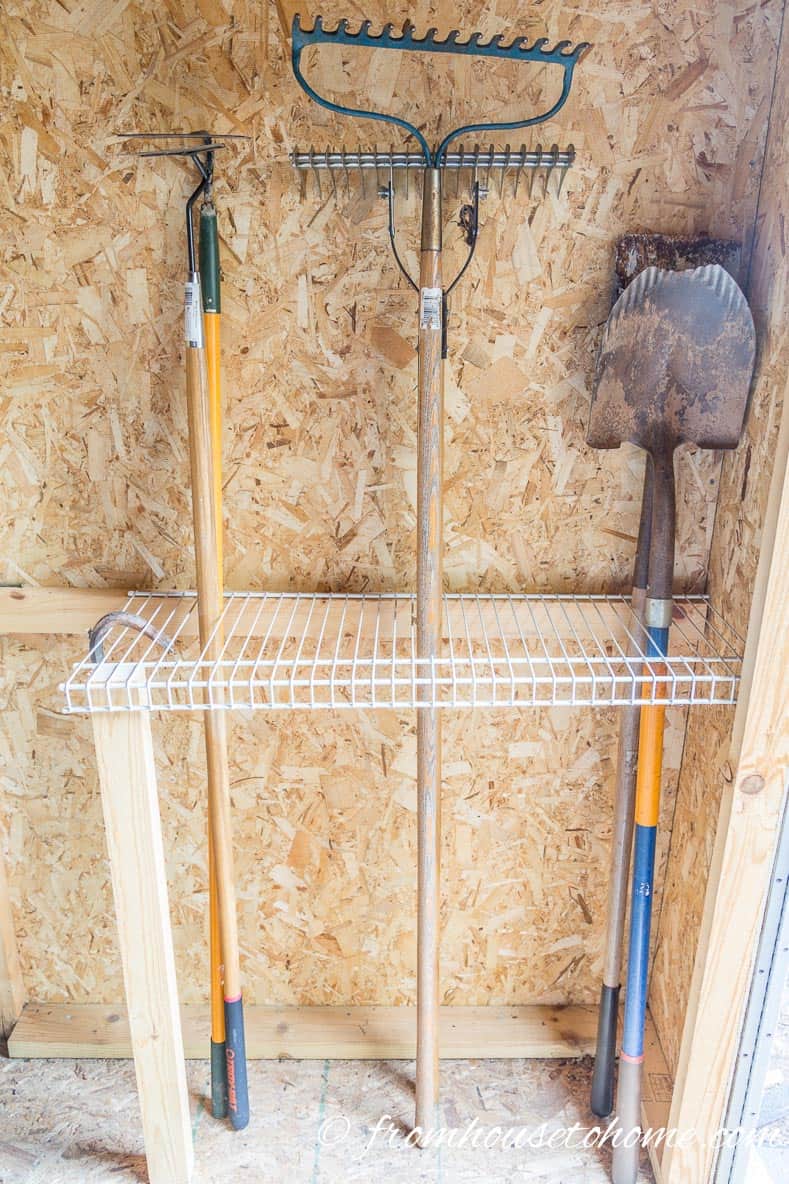
I am normally not a big of a fan of wire shelving.
However, I have discovered that it works really well for keeping long-handled tools upright.
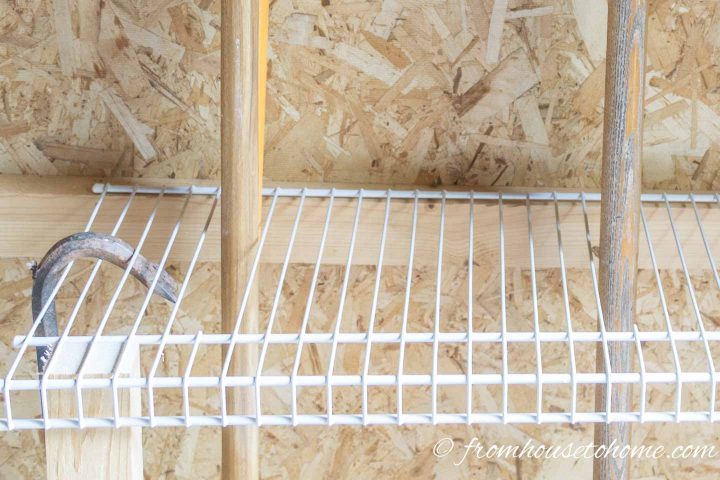
Just cut out a wire or two and the handles will slip right in.
Then the shelf keeps them from falling over.
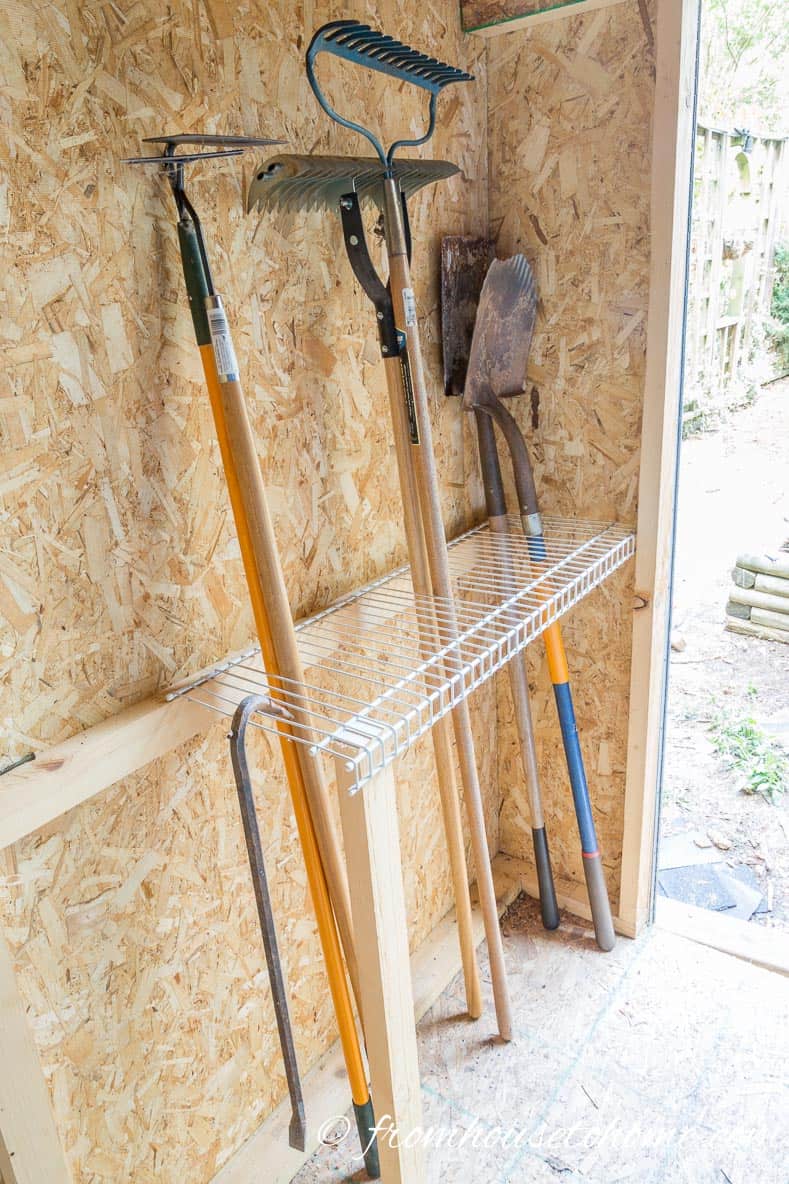
I cut three separate holes so I can keep different types of lawn tools separate from each other.
That way you can see the tool you want right away, they're really easy to get at, and it prevents the rake heads from getting tangled.
It also works well for hanging shorter tools with rounded ends, like a crowbar.
7 | Install 2×4's for garden tools with T-shaped handles
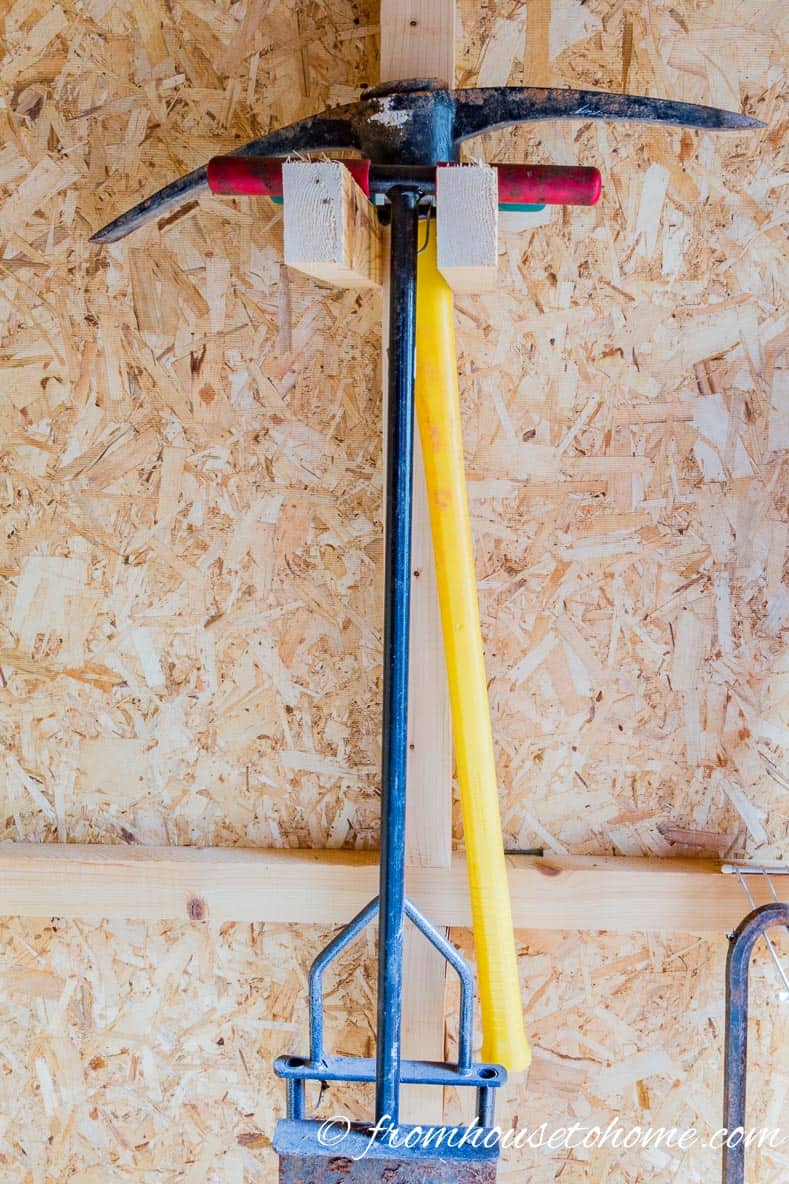
The next one of my DIY projects uses simple 2×4's to create extra wall storage.
Some yard tools don't fit well into the wire shelf gardening storage because their handles won't fit easily between the wires.
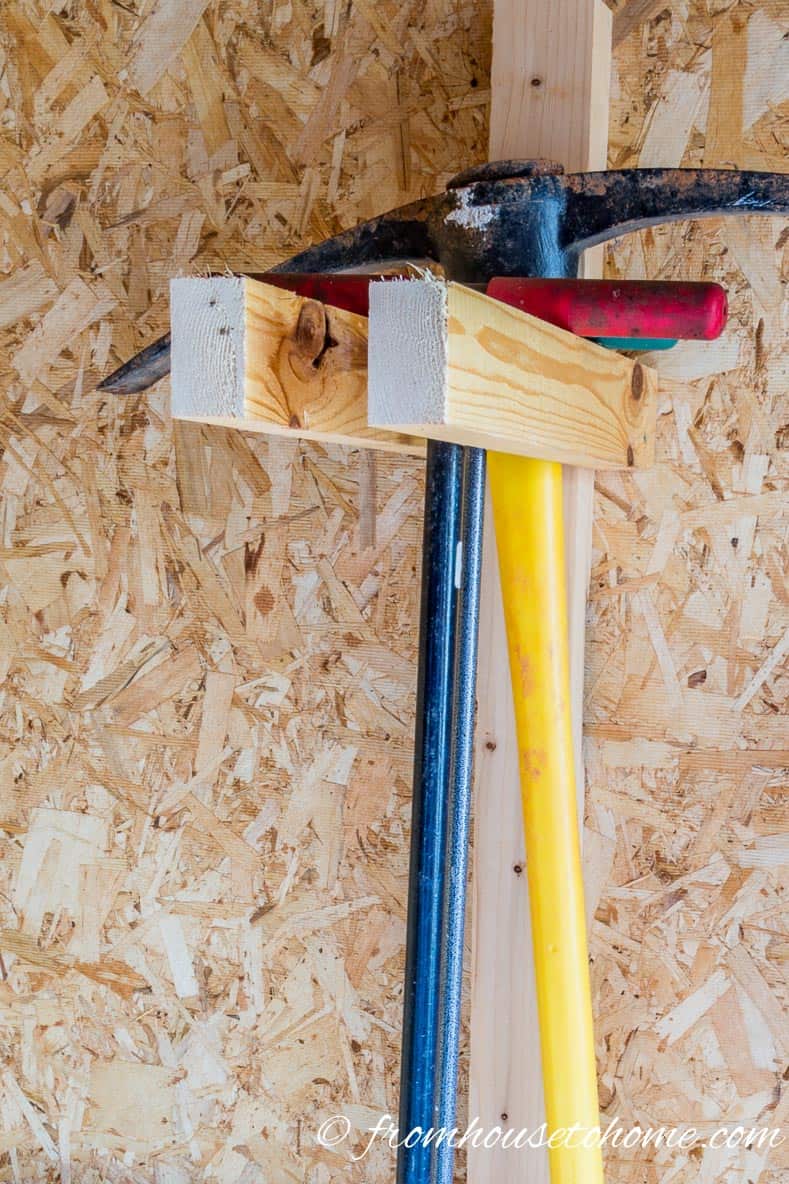
For the tools that have a T shape at one end, this easy storage hack works quite well.
Screw a 2″ x 4″ sticking out from the wall on either side of a stud. Then hang the tools with the handle pointing down between the boards.
If you don't have open studs in your shed (or garage), you can attach a piece of 2″ x 4″ vertically on the wall and use it like a stud.
8 | Hang shovels on a wood beam
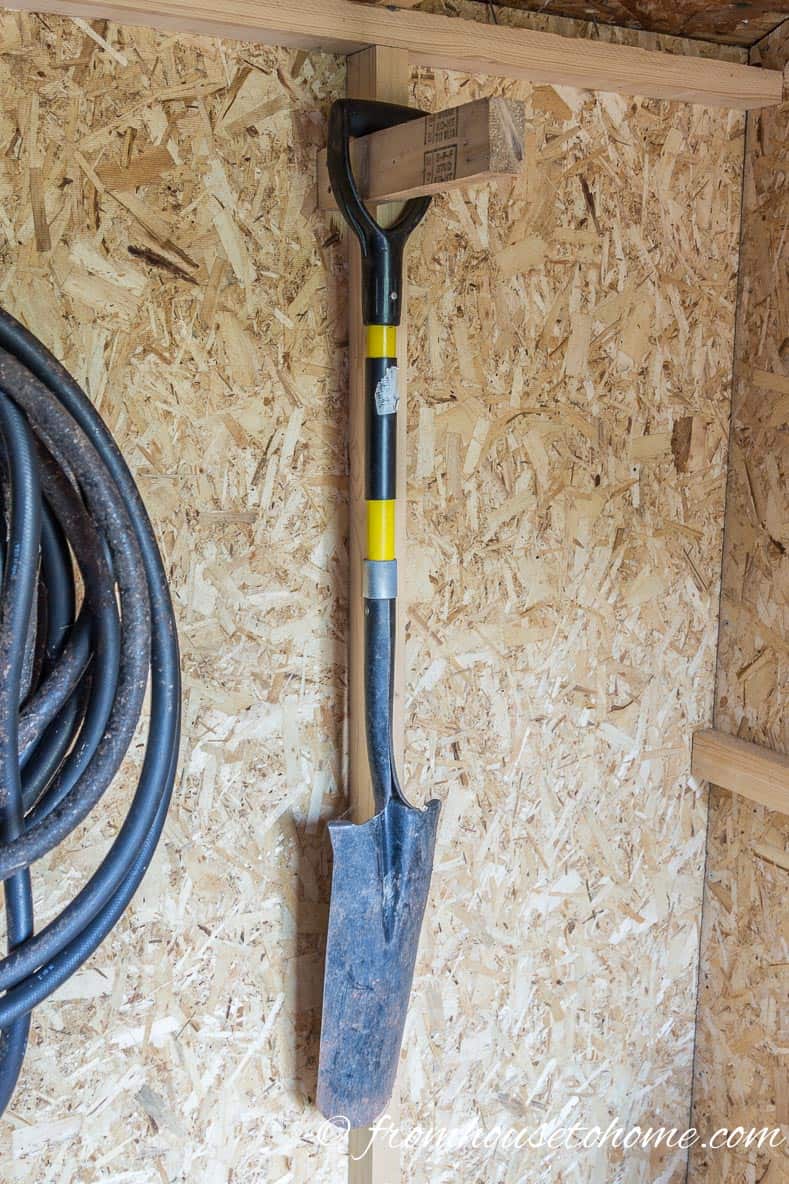
A similar 2″ x 4″ idea works for tools with handles.
This time, you only need to attach one 2 x 4 to the wall stud.
Then use it to hang the garden tools that have handles.
Very easy, but works very well!
9 | Use the walls as a storage rack

If you don't mind putting some holes in your shed walls, you can use them as a DIY storage rack.
Simply put in screws or nails where you want to hang your tools. Leave them sticking out from the wall far enough for handles to hang on them.
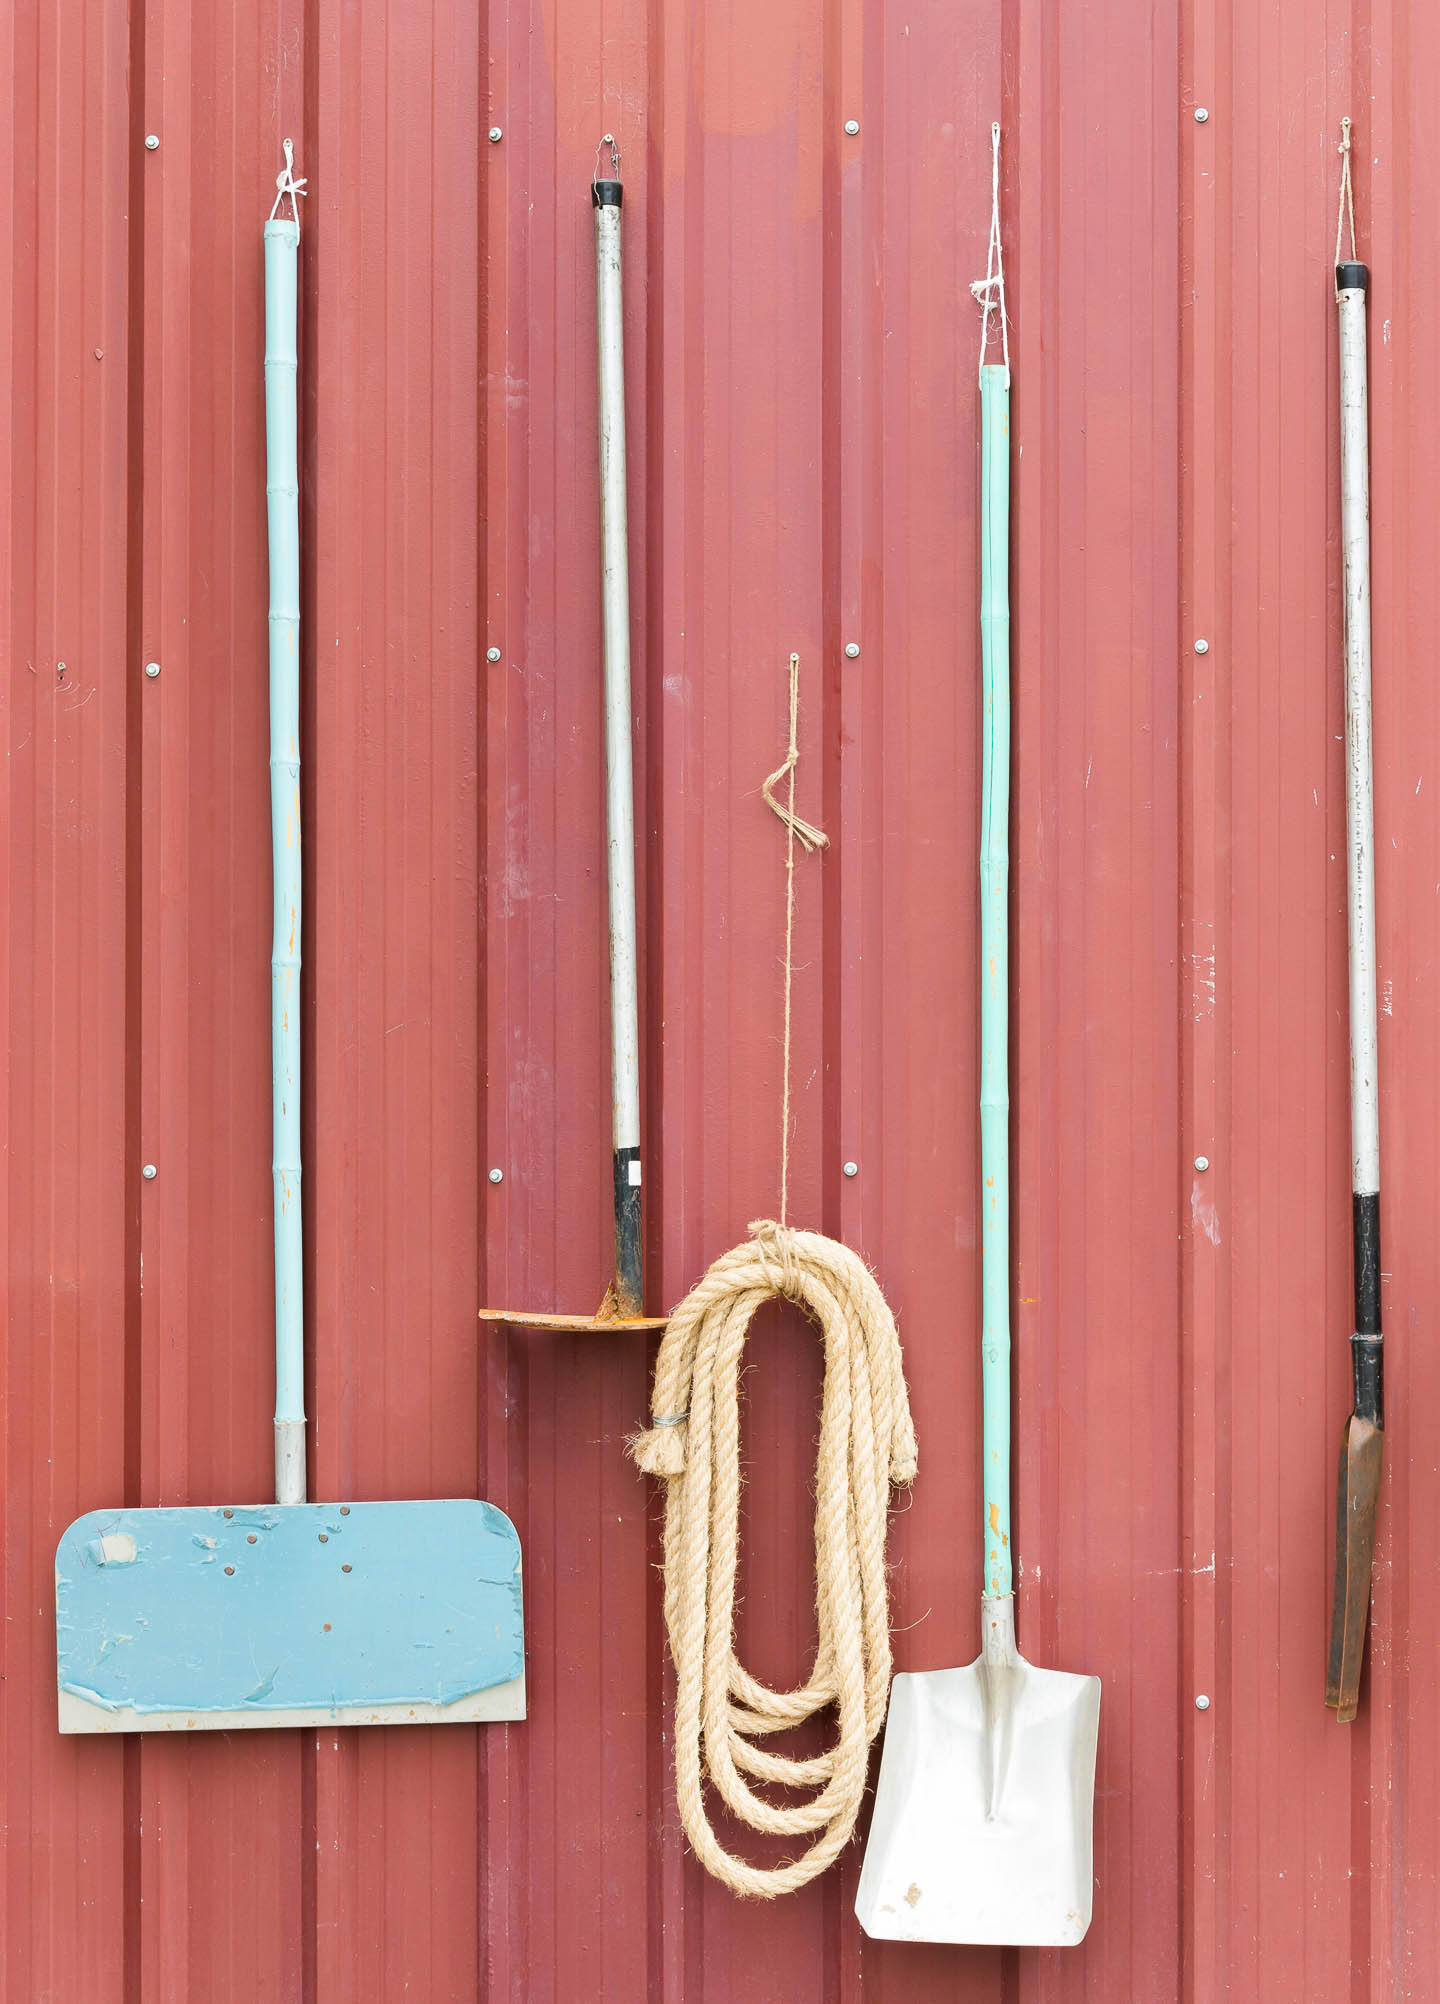
For the tools that don't have handles, drill a hole in the end of them and attach a loop of string.
Then use the string to hang them on the nails.
This would also work well for small tools.
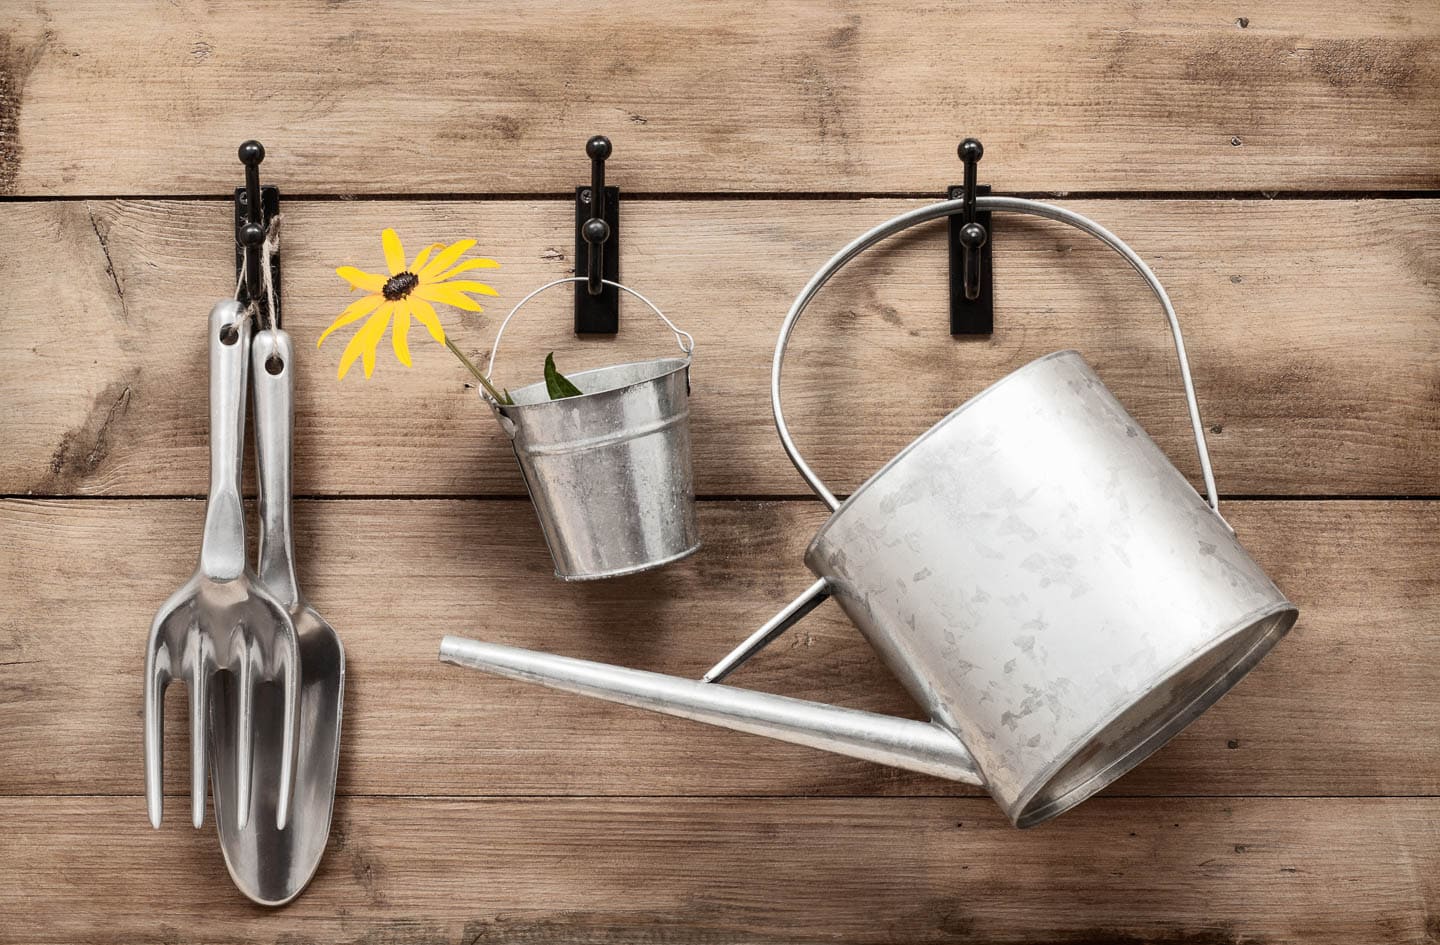
For a cleaner look, you could replace the nails with the same coat hooks that we used for the hoses.
Then you can also hang some wider gardening tools that have handles, like watering cans, buckets and even hanging baskets.
10 | Re-use an old rake
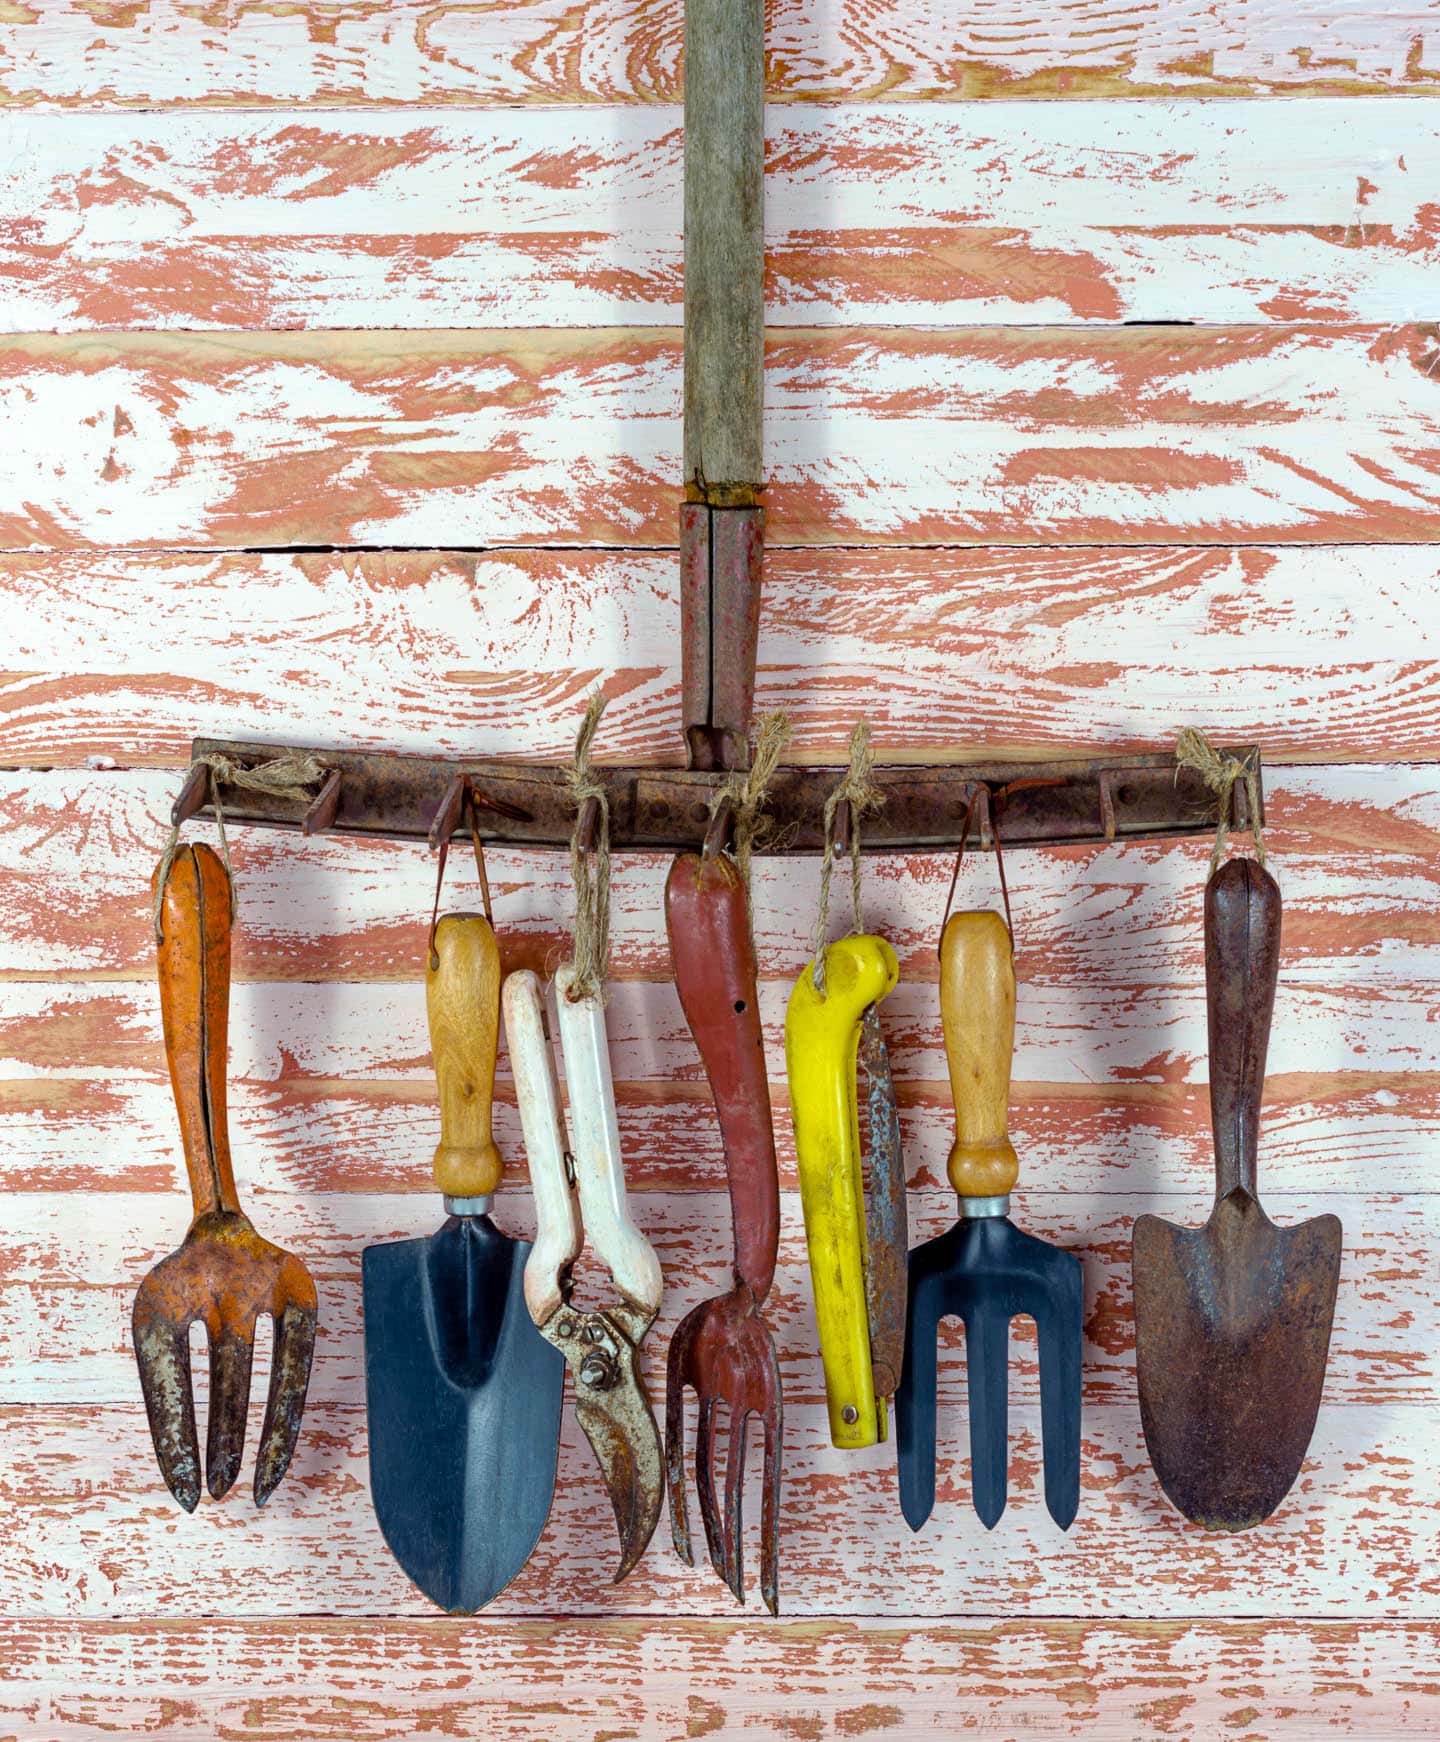
For a more creative tool storage option, attach an old rake to the wall.
Then use the tines as storage hooks for small gardening tools.
Attaching loops of string to the the holes in the handles will make them very easy to hang up.
11 | Put up shelves for pots
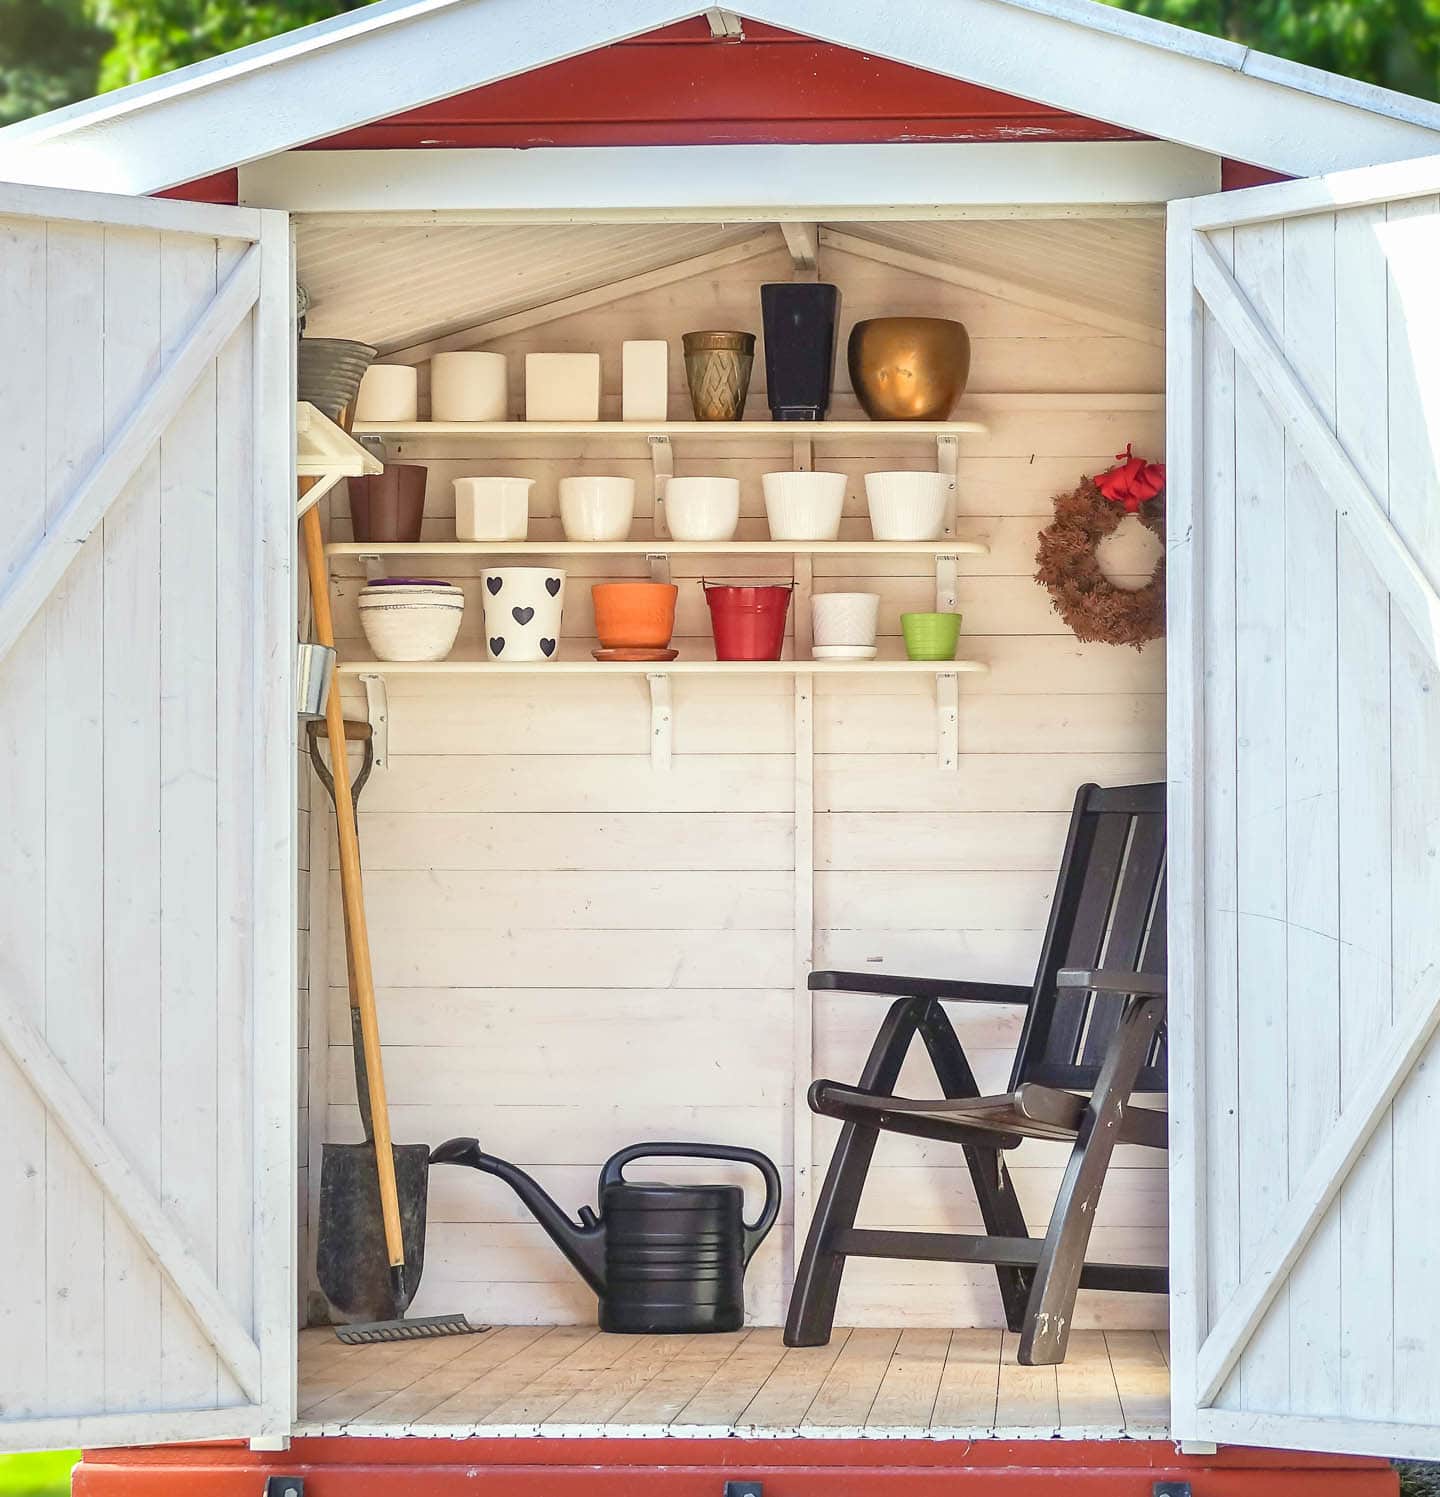
To keep pots easy to access, hang shelves that are the just the right width and height to hold them.
Then you can see them all at a glance and can take them down easily without having to move things out of the way.
12 | Hang buckets for storing the small stuff
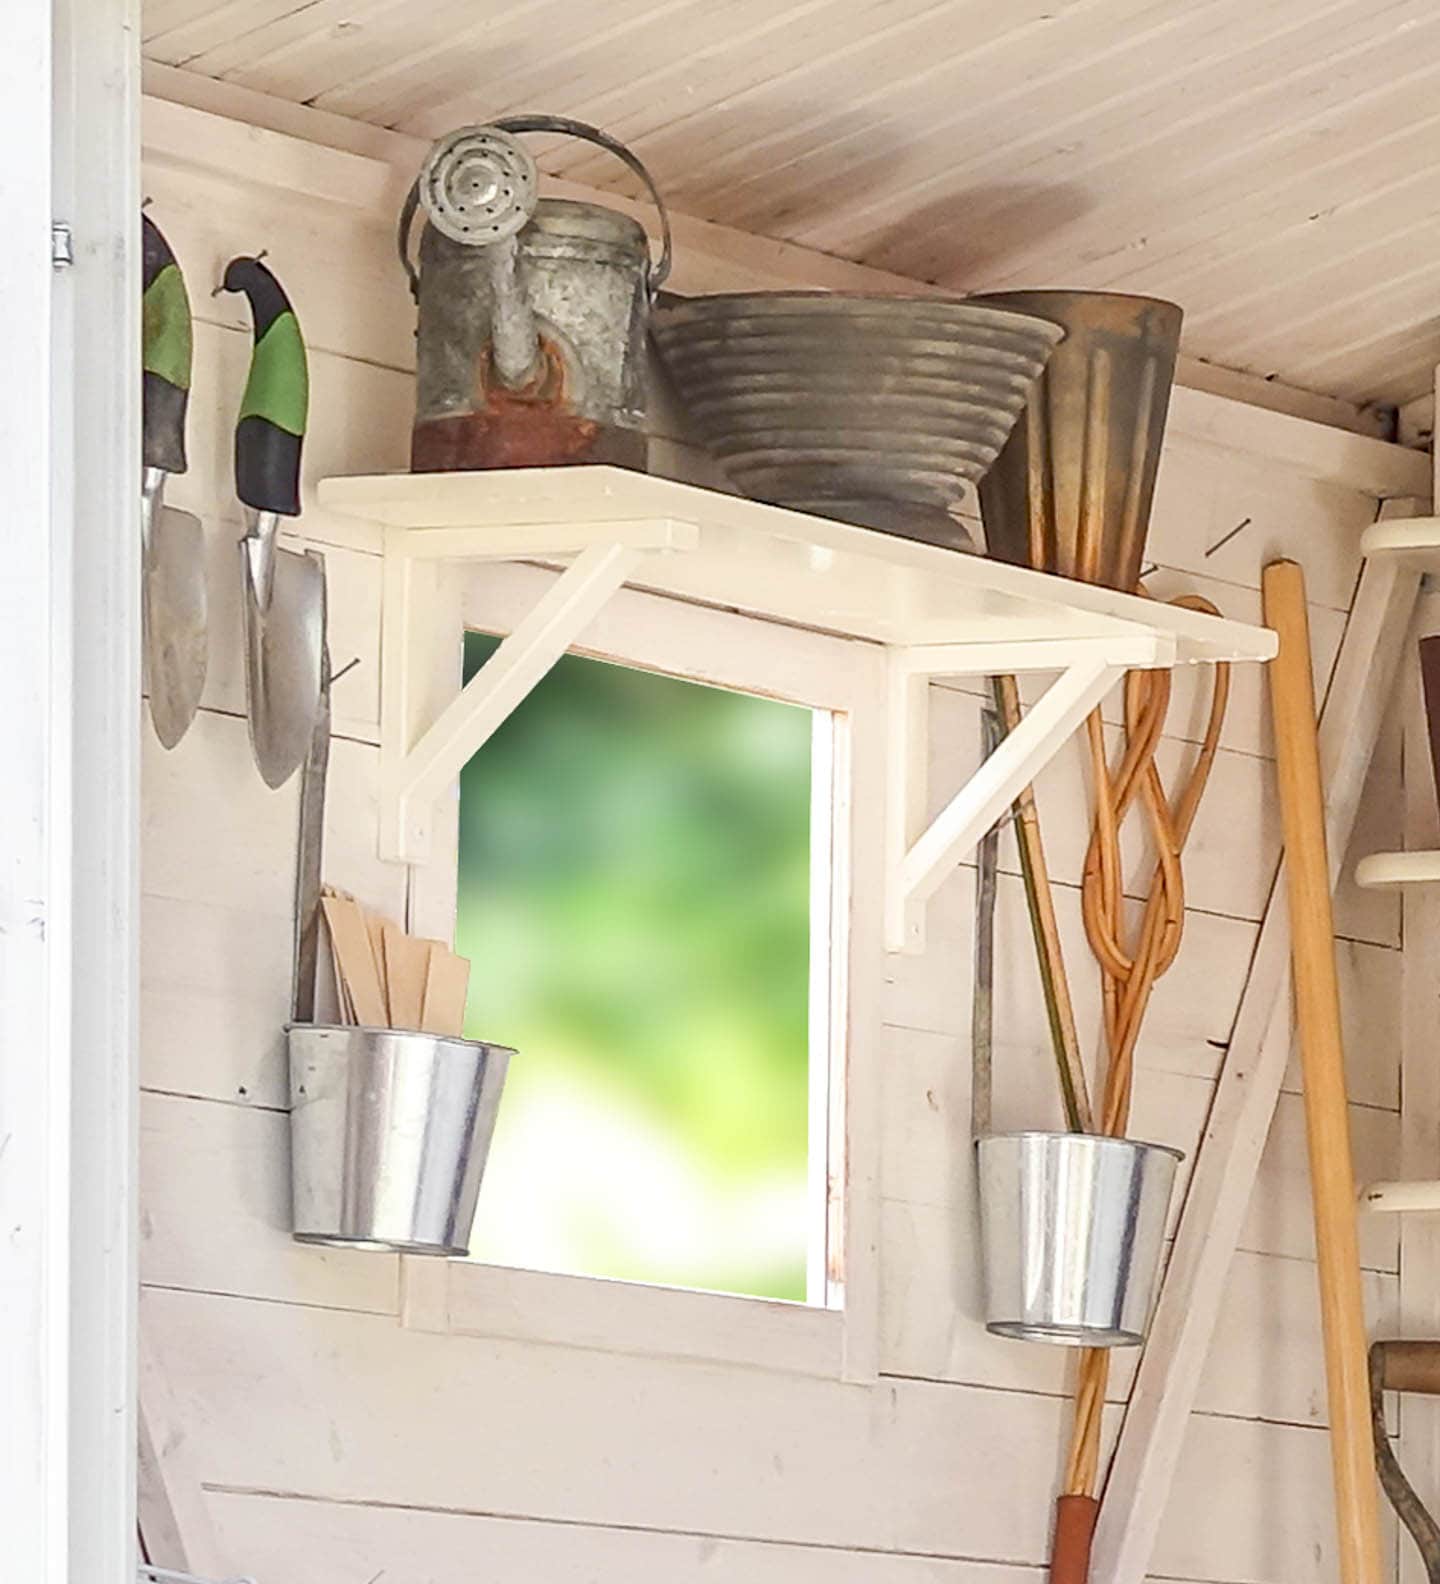
For storing small things that tend to get lost, like plant markers and hose nozzles, attach a couple of pails to the wall with nails or screws.
Then you'll have an easy place to drop in those smaller items. To keep them super organized, attach labels to the front of the pails so you can remember what goes in each one.
That's it for my DIY garden tool storage ideas. Hopefully you've found some inspiration to get your own shed organized.
Other gardening ideas you might like
Do you have other easy DIY garden tool storage ideas? Tell us in the section below.
Pin It So You Don't Forget It!
This post was originally published on July 13, 2016 but was updated with new content on November 23, 2024.








OMG, I CANNOT TELL YOU HOW MUCH I APPRECIATE THESE TIPS. I ESPECIALLY LOVE HOW YOU HAVE THE WORK GLOVES HANGING UP. THANKS FOR THESE ORGANIZED TIPS.
Thanks, Ivory! I think the hanging gloves are my favorite part, too. No more searching everywhere to find them 🙂
Exactly what I was looking for! I have lots of wire shelves waiting for a use. Thanks!
Thanks, Tom! I have used up lots of wire shelves this way, too 🙂
Oh my! These ideas are creative and resourceful. I love the peg board idea. I have a small hand tool with a loop on it that I could put on the straight hook. I can put the cord up on a second straight hook next to it. Maybe this will work for my measuring spoons in the kitchen too … Thank you for sharing.
Thanks, Julie! Peg board is definitely one of my favorite organizing tools in pretty much any room 🙂
Hi Wanda,
Great ideas…now for me to make time to put things away🤣.
We would love to see you when you’re able.
Thanks, Martha! I would love to see you guys, too! Hopefully one of these months I’ll make it up there 🙂
Such a creative and resourceful idea to keep your tools tidy. I will surely follow all the steps you have provided. Thank you so much for sharing this.
Thanks, Dan!
II I have found that rinsing my tools off after using, and sometimes using a kitchen oil spray, will keep them in better shape and prevent rusting.
Thanks for the tips, Ruth!