How To Install A Rain Chain
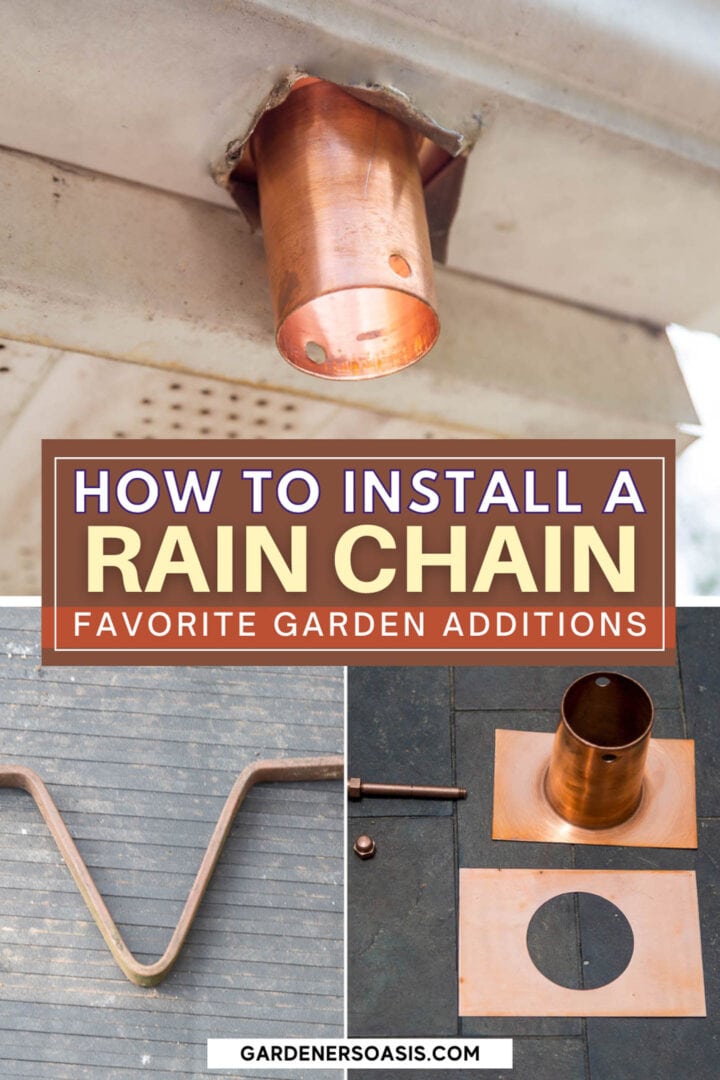
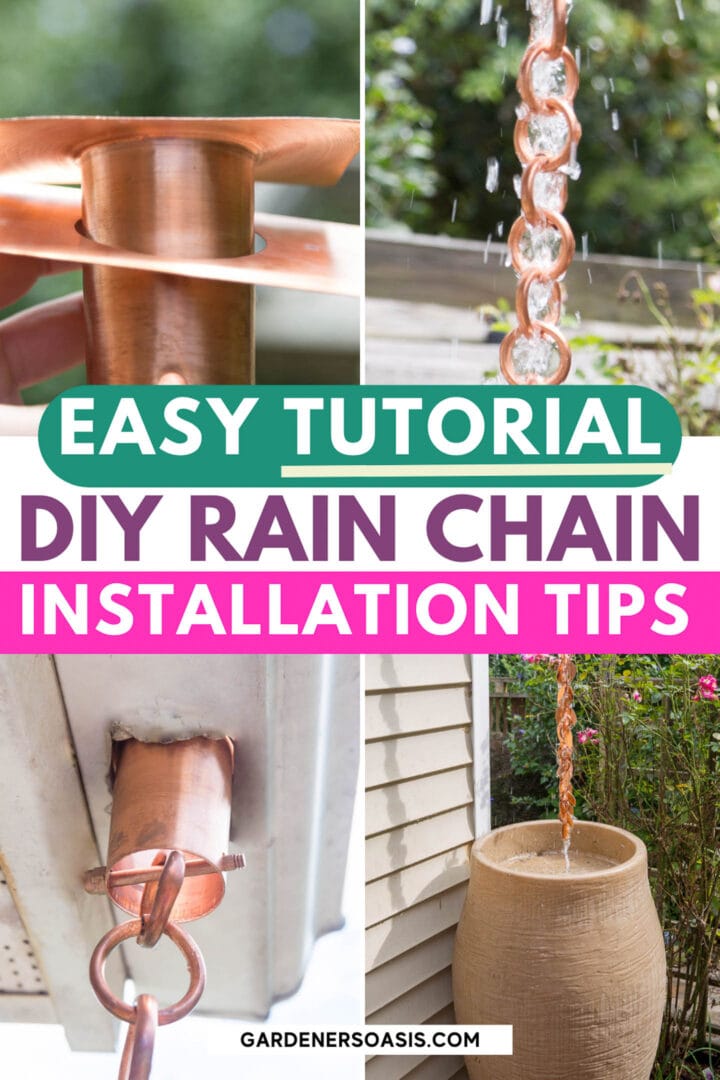
Find out how to install a rain chain that will both enhance your garden's aesthetic and serve as a decorative alternative to traditional downspouts. Whether you are using a V-hook or a rain chain installation kit, these step-by-step instructions will teach you everything you need to know.

Rain chains are one of my favorite garden additions.
Not only do they direct rain water out of the gutters but they look (and sound) pretty doing it.
So I have been on a mission to replace all of the downspouts on my house with them.
And since I have so much experience hanging them, I thought I would share how to do it.
There are a couple of different ways to install a rain chain. If you know what you're looking for, use the links below to jump directly to the section you need.
Otherwise, you can read through everything to find the method that works best for you.
Supplies
Materials

- Rain chain
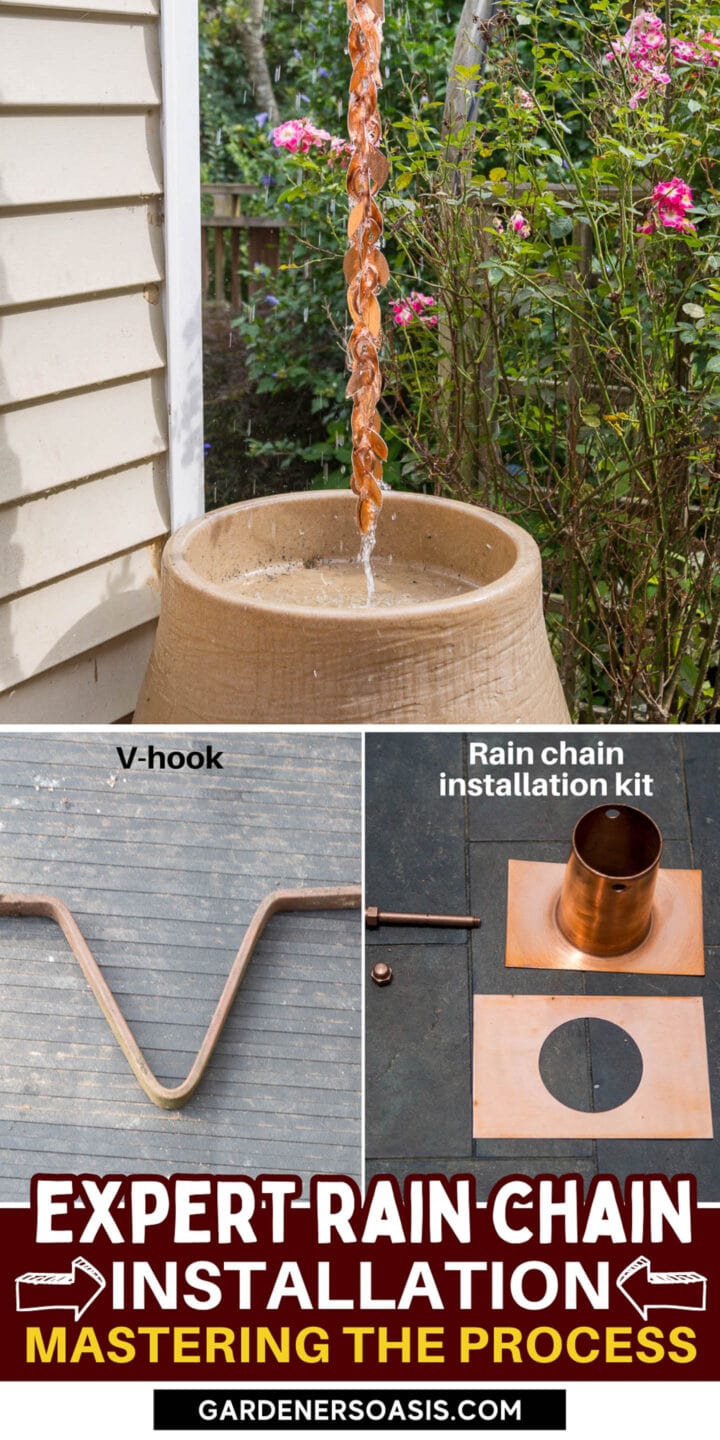
- V-hook or Rain chain installation kit* – The V-hooks come with most rain chains and are the easiest way to install them. The installation kits look neater and are better at directing the water down the chain. They aren't very expensive but you do have to buy them separately.
- Rain barrel* or rain chain anchor stake* – These are used at the bottom of the rain chain to catch or direct the water runoff.
Tools
- Screwdriver – We'll use this to remove the existing downspout if you have one.
- Drill with a 2¼” hole saw – This is only necessary if you don't currently have a downspout where the rain chain will go. If you are using a V-hook, you may need a larger hole saw. Measure the distance across the top of the V (not including the straight ends) to determine the size you'll need.
- Tin snips
- WD-40 – If you are removing a downspout, this may be necessary to get the screws undone.
Preparation
Remove the downspout

If you are using your rain chain to replace a downspout, the first step is to remove it.
This is just a matter of undoing the screws that attach it to the house, then pulling the downspout off.
Which can sometimes be easier said than done if those downspouts have been there for a while. Spraying the screws with WD-40 can help to loosen them.

You should end up with a hole in the gutter like this where we will hang the rain chain.
Or cut a hole in the gutter
If you don't have a downspout in the location where you want to hang your rain chain, you can make your own hole.
Use a drill with a hole saw to make the hole 4 or 5 inches from the end of the gutter.
How to hang a rain chain with a V-hook

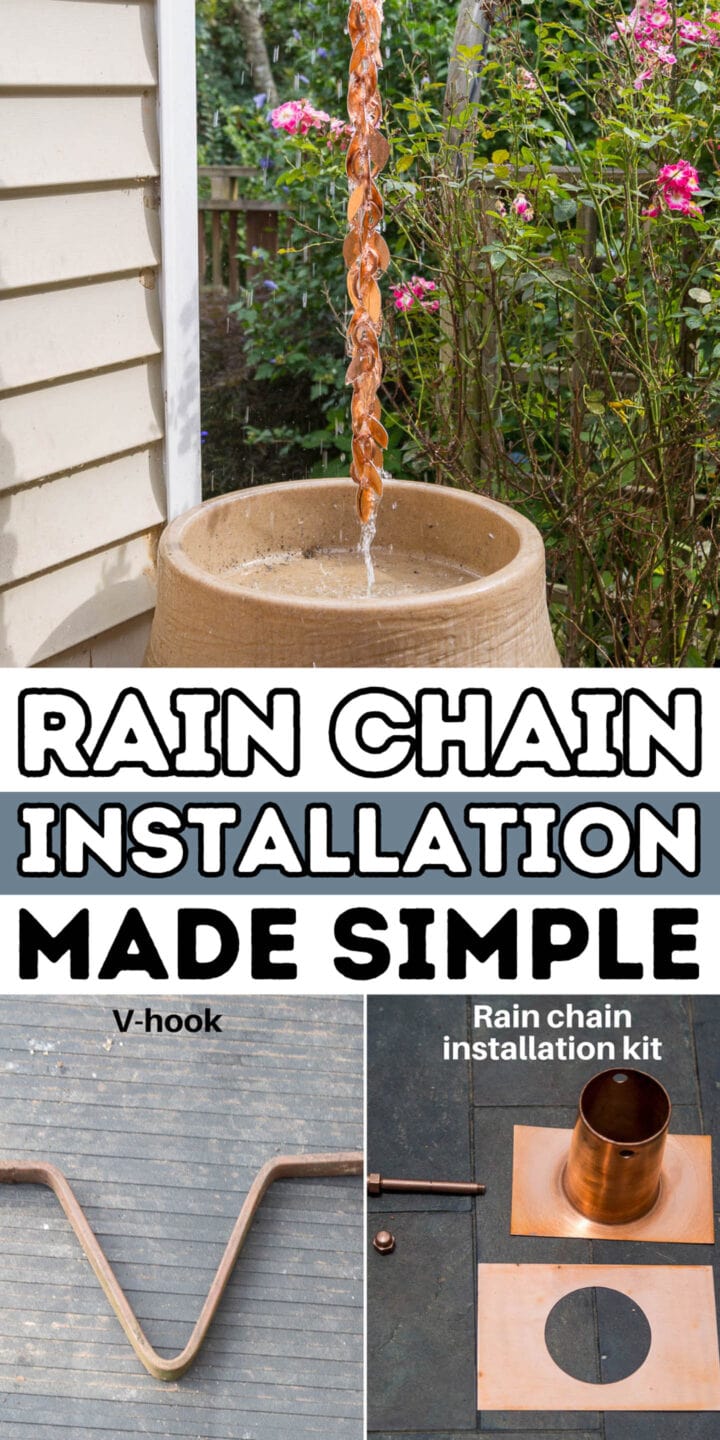
Most rain chains come with a V-hook bracket that is used for installation.
This is the easiest way to hang up your rain chain.

If your rain chain didn't come with a V-hook, you can make an inexpensive one with about 15 inches of flexible copper tubing*.
Simply bend it into a V-hook shape and you're ready to go.
For narrow chains
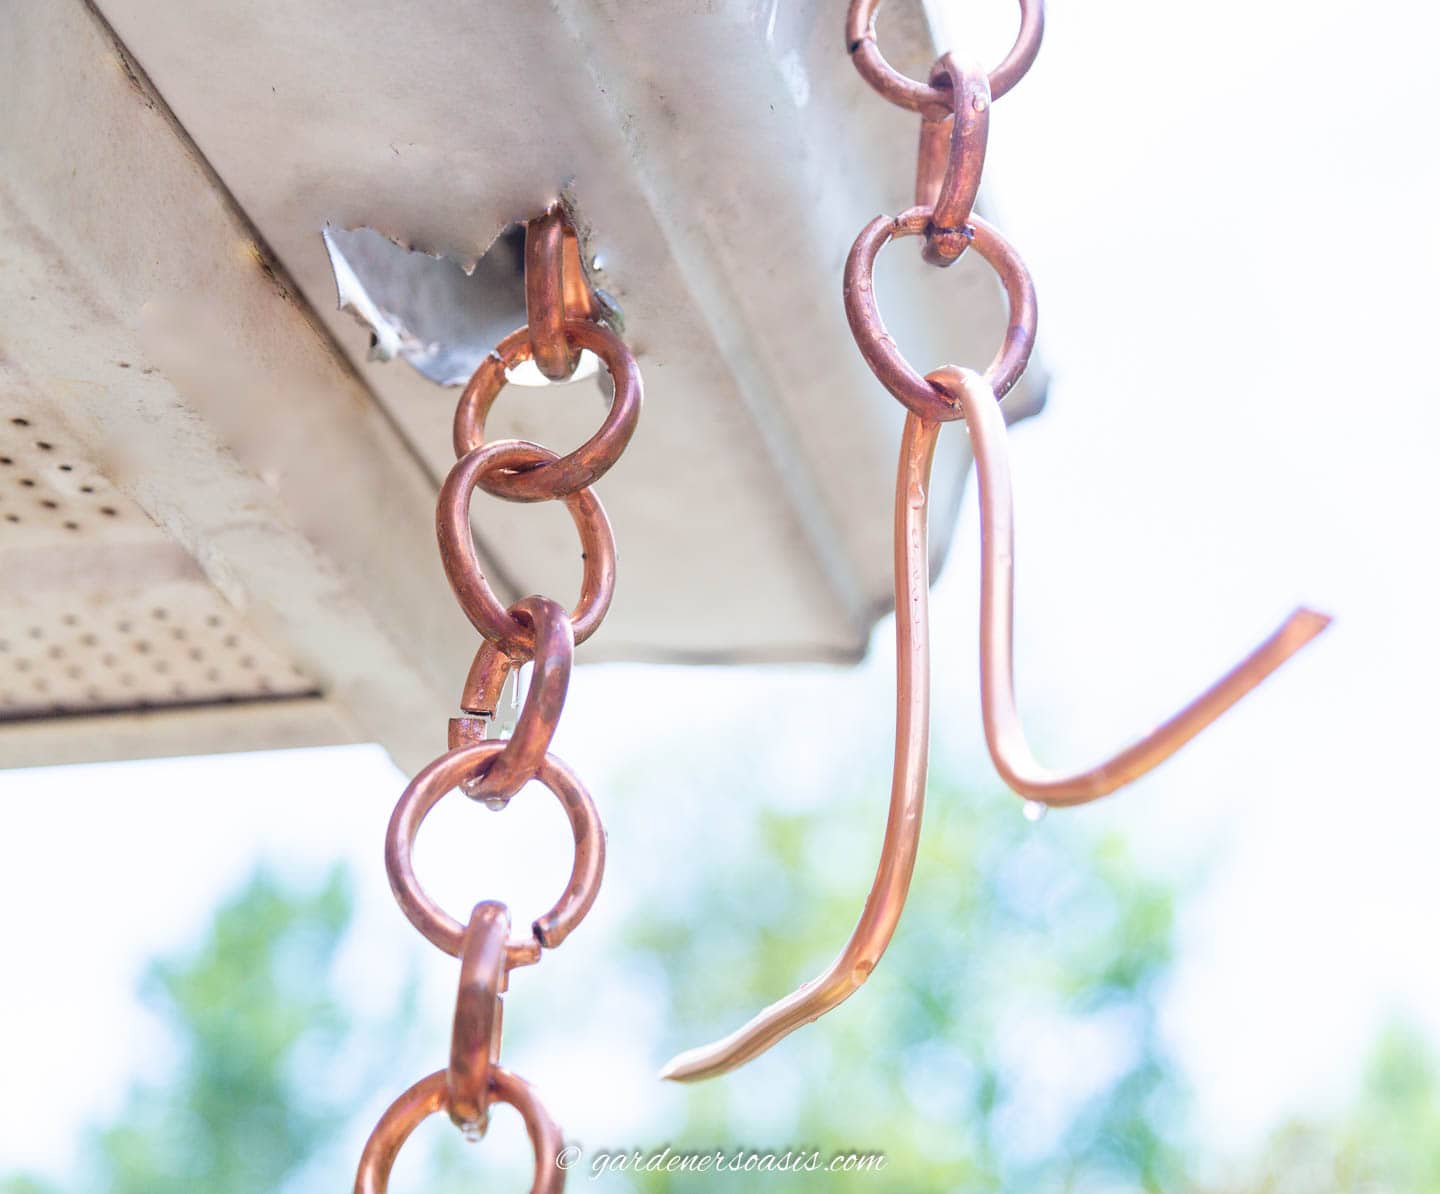
Feed the rain chain up through the hole in the gutter so that the top end of it hangs over by a few inches.
Then thread the V-hook through the top loop in the chain.
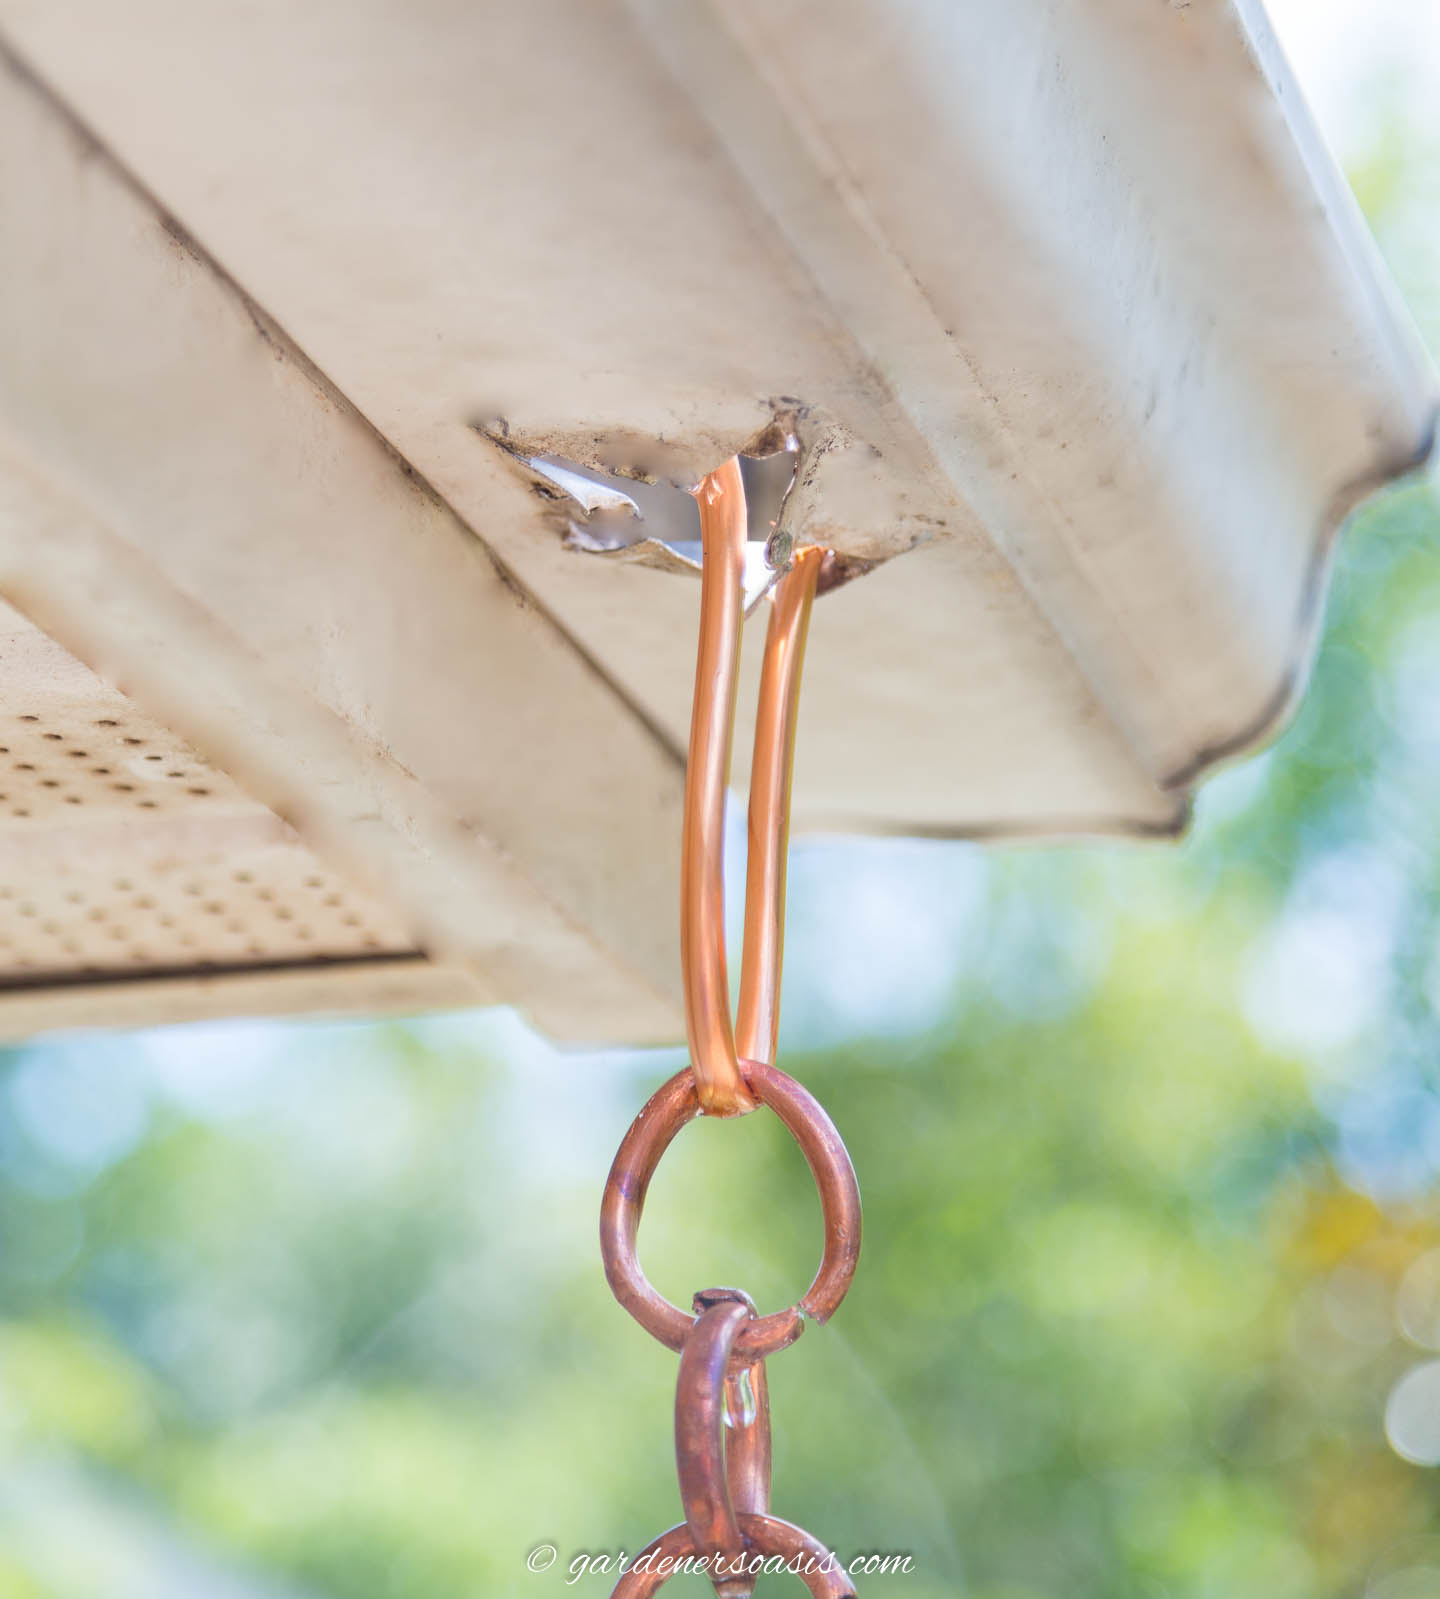
Pull the chain back down through the hole in the gutter so that the ends of the V are resting on the bottom of the gutter. These should hold it in place.
The bottom of the V should hang down below the gutter. This helps to direct the water down the chain.
I bent the flaps on the gutter in so that they also direct the water to the top of the chain.
For thicker chains

If your chain is too big to fit through the hole in the gutter, you can put the V-hook in the gutter with the V hanging down through the hole.
Then bend open the top loop in the chain, hang it on the V-hook and bend it closed again.
How to install a rain chain with an installation kit
What's in the kit

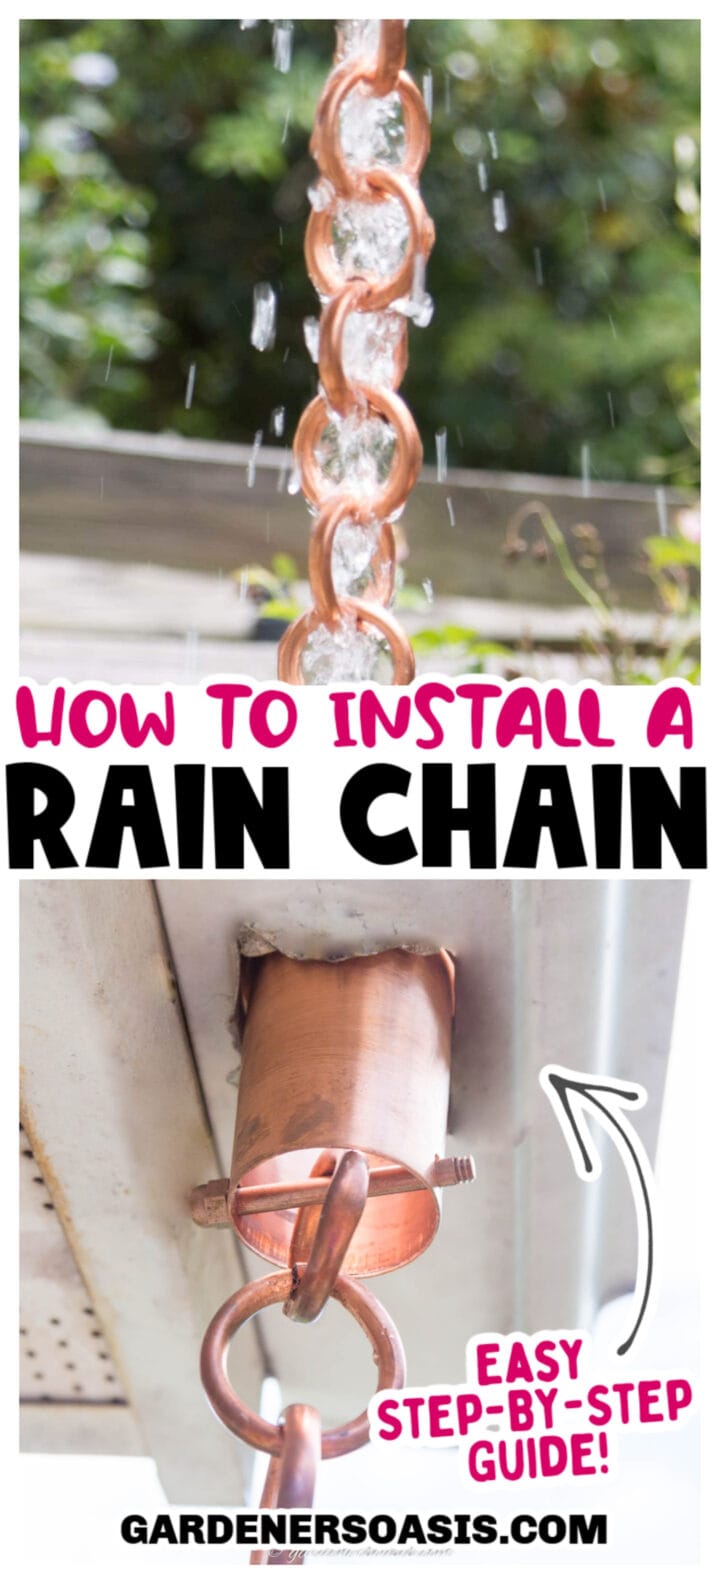
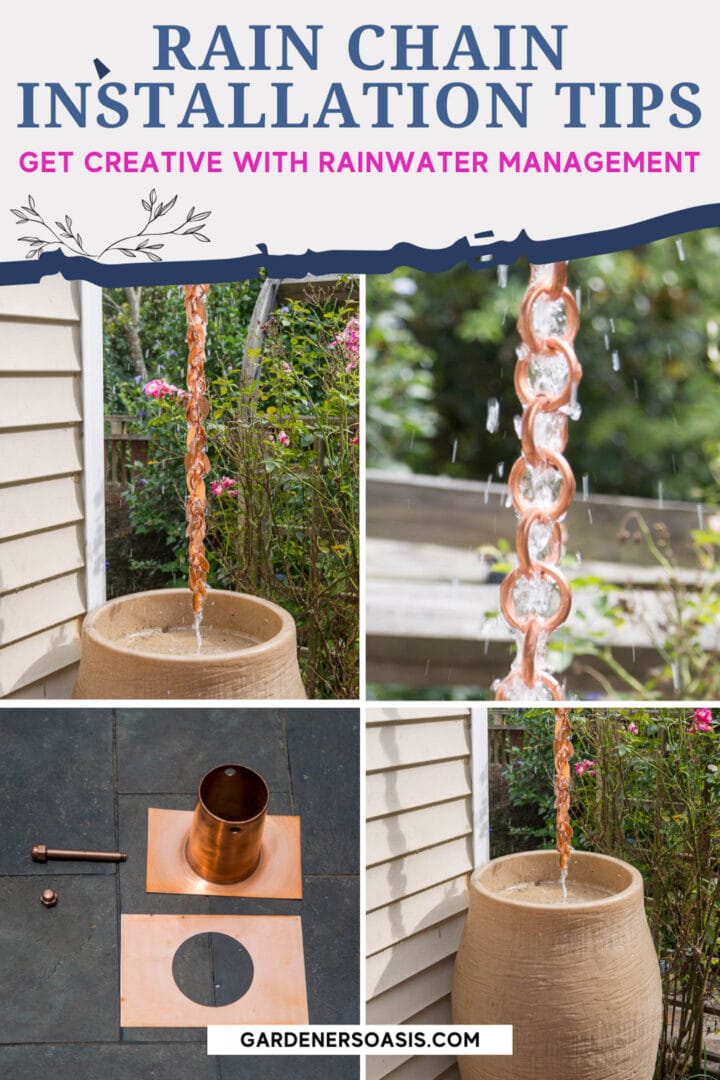
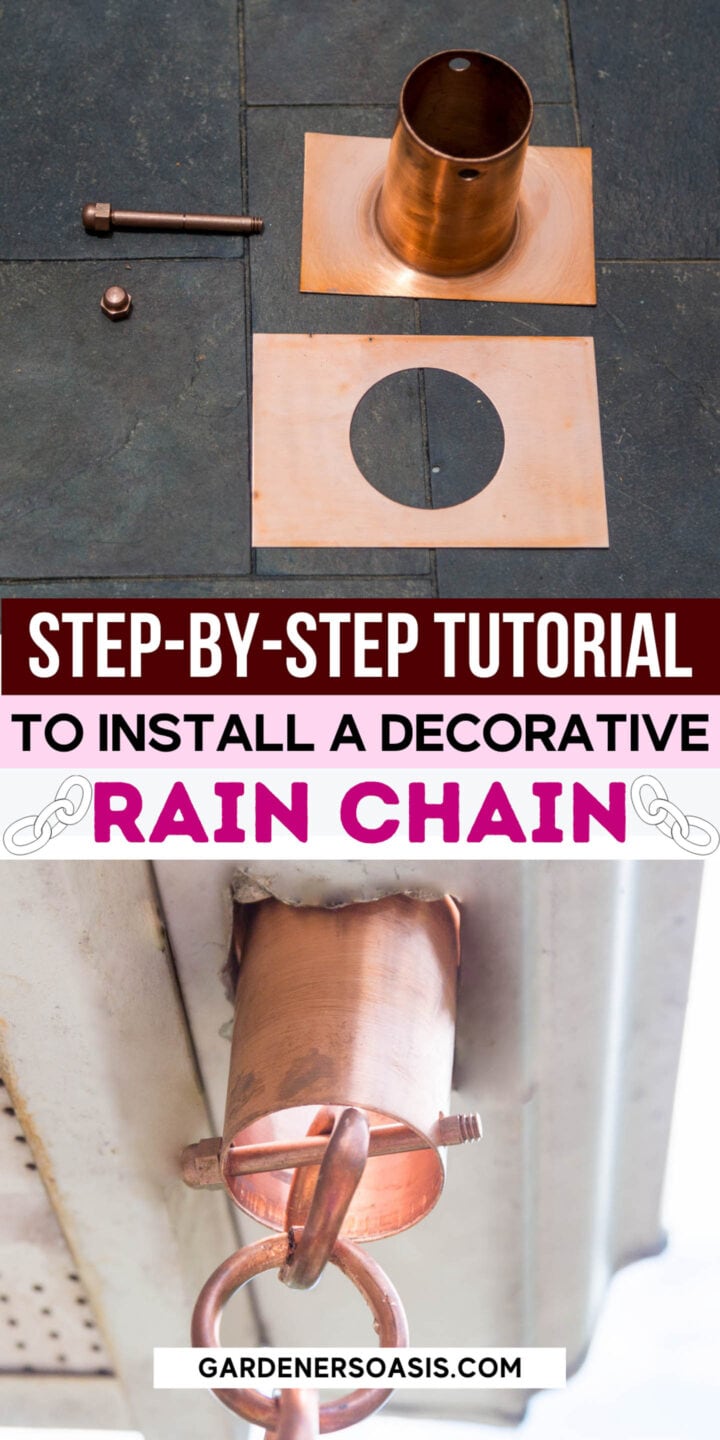
The rain chain installation kit* comes with 4 parts:
- The gutter adapter which fits into the hole in the gutter to direct the water.
- An extra plate that you only need to use if the hole in the gutter is too big for the gutter adapter.
- A pin which will hold the rain chain
- A bolt that holds the pin in place.

The extra plate is only necessary if the hole in the gutter is bigger than the surround on the gutter adapter.
If that's the case, then simply slip the gutter adapter into the hole in the extra plate before installing in the gutter.
Insert the adapter
Make sure to remove the bolt and pin before installing the gutter adapter or it may not fit through the hole.

If you have flaps in the gutter left over from removing the downspout, you may want to cut them off with tin snips. It won't hurt anything to leave them there, but it does look a little neater without them.
Then insert the gutter adapter into the hole in the gutter so that the base plate completely covers the hole.
If your gutter is not flat on the bottom, you may need to add some caulking around the edge of the hole and push the adapter plate down onto it. This will prevent water from leaking underneath it.
Hang the chain

To hang the chain, start by inserting the pin through one of the holes at the bottom of the adapter.

Hang the top loop of the rain chain over the pin.
Then insert the other end of the pin into the hole on the other side of the adapter.
Screw the bolt on the end of the pin to make sure it stays in place.
Test the water flow

To test that the water is flowing down the chain properly, use a hose to pour water into the gutter.
If you are using a V-hook and have flaps in the gutter like I do, you may need to adjust them to point the water in the right direction.
If you are using an installation kit and it is leaking, you'll need to add some caulking between the plate of the gutter adapter and the gutter to stop the water from getting through.
What to put at the bottom
Rain barrel

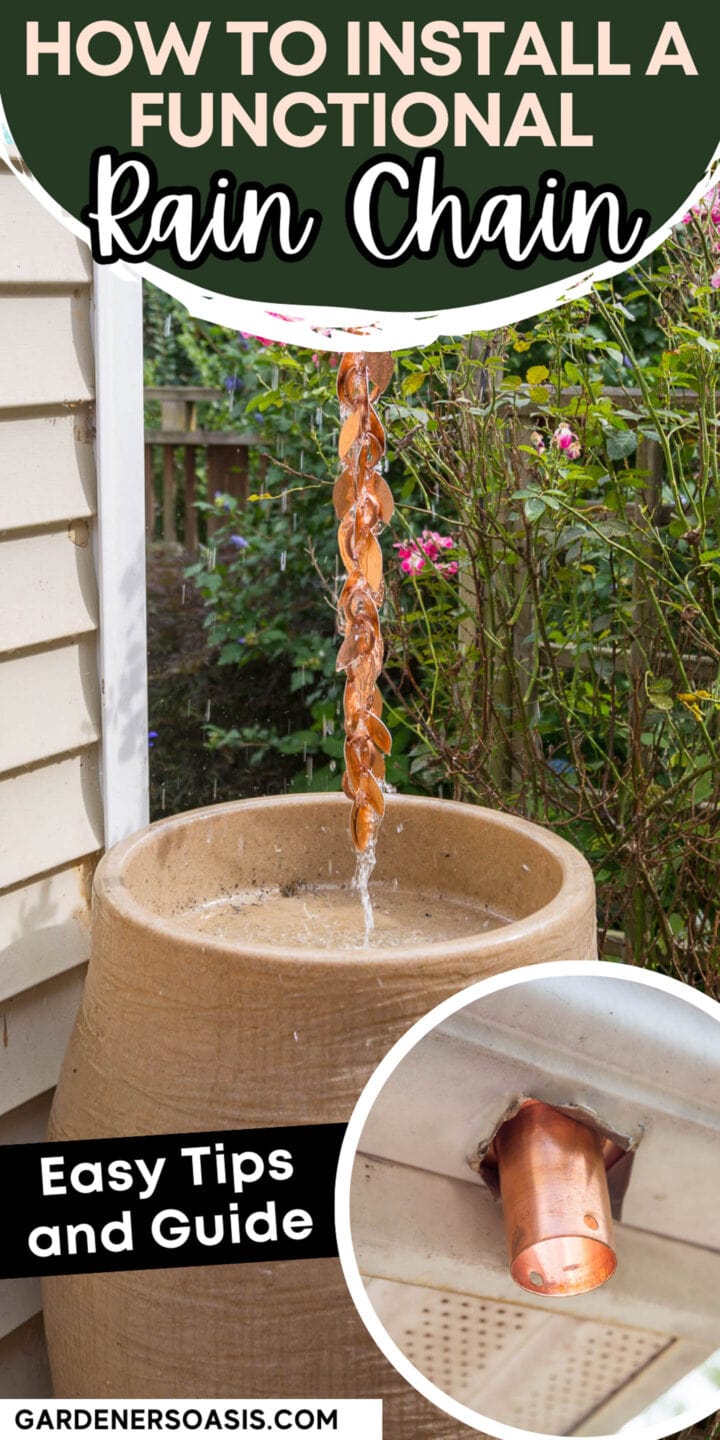
I like to put rain barrels* at the bottom of my rain chains.
That way I can use the extra water for my garden.

Using a barrel with a water outlet at the bottom will let you attach a hose which makes dispersing the water into the garden easy.
Because my rain chains are in a protected location that is quite close to the house, I don't have any problems with them getting blown around.
So I don't attach them to the rain barrel.
But you could install a hook at the top of the rain barrel and attach the bottom loop of the rain chain to it.
Anchor stake
Another option is to put an anchor stake* in the ground and attach the end of the rain chain to it.
This will keep the chain from moving around and direct the water down to the ground.
In this case, you will probably want to install a splash block or underground drainage system to direct the water away from the foundation of your house.
Other rain chain ideas you might like
- Everything you've ever wanted to know about rain chains
- How to make a rain chain with copper tubing
- DIY leaf rain chain
Have comments or questions on how to install a rain chain? Tell us in the section below.
This post was originally published on June 8, 2023 but was updated with new content on November 23, 2024.

