How To Make A DIY Rain Chain With Copper Tubing
Want to replace your downspout with a rain chain but don't want to spend too much money? Learn how to use copper tubing to make your own DIY rain chain with this easy step-by-step tutorial.
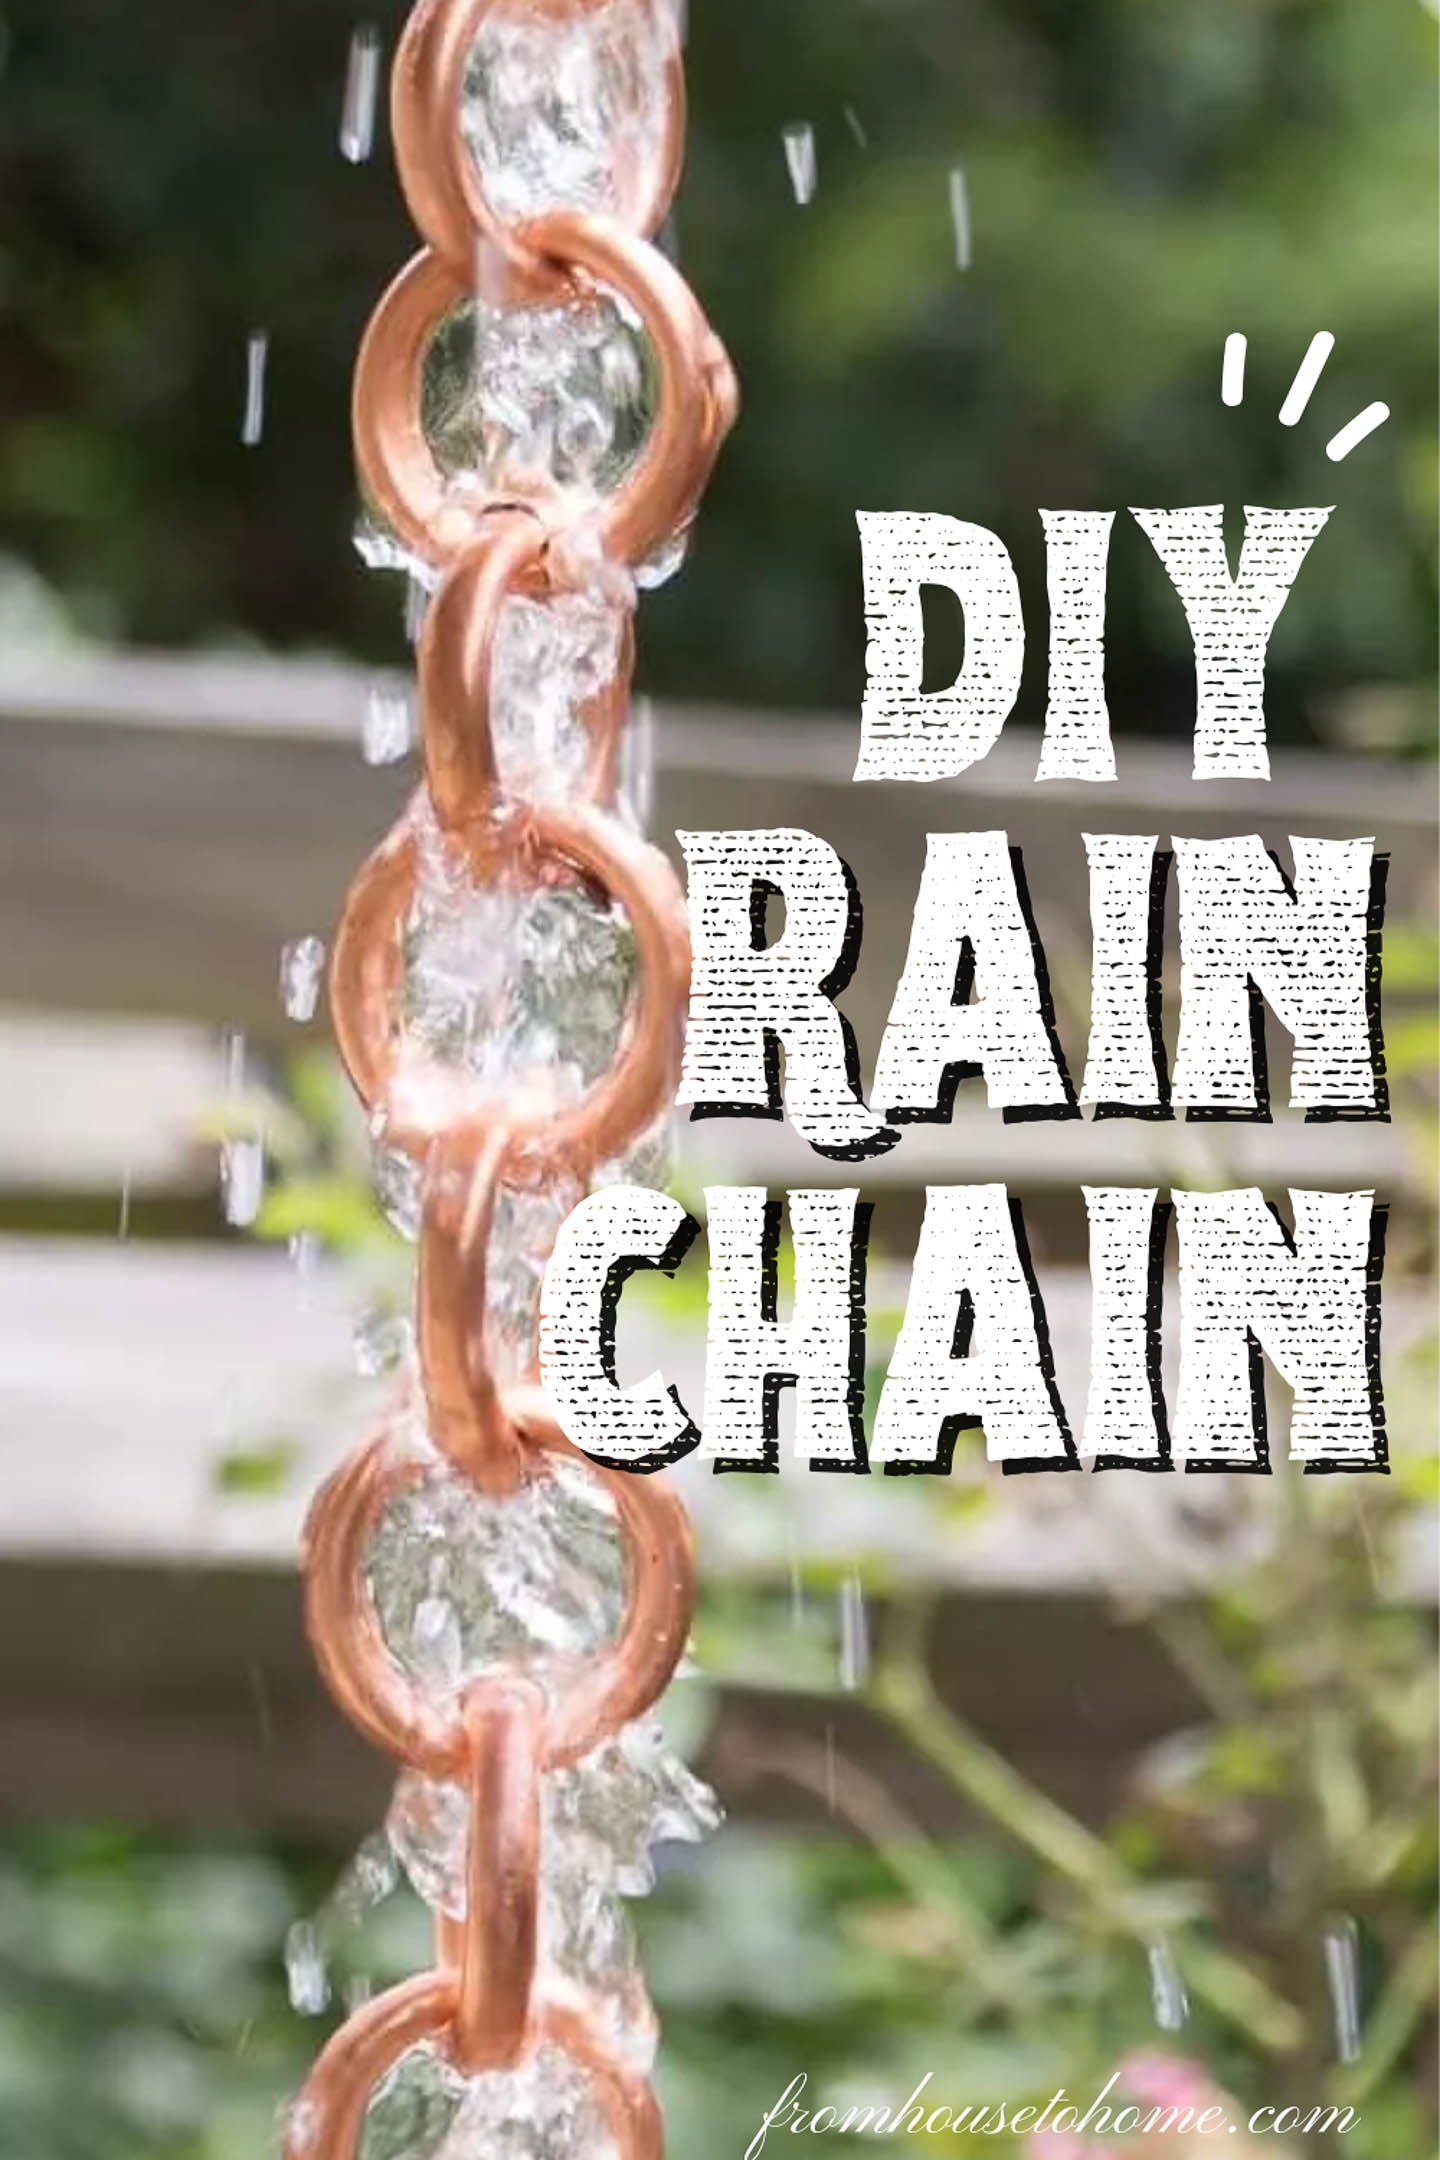
Rain chains are one of my favorite outdoor home accessories.
Like water features and garden art, they look beautiful in your yard and they're functional, too!
But they can be a little expensive.
So I decided to see if I could come up with an easy way to make my own.
And I have to say it turned out even better than I thought it would!
Here are the step-by-step instructions for making a DIY rain chain with copper tubing.
Supplies
Materials
- Flexible copper tubing* – I used 1/4″ thickness that was 20′ long. The chain ended up being 5′ long. If you want a longer chain, you'll need more copper tubing.
Tools
- Broom handle or other long round object
- Bench vise*
- Reciprocating saw*
- Metal cutting reciprocating saw blade*
- Pliers – 2 of them makes the job easier
How to make a copper link rain chain
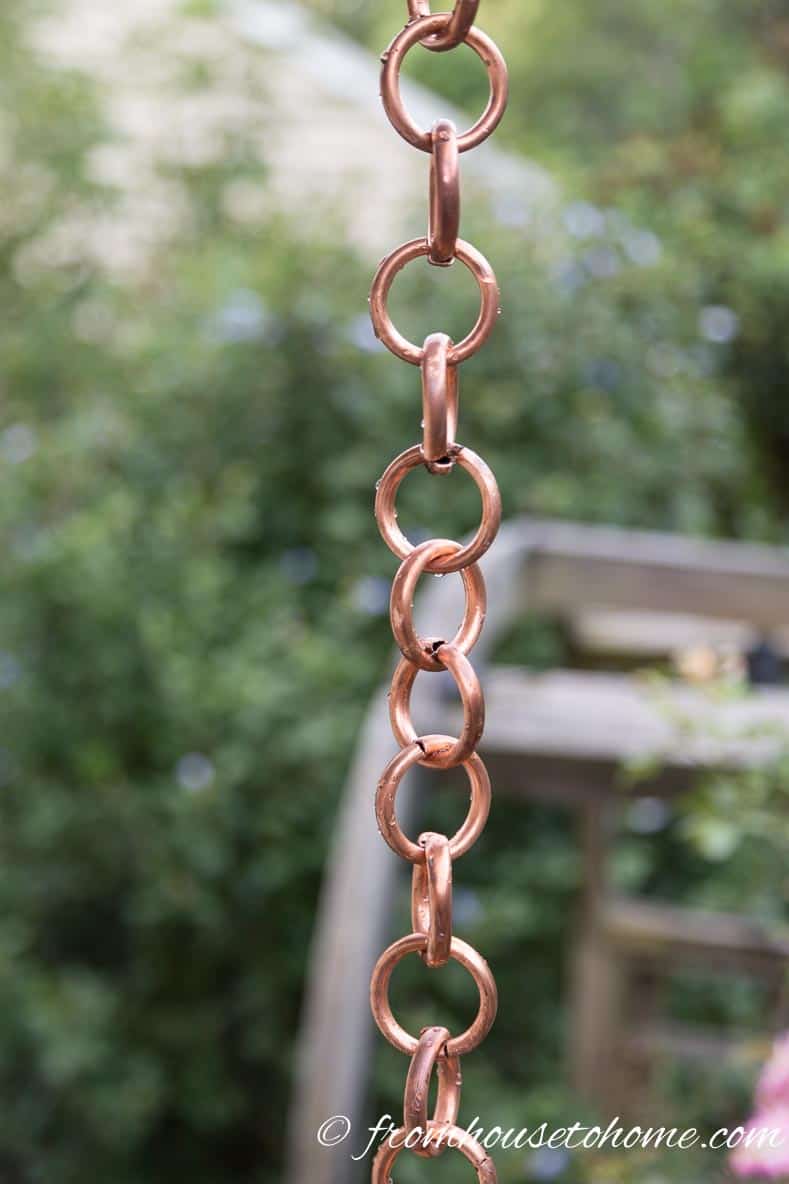
1 | Wind the tubing
The first part of the process is to form the copper tubing into the shape of chain links.
Before you do this, cut 15″ off the end of the wire tubing. We'll use this to make a gutter hanger for the rain chain.
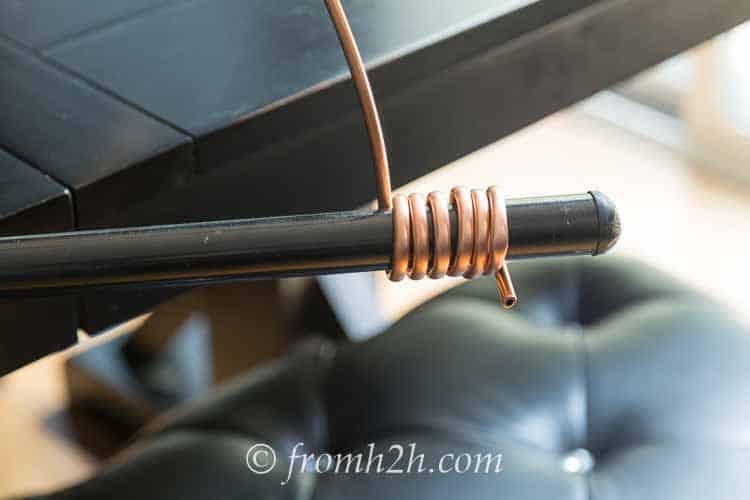
To do this, you will need to wind the copper tubing around a long round object.
I used the end of a broom stick, but you could use any long round object (such as PVC pipe) that is at least 1½” in diameter.
The larger the diameter of the pole, the larger the links in your chain will be.
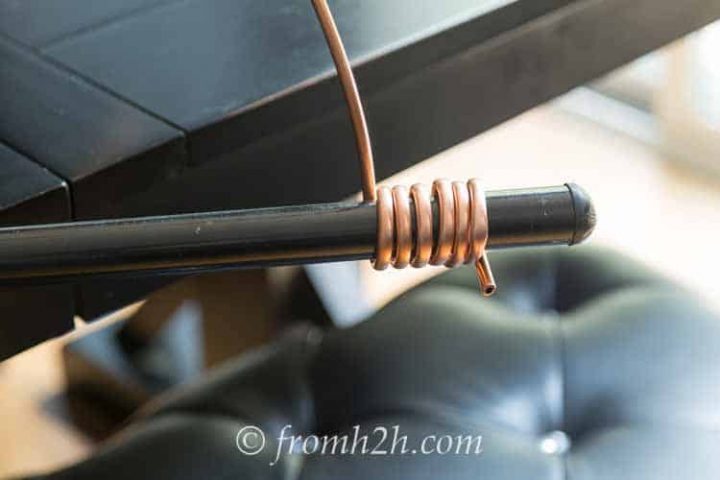
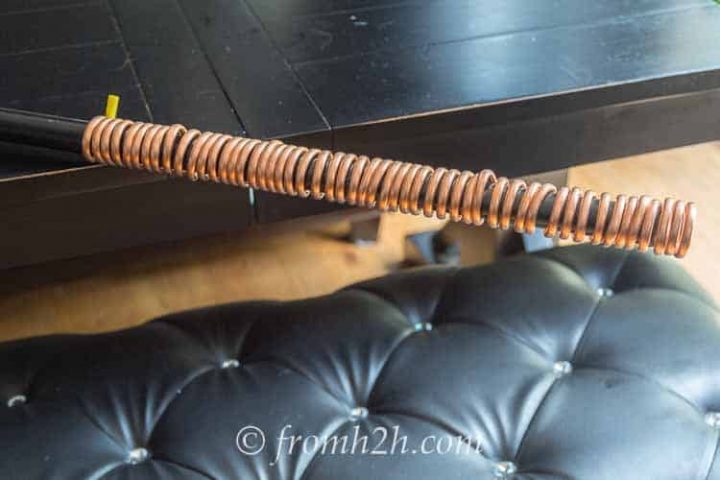
Start near the end of the broom stick and wrap the copper tubing around the pole. Try to get it as close to the pole as you can. That will give you the best round shape.
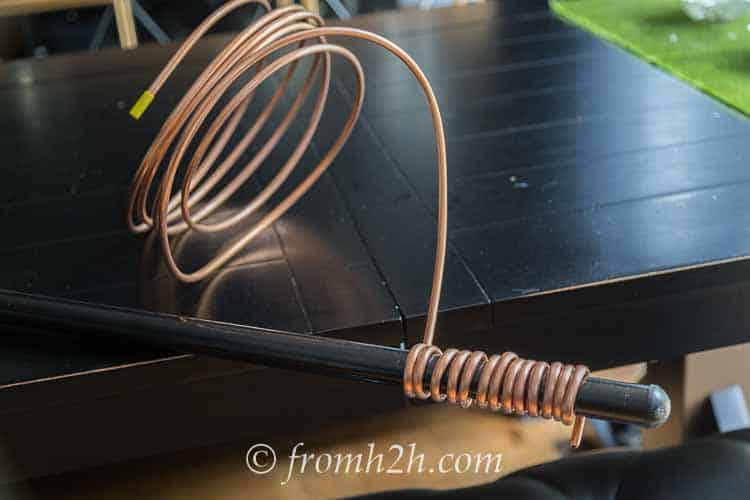
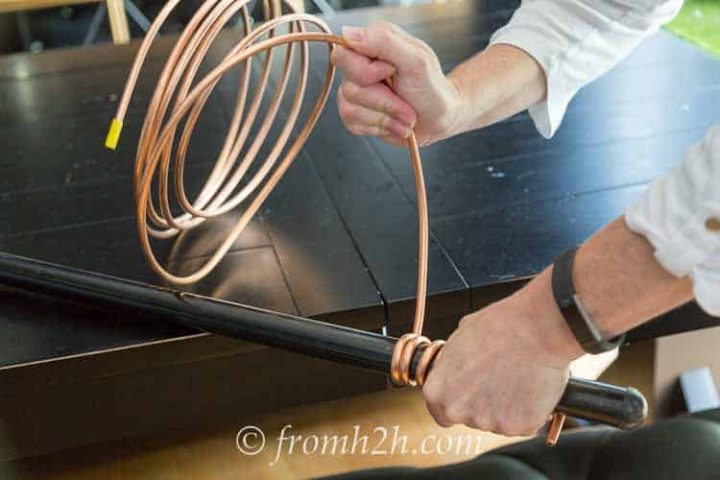
Wrapping the copper around the pole can be a little tough, so after you have a few rings to hold on to, try pushing it on to the pole instead of wrapping it.
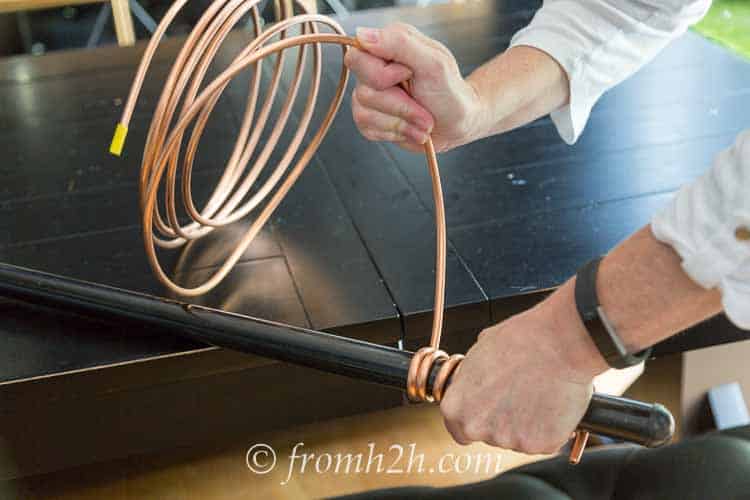
To do this, start with the copper behind the pole.
Hold on to the rings that have already been wound. Then push the copper tubing over the pole to the opposite side.
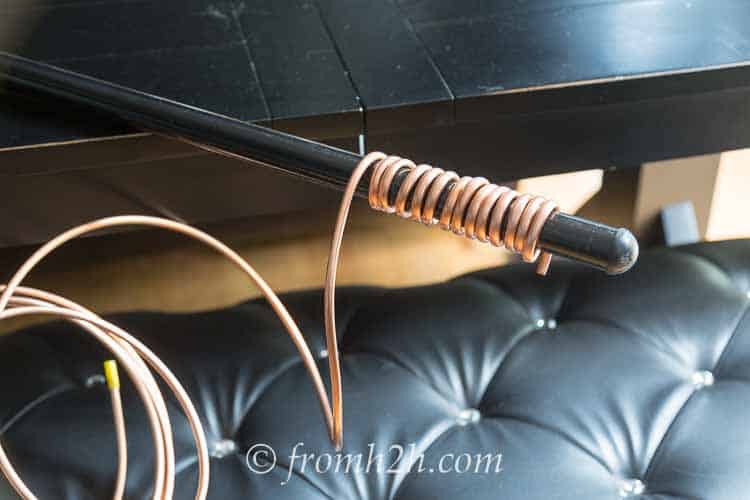
When the tubing has wound around to the other side of the pole, rotate the pole backwards so that the loose end of the copper is back on your side of the pole, and repeat.
I also found that the rings came out more even by pushing the copper over the pole this way.
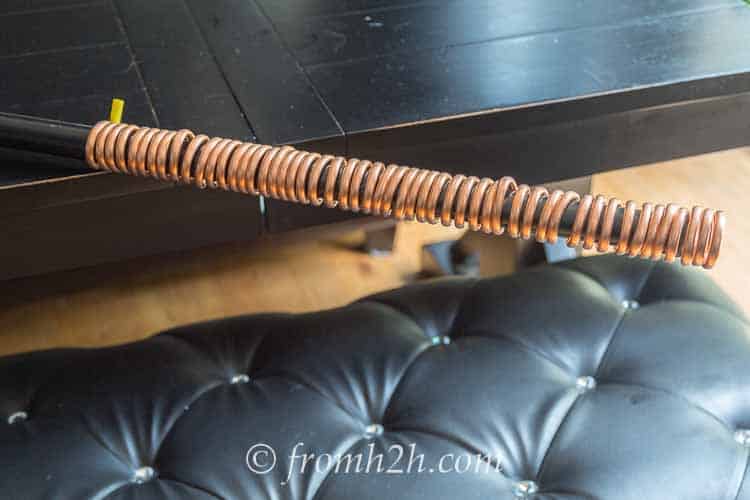
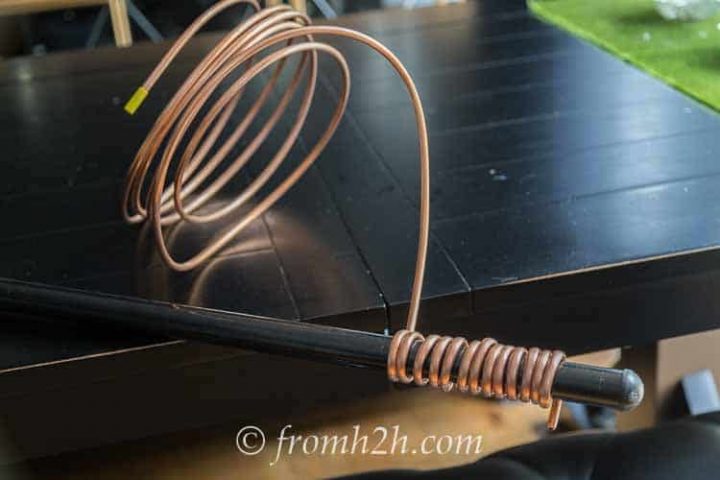
Keep doing this until you have wound all of the copper tubing around the pole.
Remove the wound copper from the pole by pulling it off the end.
I found it was easier to do this by rotating the copper in the direction it was wound as I was pulling.
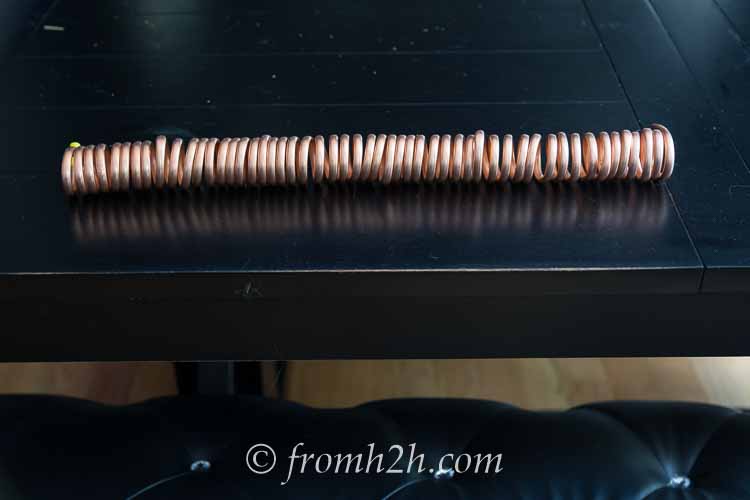
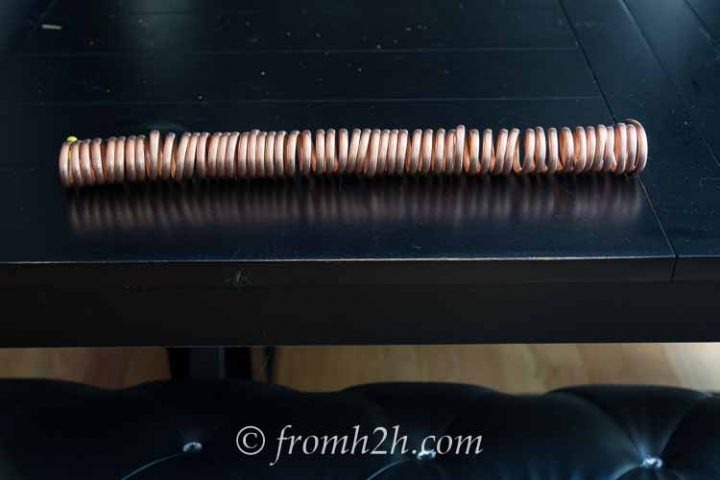
You should end up with a roll of copper tubing that looks something like this.
2 | Cut The Links
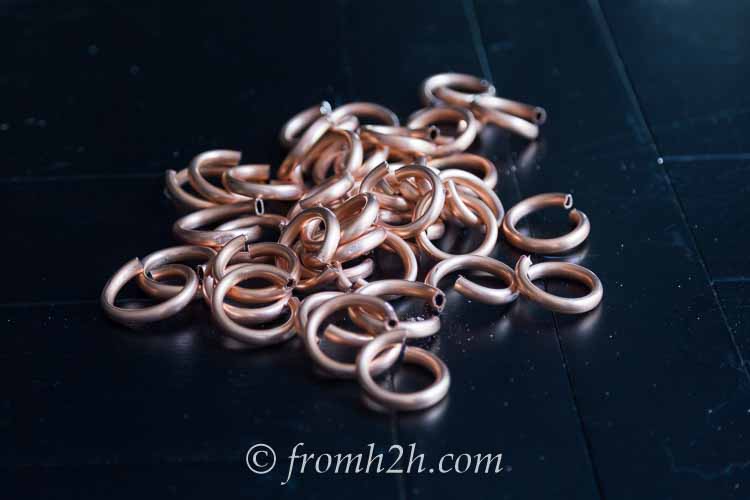
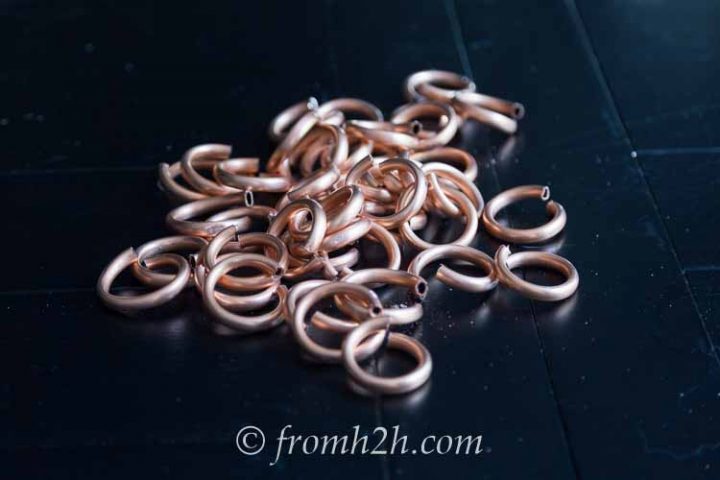
Next you will need to cut the copper tubing to form individual links.
I tried a couple of options before finding the solution that worked the best (and fastest!)
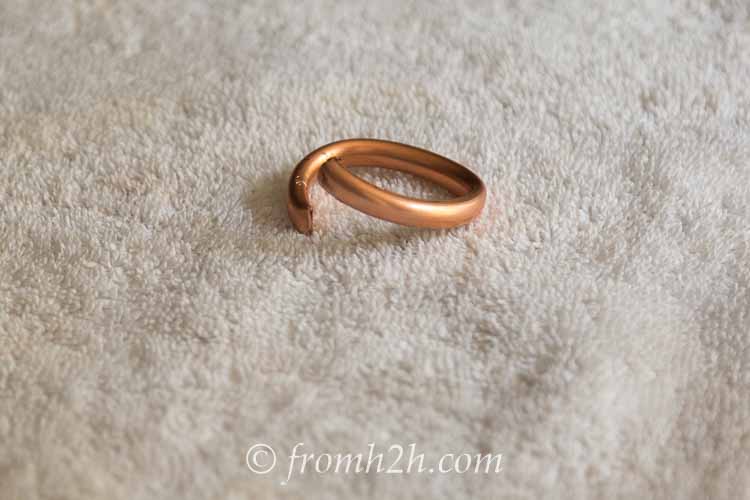
My first option was to use pliers or tin snips to cut the tubes. Which worked but caused the ends to flatten. Not what I wanted for a chain!
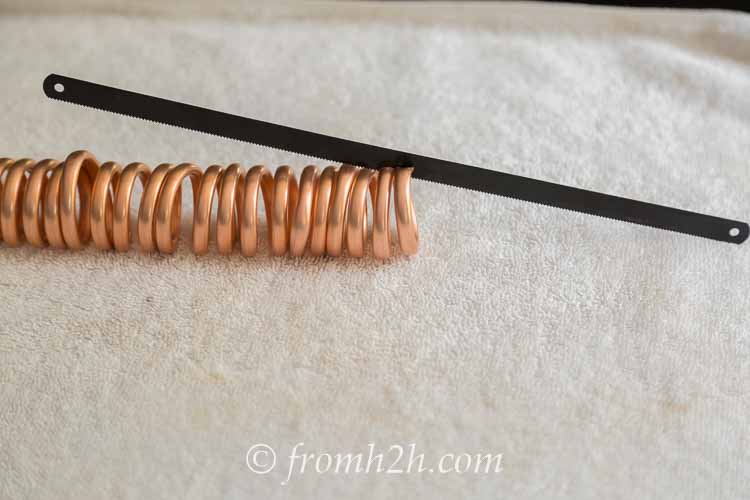
Next I tried a hacksaw blade (the blade was easier to use by itself than it was with the saw).
This also worked, and did not flatten the tubes. But it took forever!
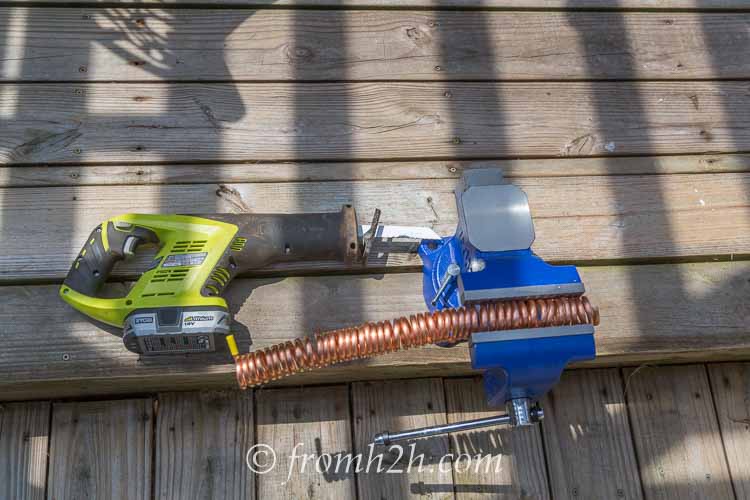
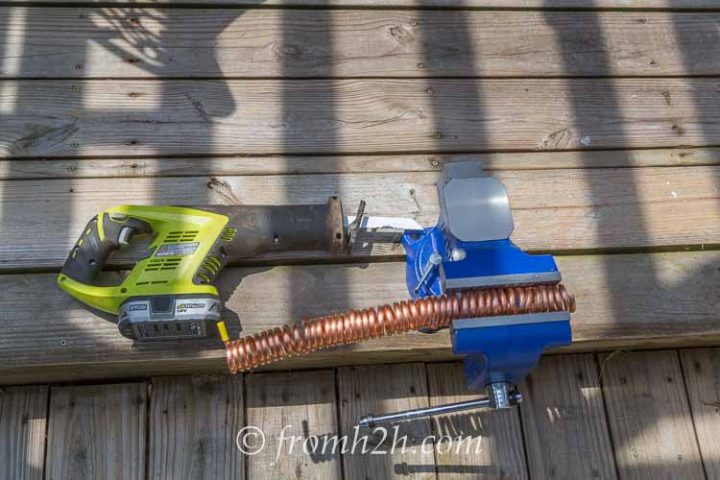
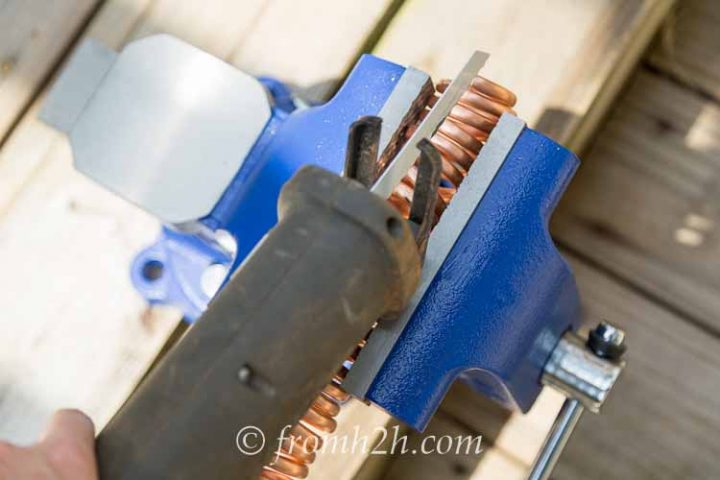
Finally, I decided to put the copper tubing into a bench vise and use a reciprocating saw with a blade meant for cutting thin metal.
This worked perfectly!
Make sure not to put too much pressure on the copper (you don't want your links to lose their shape).
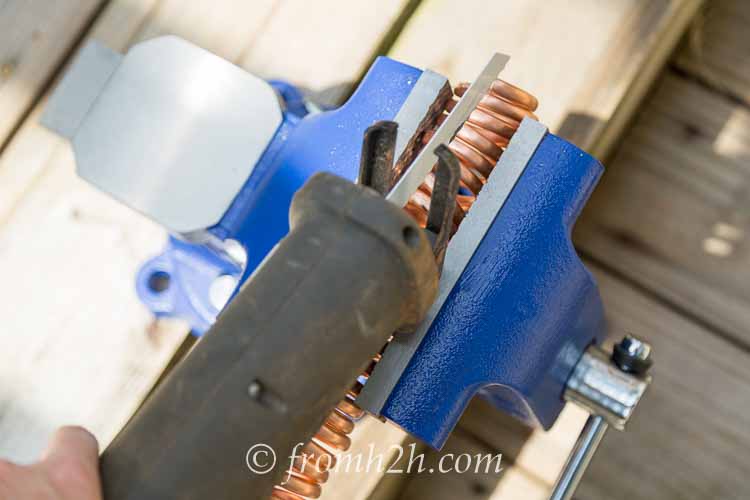
Rest the bottom of the reciprocating saw on the top of the bench vise to give it some stability.
Also make sure to saw at an angle so that you don't cut through the bottom of the links as well.
Then saw away.
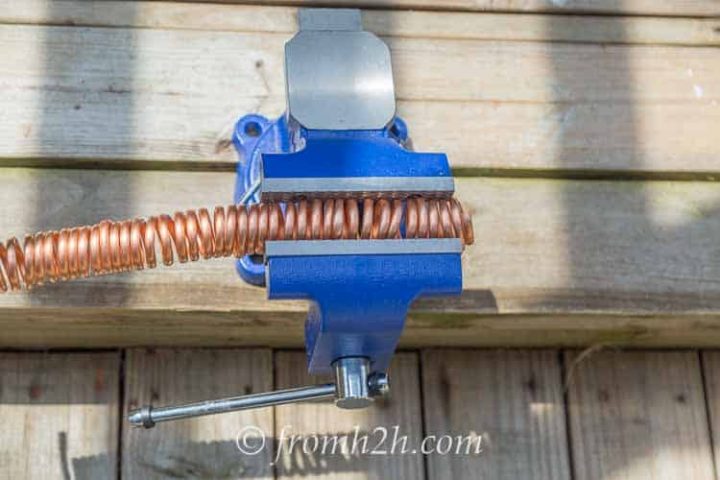
When you get to the last few links that are still in the vise, you will need to move them up to the front.
This helps to keep them stable in the vise which makes cutting easier.
With this method, I was able to cut the whole length of tubing in less than 10 minutes.
3 | Assemble the Chain
Now you will make a chain out of the links.
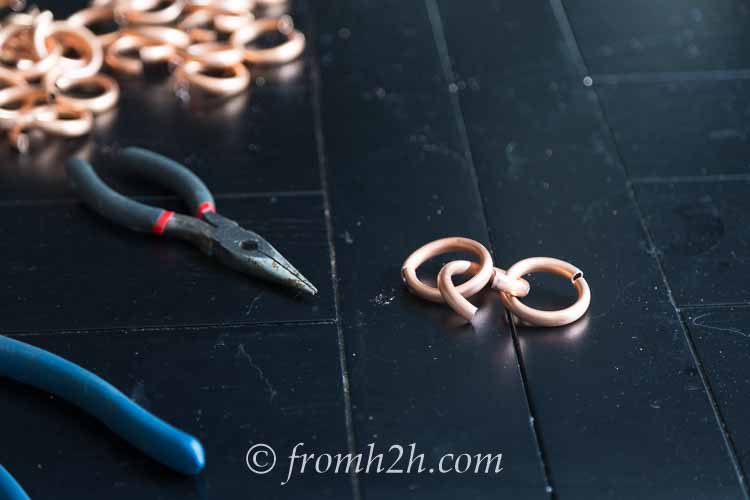
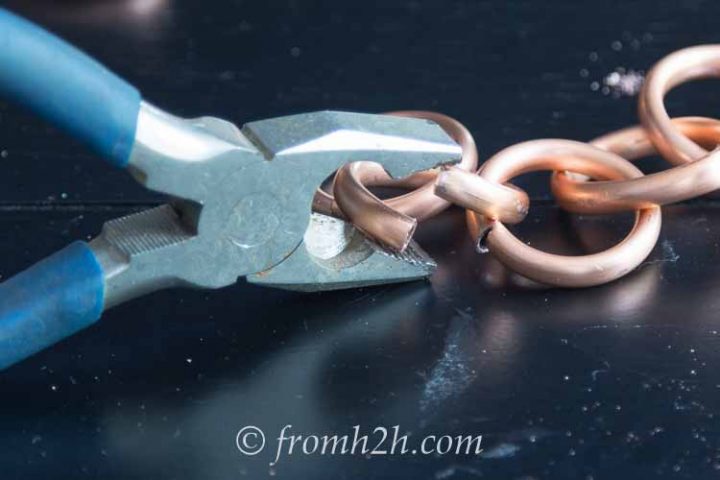
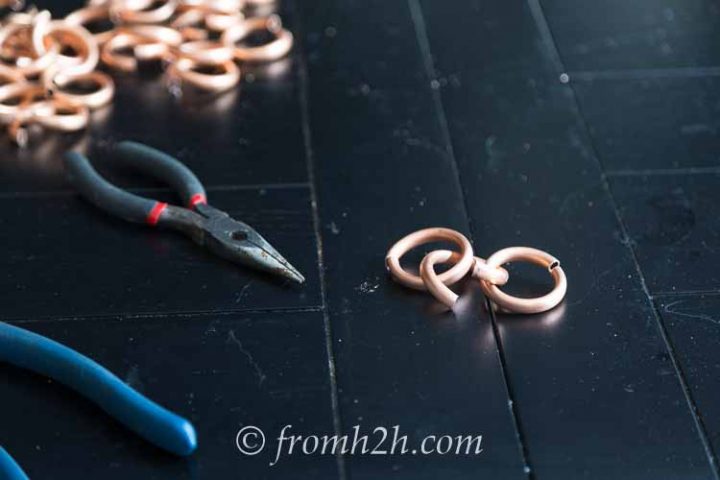
Use the pliers to open the ends of one of the links.
Make sure the gap is wide enough for another link to fit through.
I found that using two pairs of pliers (one on each end of the ring) was the easiest way to open the link.
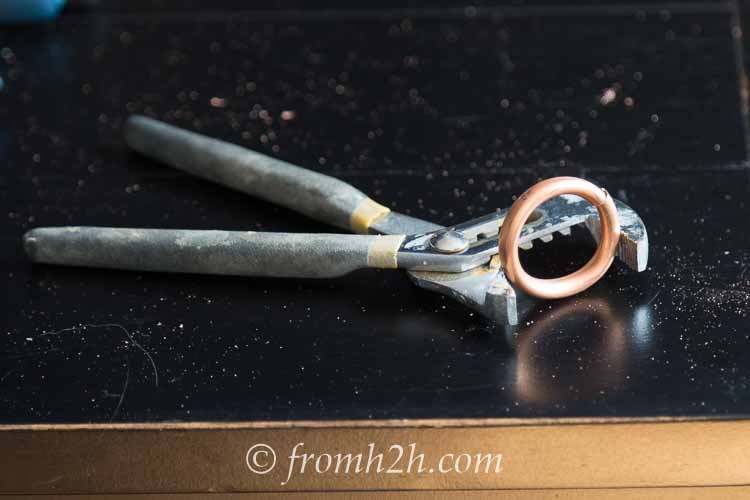
Next, find a ring that has the ends pretty well aligned already.
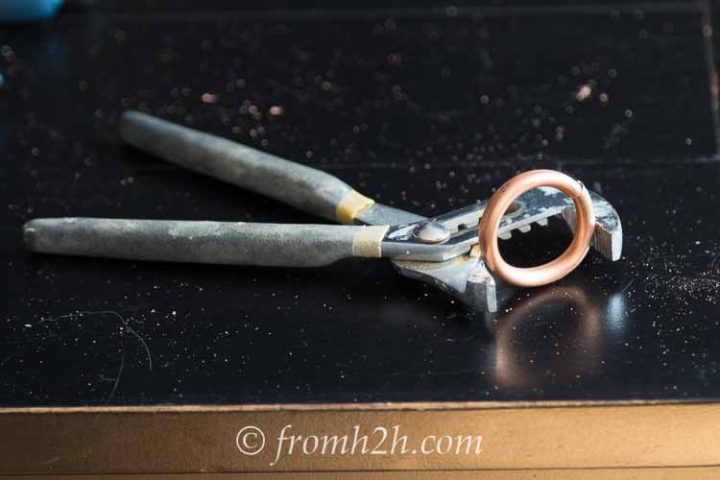
Use pliers to close the gap. Groove joint pliers work well if you need to squeeze the ends together from outside the ring.
Add the closed ring on to the open ring.
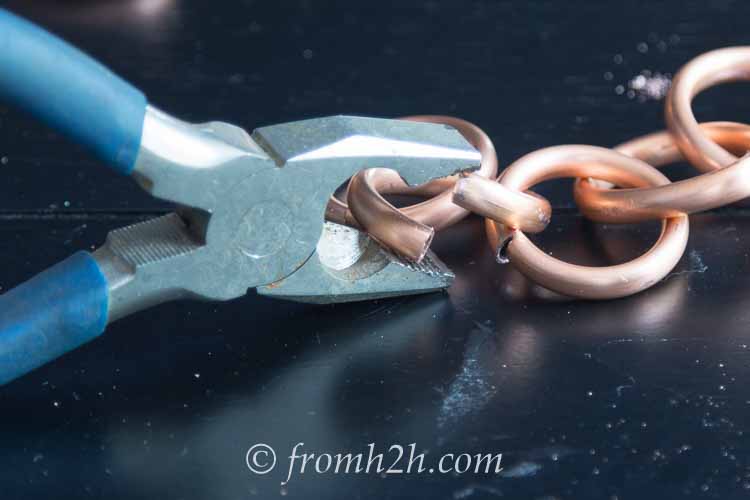
Then use the pliers to squeeze the ends of the loop back together on the first link.

Continue adding rings alternating an open ring and a closed ring until you reach your desired chain length.
For me, the 20′ length of tubing created a chain that was a little more than 5′ long. This was pretty close to the length I wanted it to be since I was hanging it over a rain barrel.
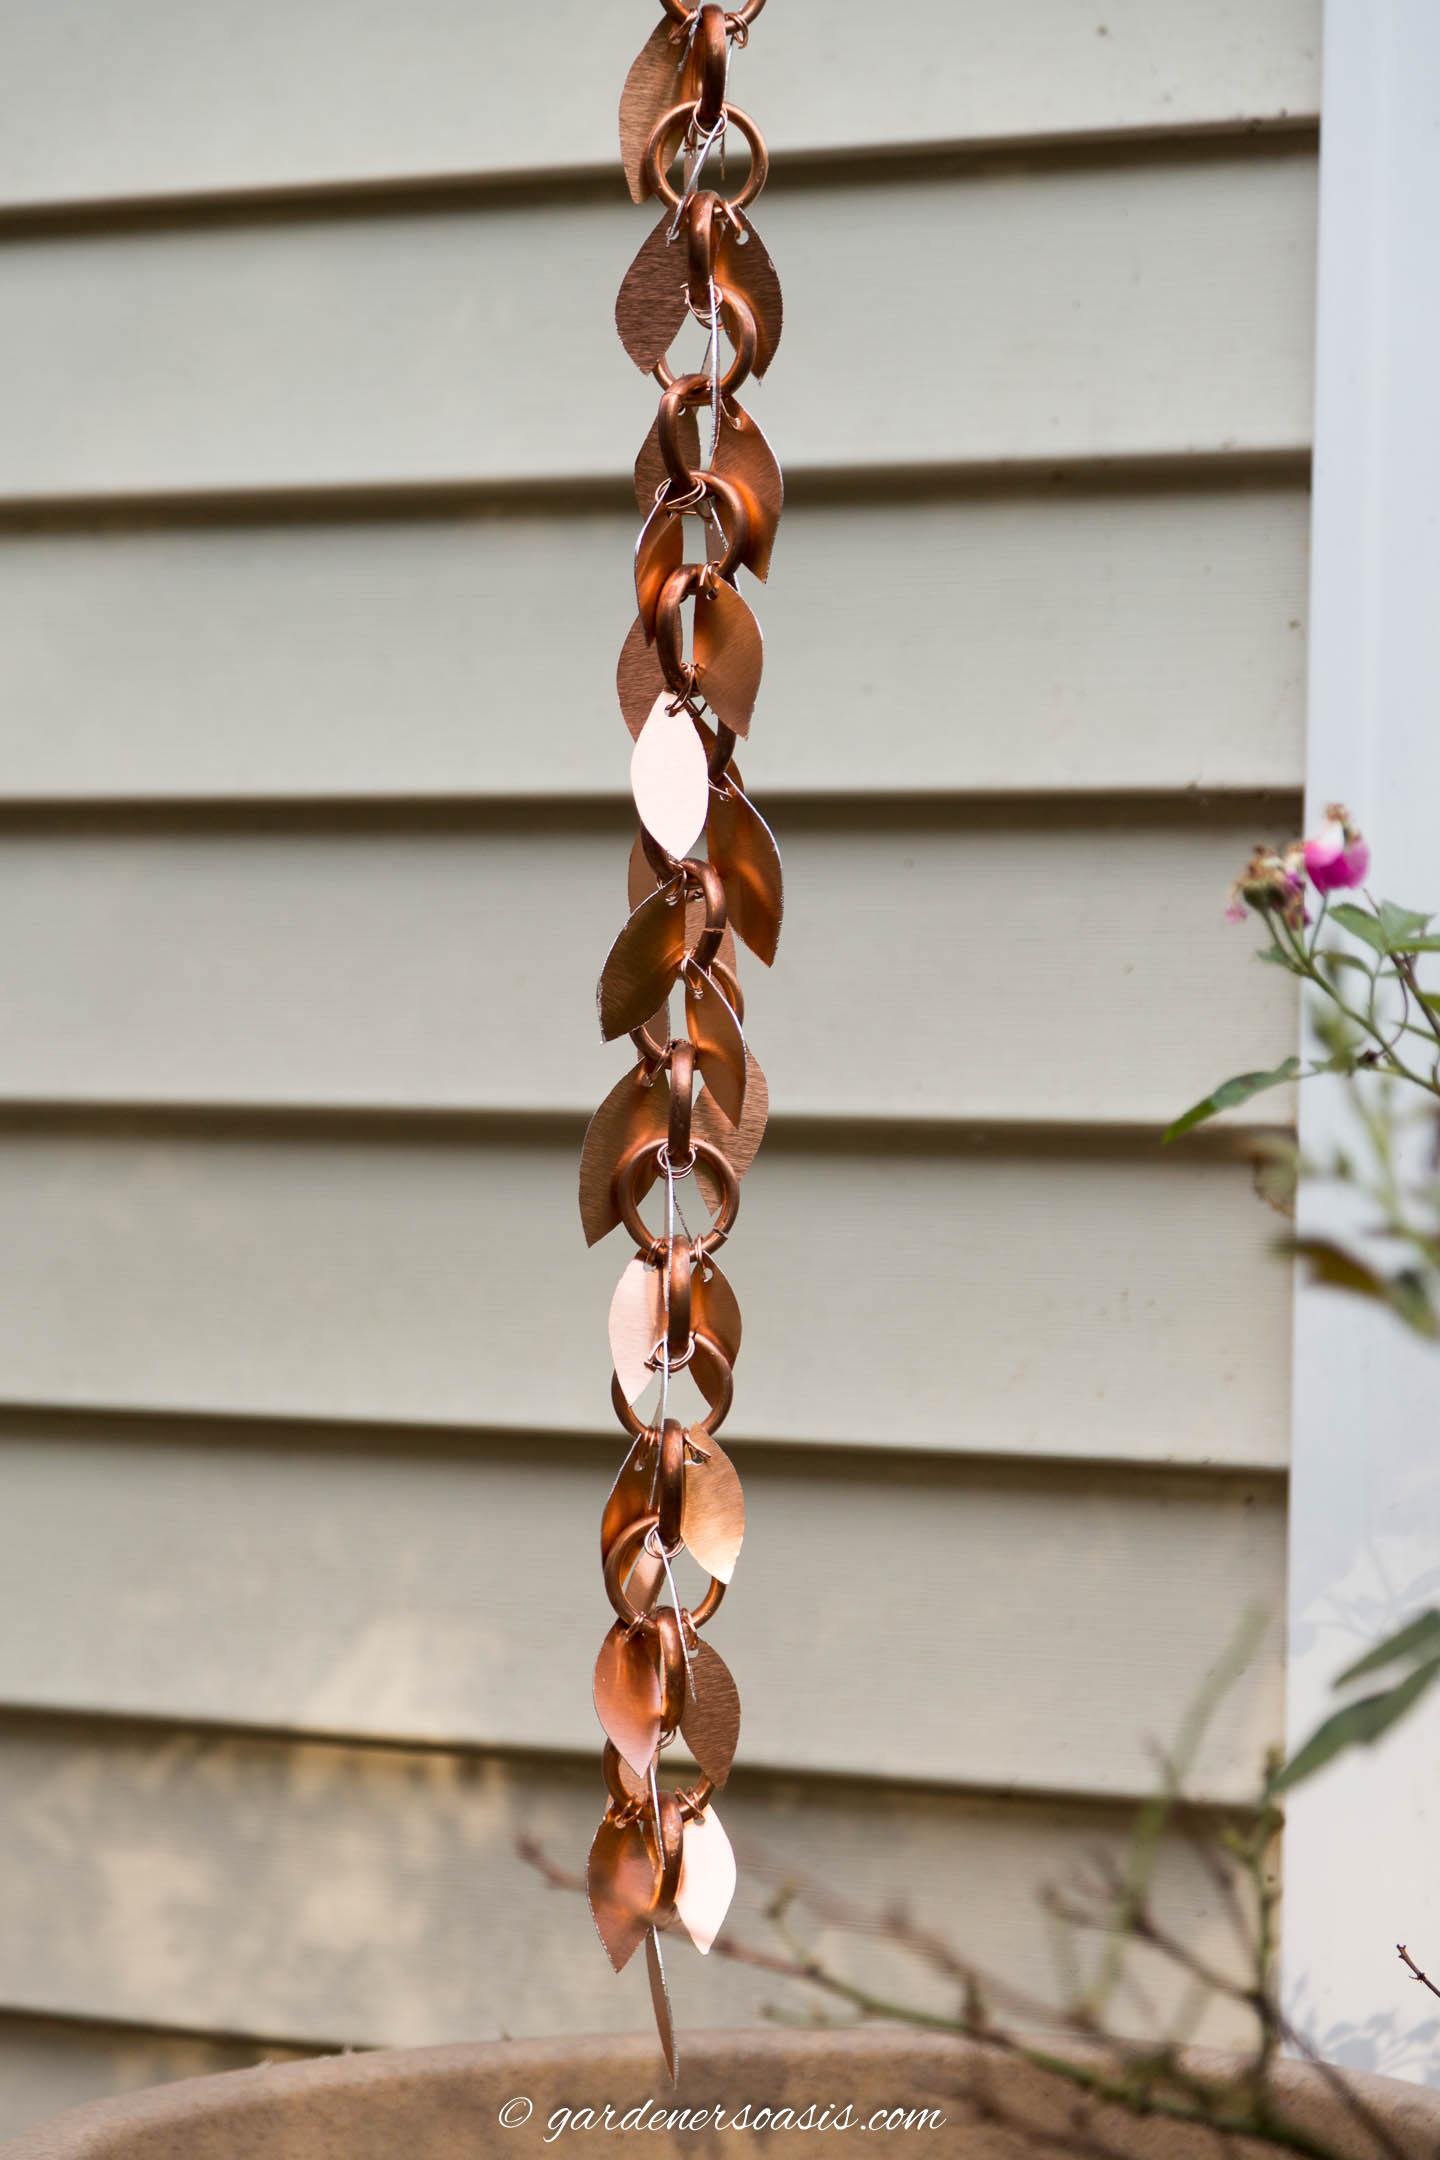
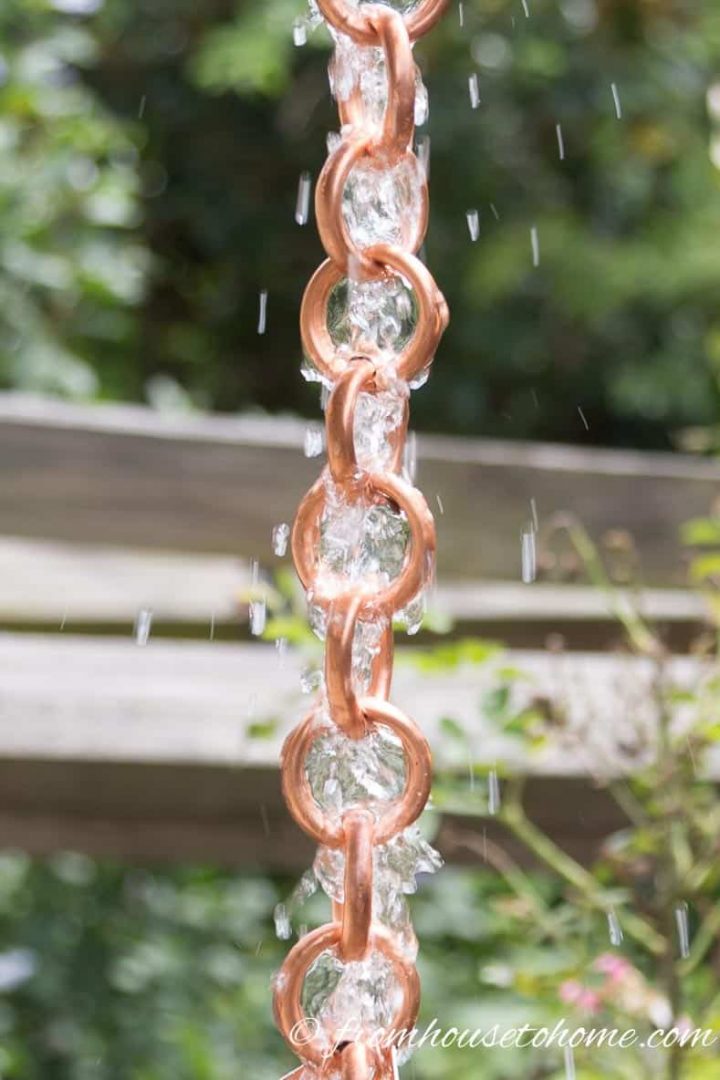
If you want a fancier rain chain, you can hang crystals or beads from it to dress it up.
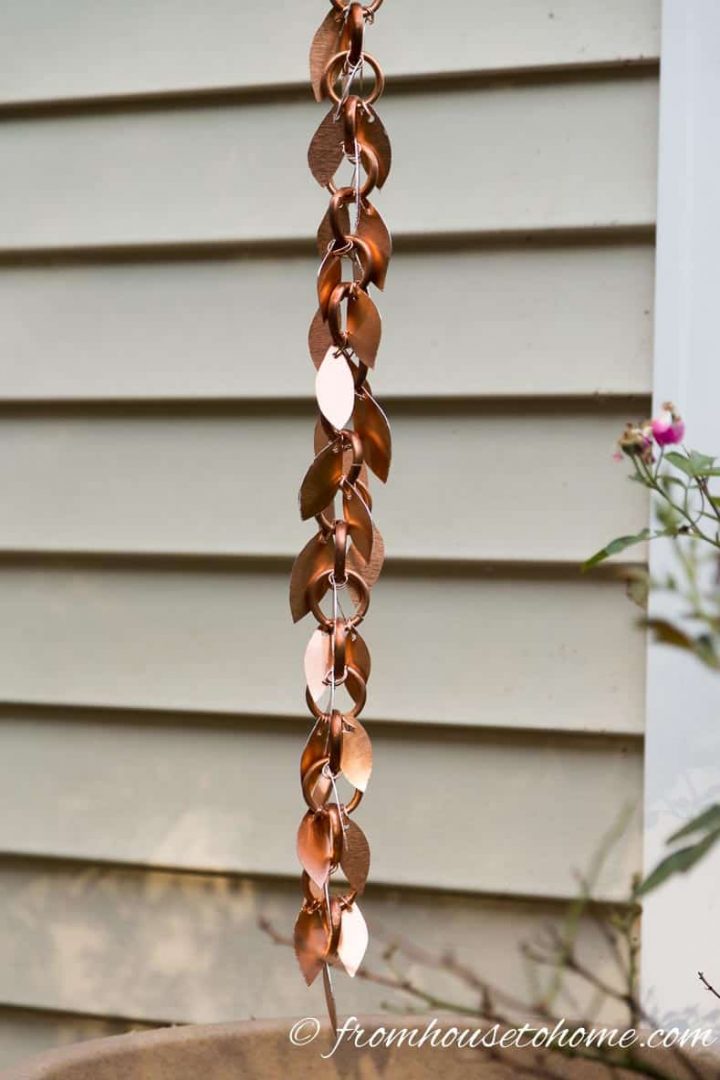
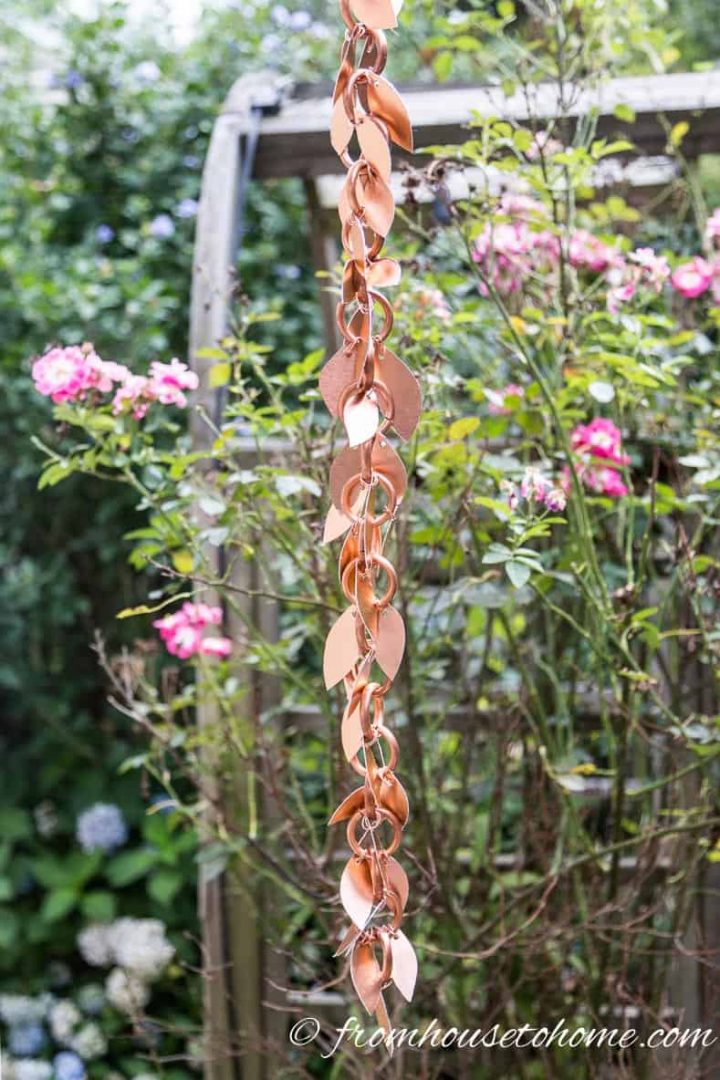
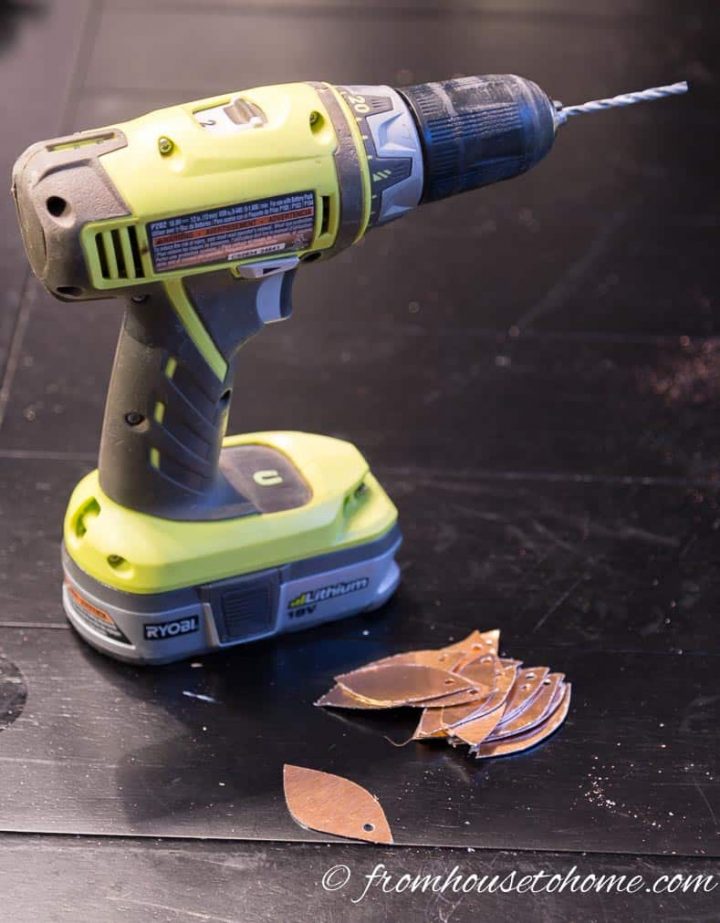
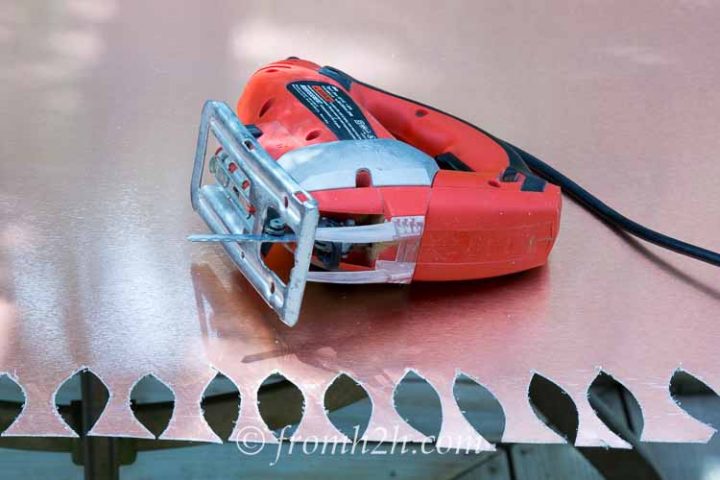
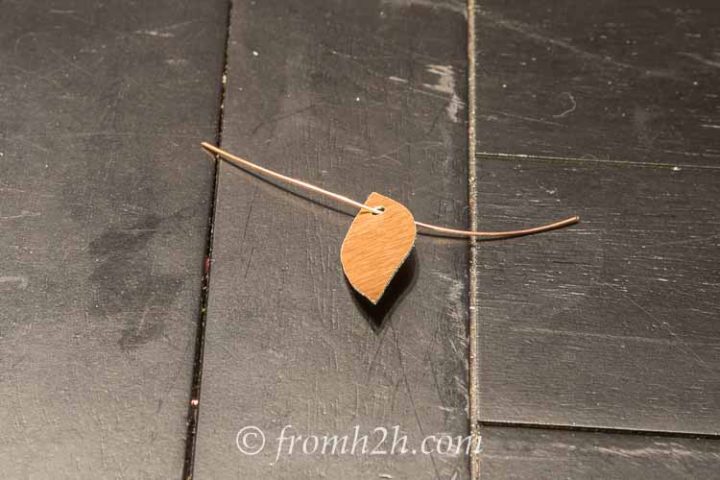
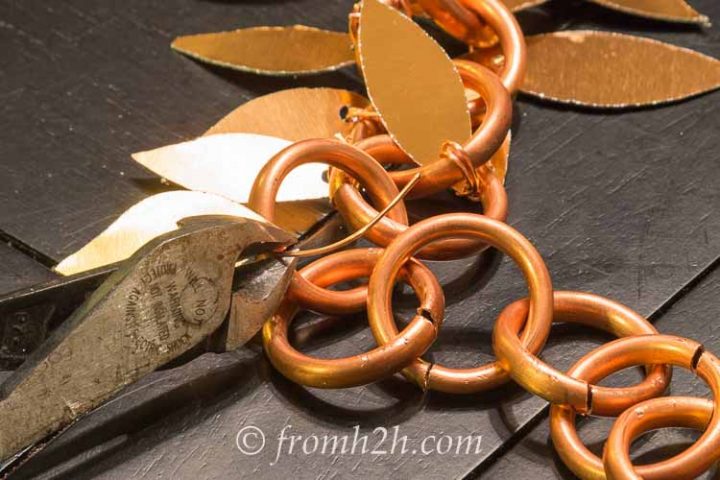
Or cut some other shapes out of copper sheet (like the leaves above) and attach them to the rings.
To get more details, read our tutorial on how to make a DIY copper leaf rain chain.
Hang the rain chain
Now you're ready to hang your rain chain.
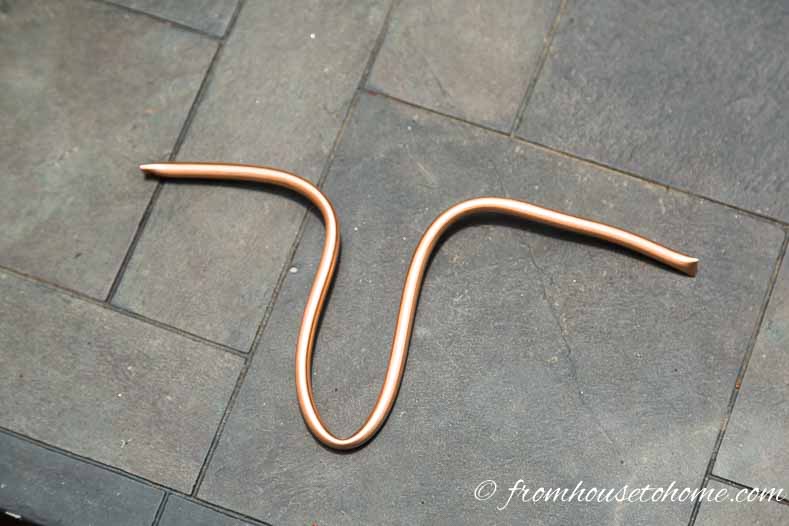
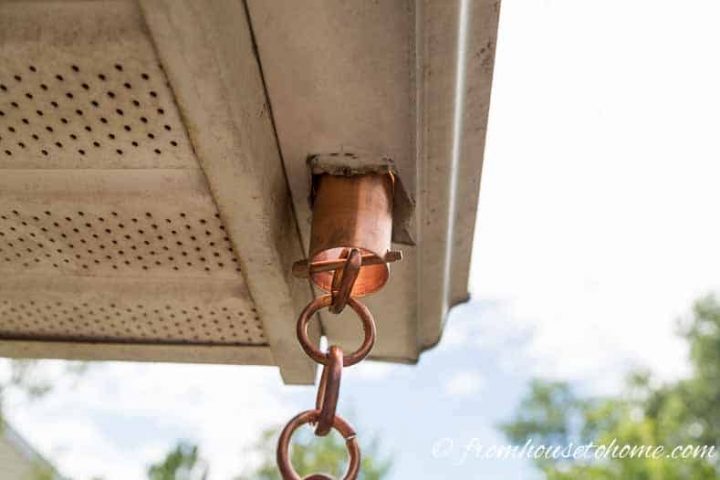
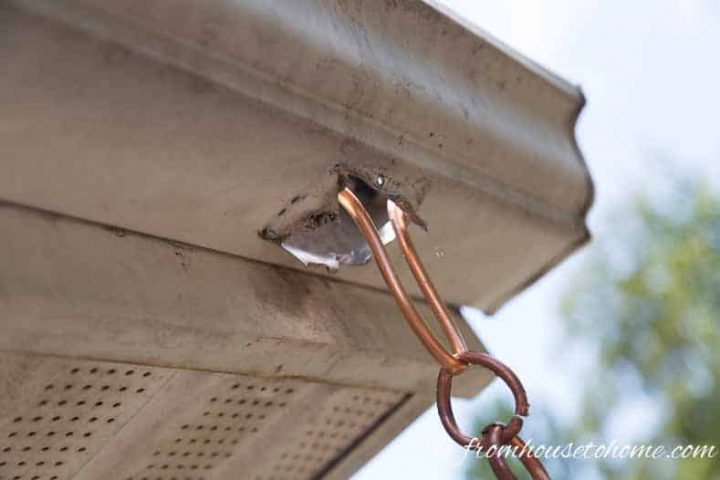
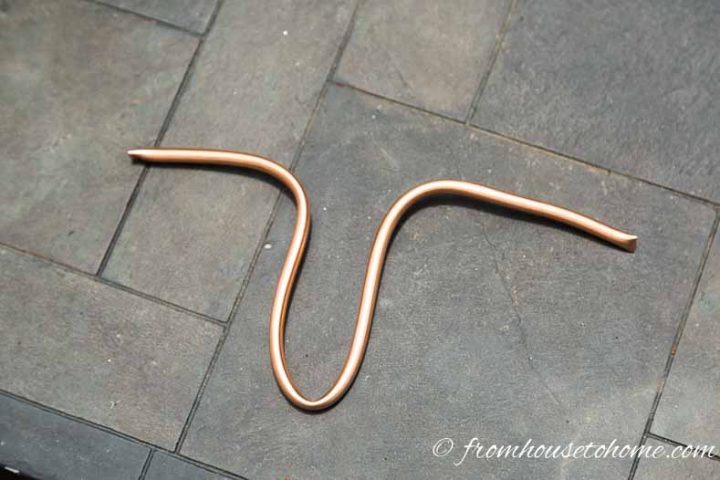
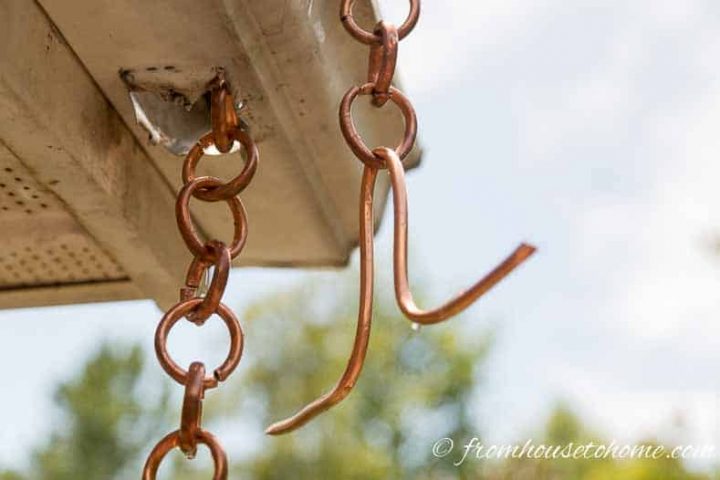
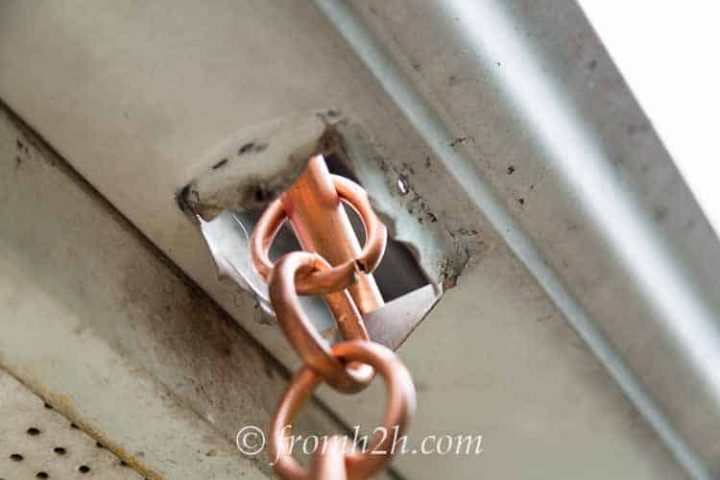
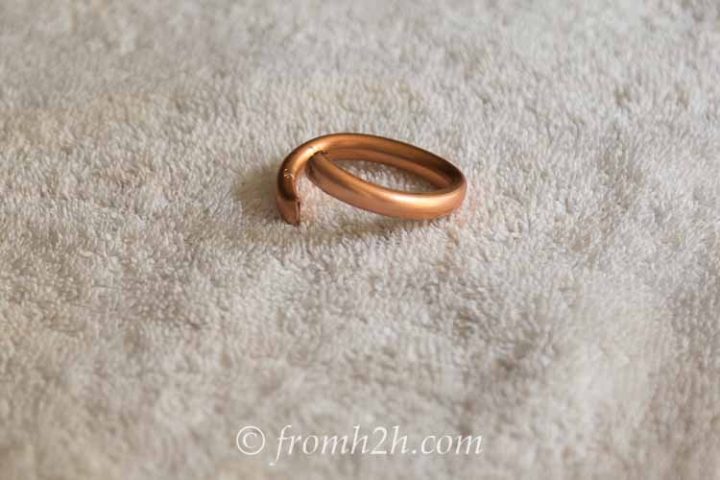
To make a rain chain hanger, bend the 15″ piece of copper tubing that we cut at the beginning into a V shape with ends.
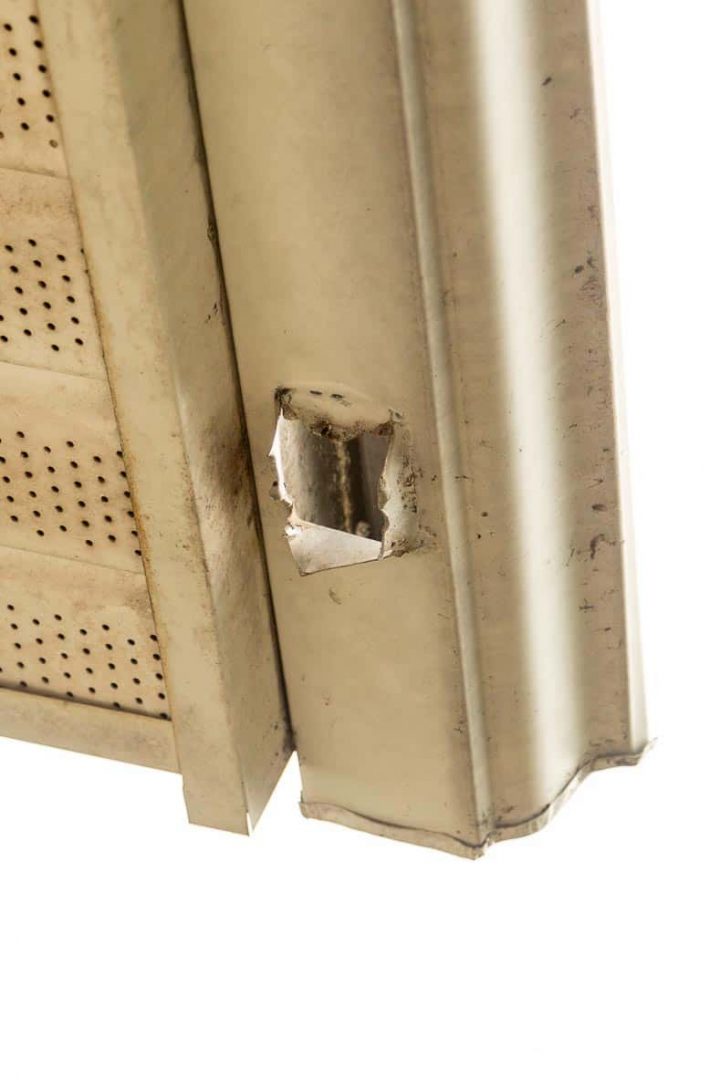
Remove the downspout where you want to hang your rain chain. Or drill a hole in the bottom of the gutter that is large enough for your chain to fit through.
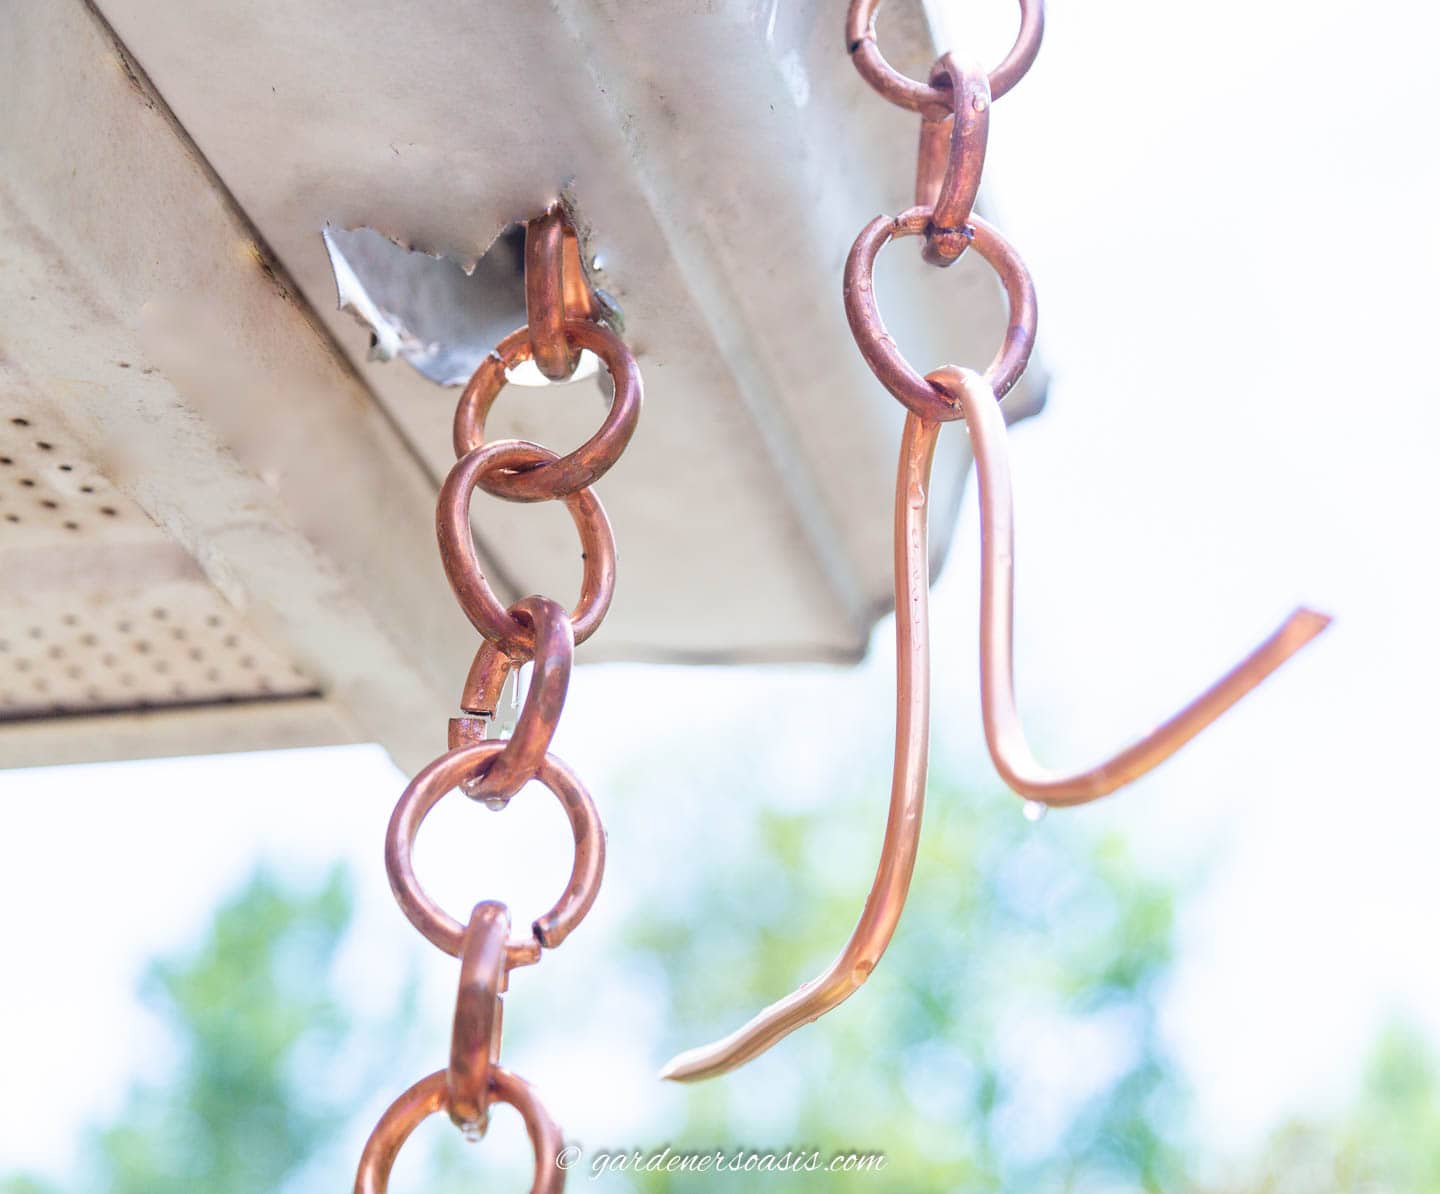
Thread the rain chain up through the hole so that it hangs over the edge of the gutter.
Then attach the gutter installer to the end of it.
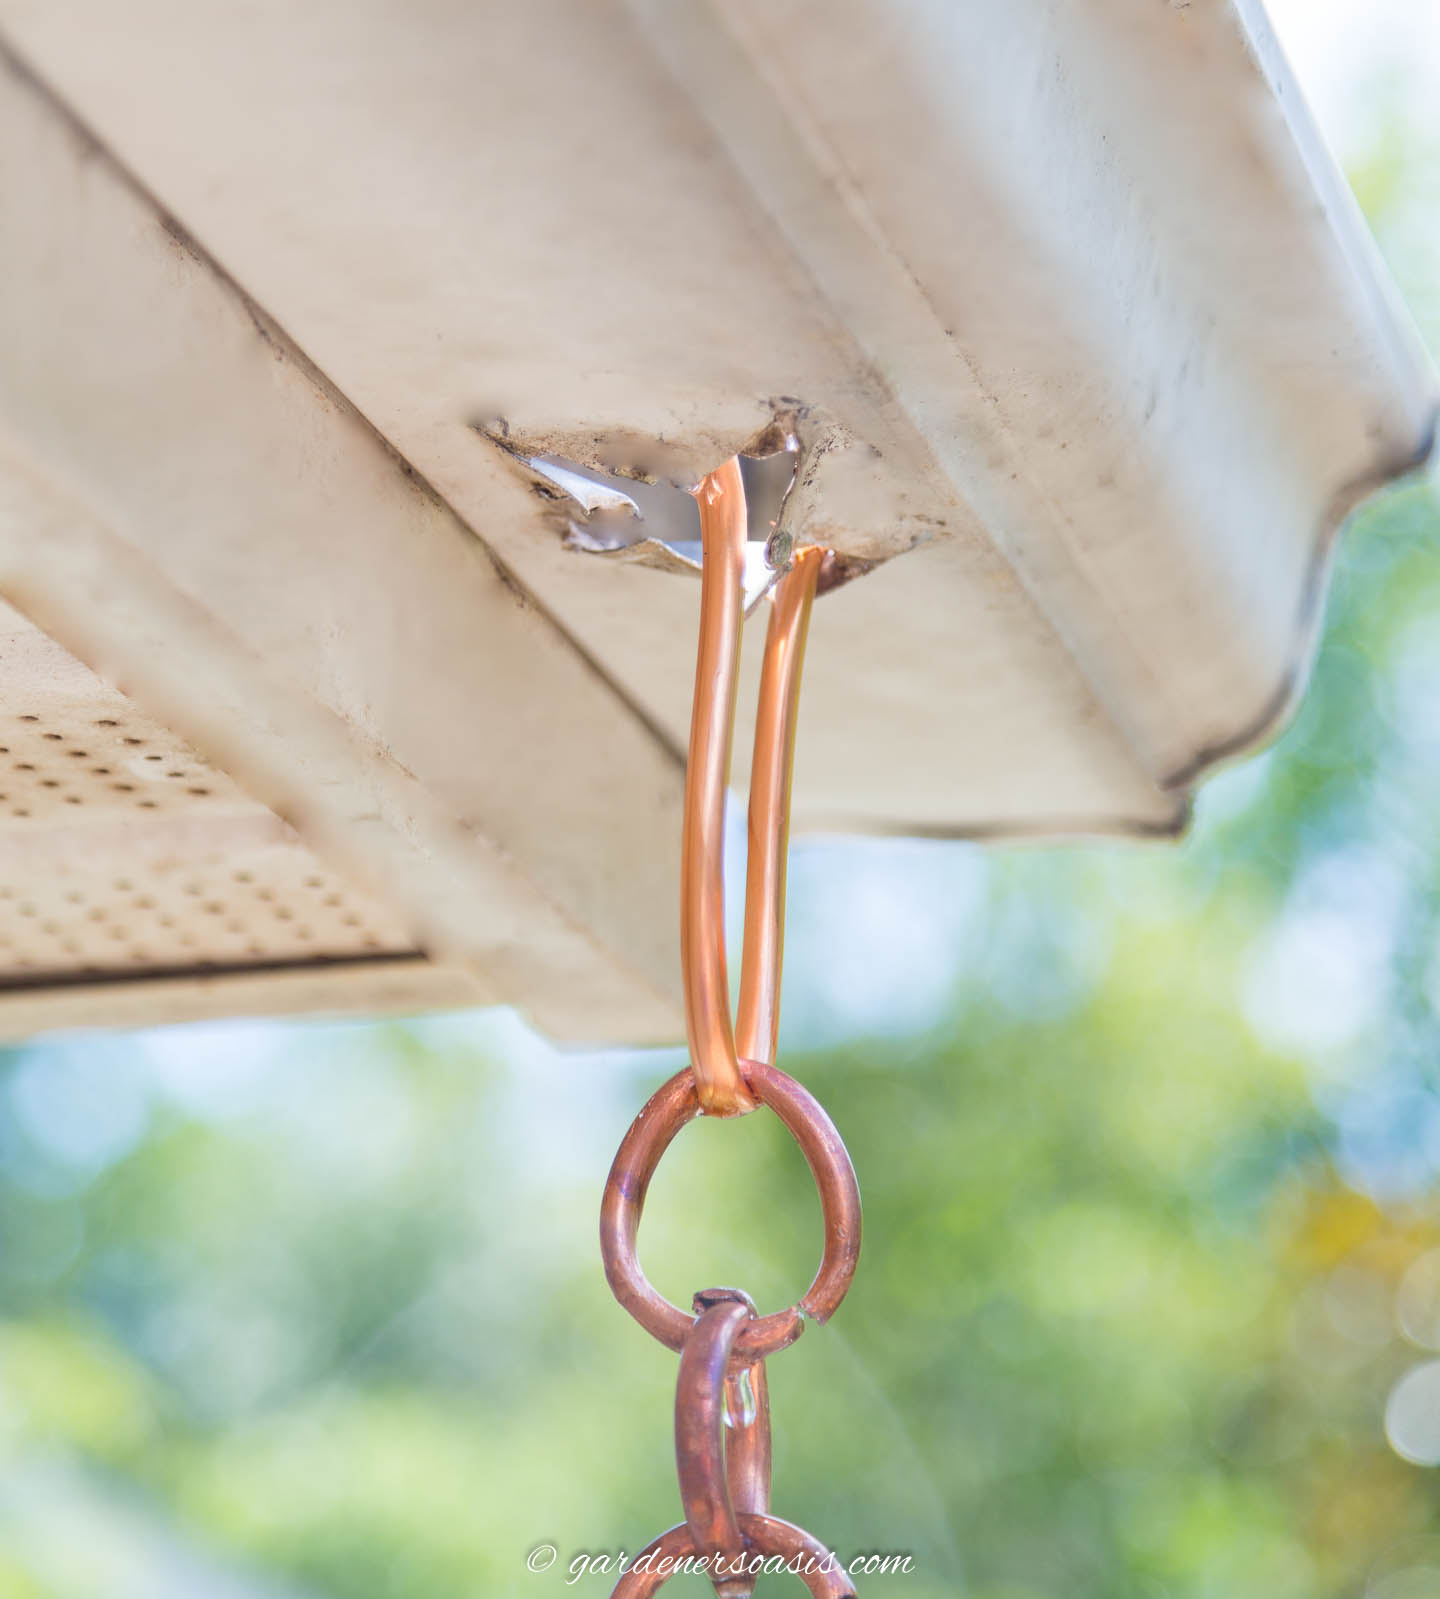
Let the chain fall back down through the hole so that the V comes through the hole. The ends of the “V” should hold it in place.
For more details or to find out about using a rain chain installation kit, read our guide on installing rain chains.
Test the water
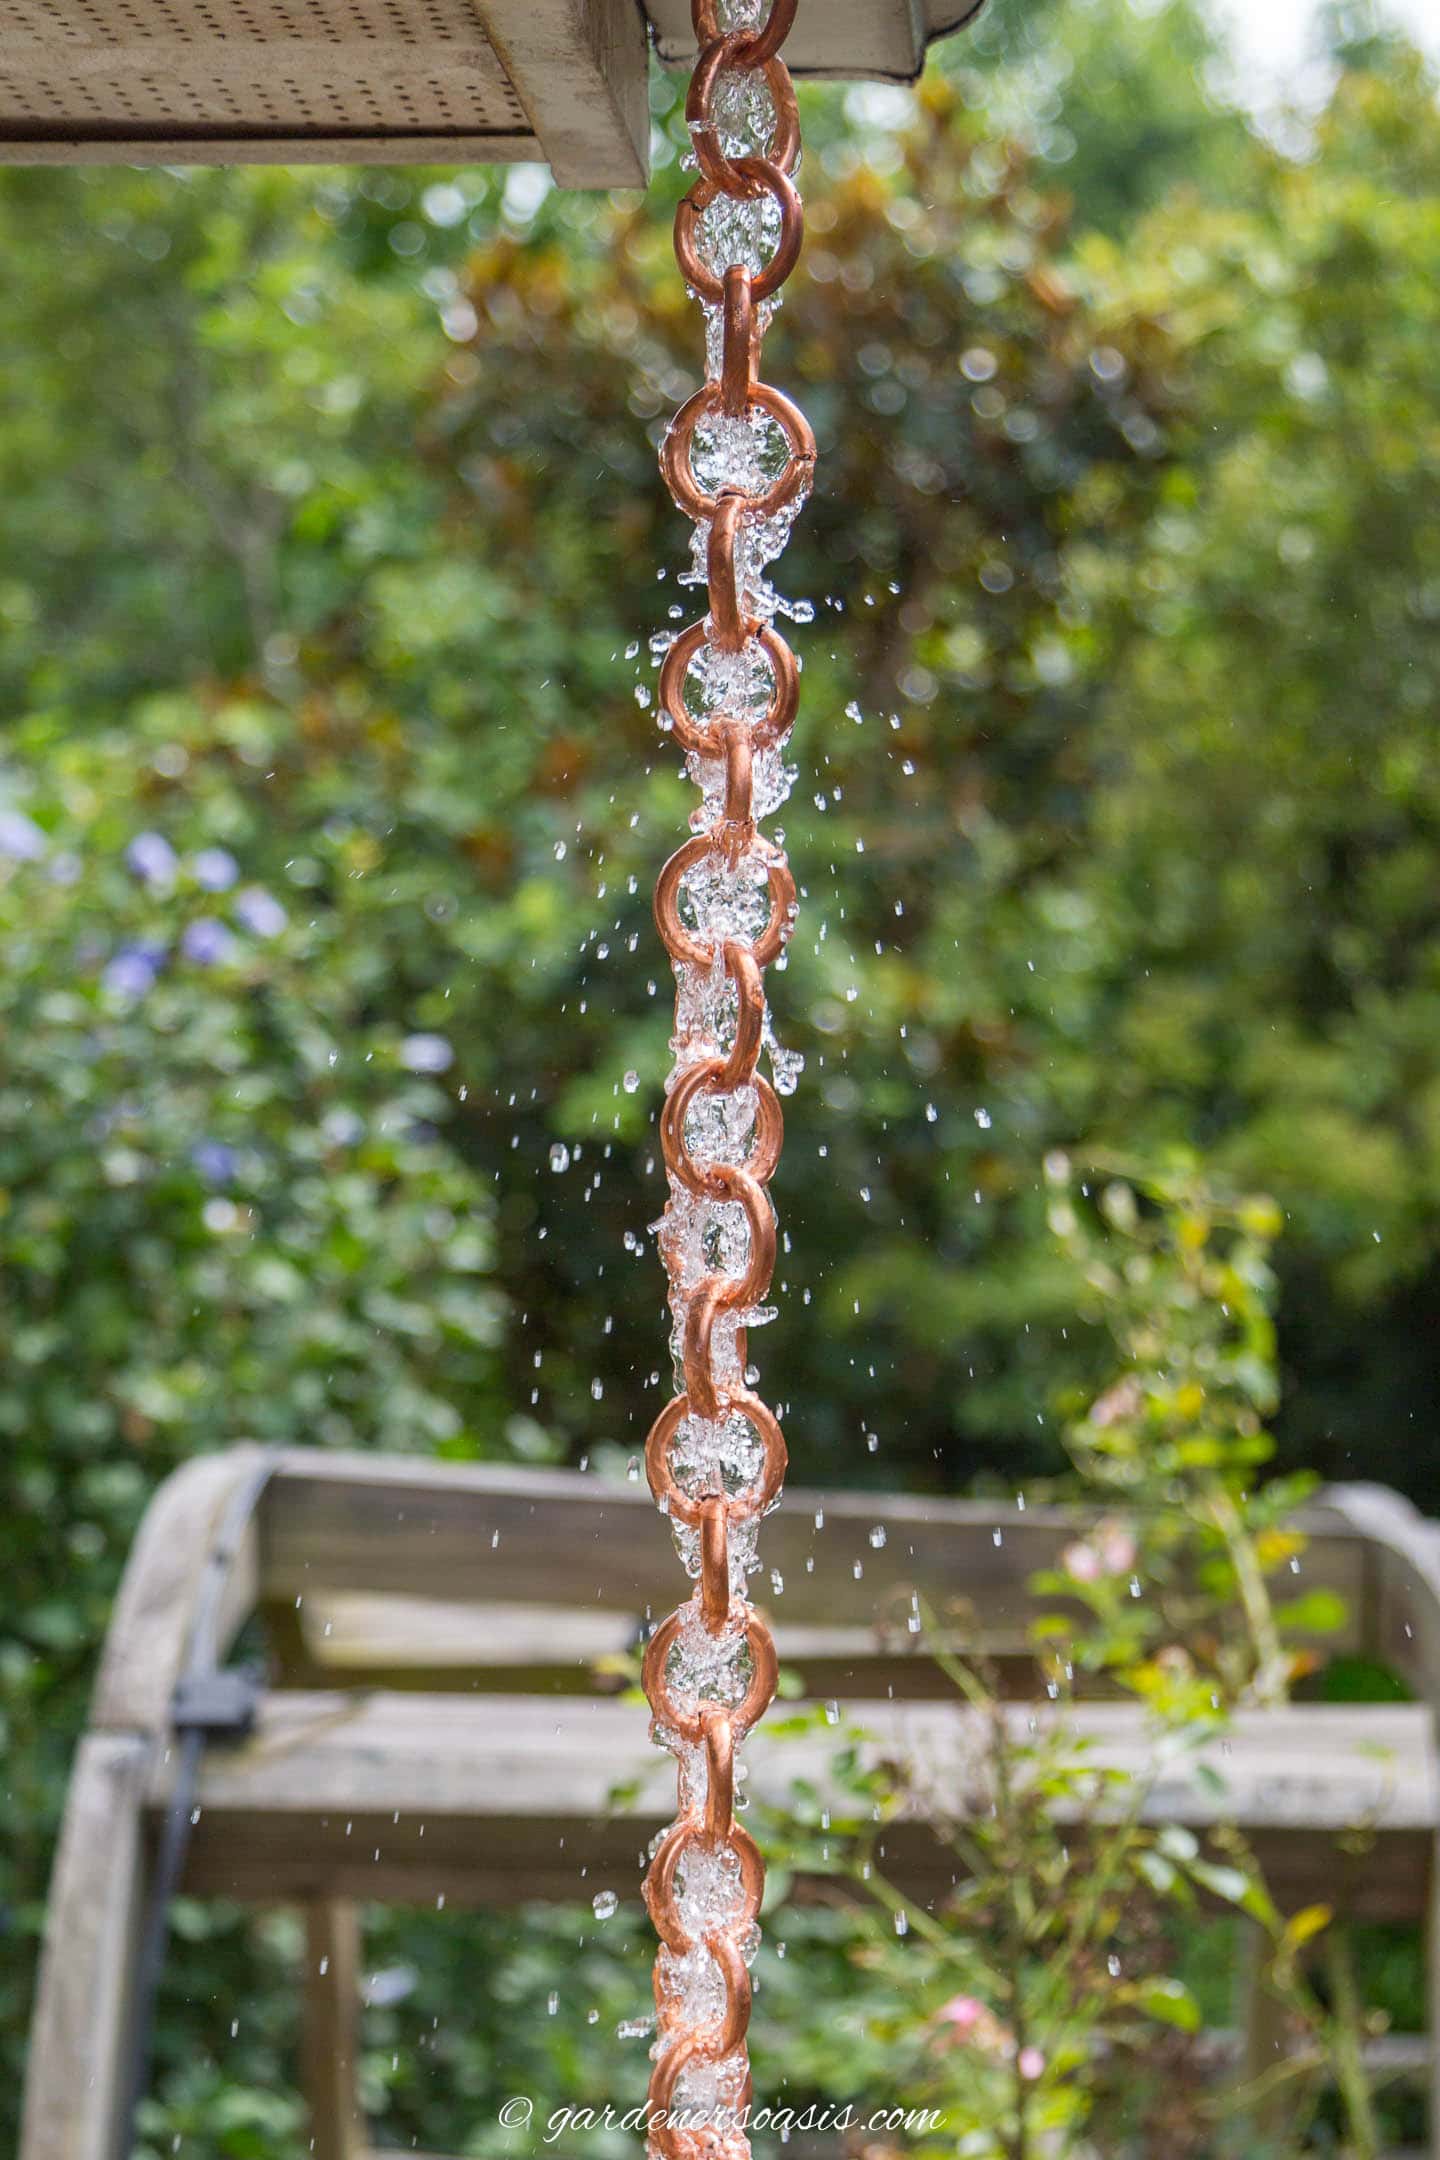
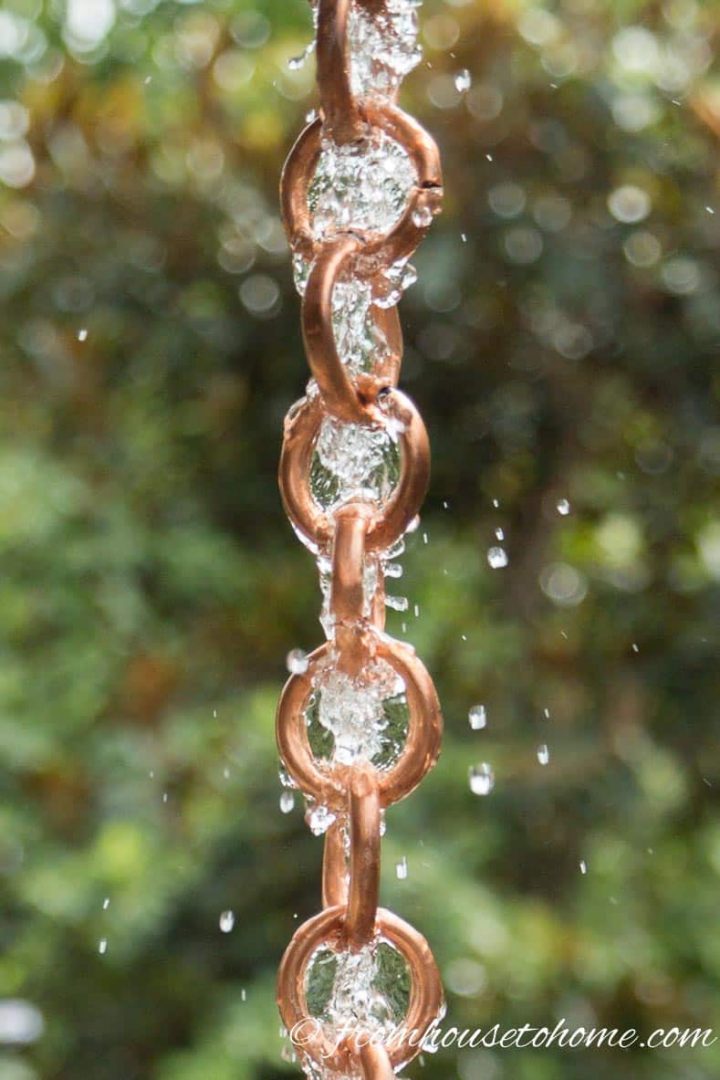
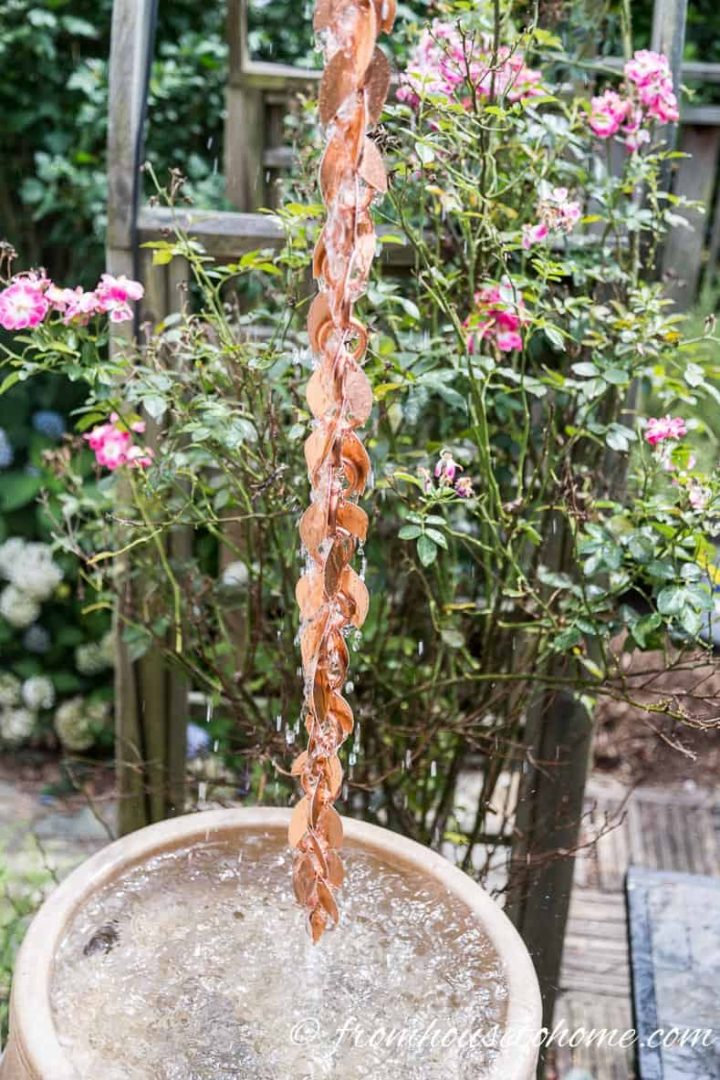
The last step is to test the water to make sure it runs smoothly down the chain.
To do this, put a hose up in the gutter and turn the water on.
If the water is not funneling down onto your chain, you may need to adjust the flaps around the top of it.
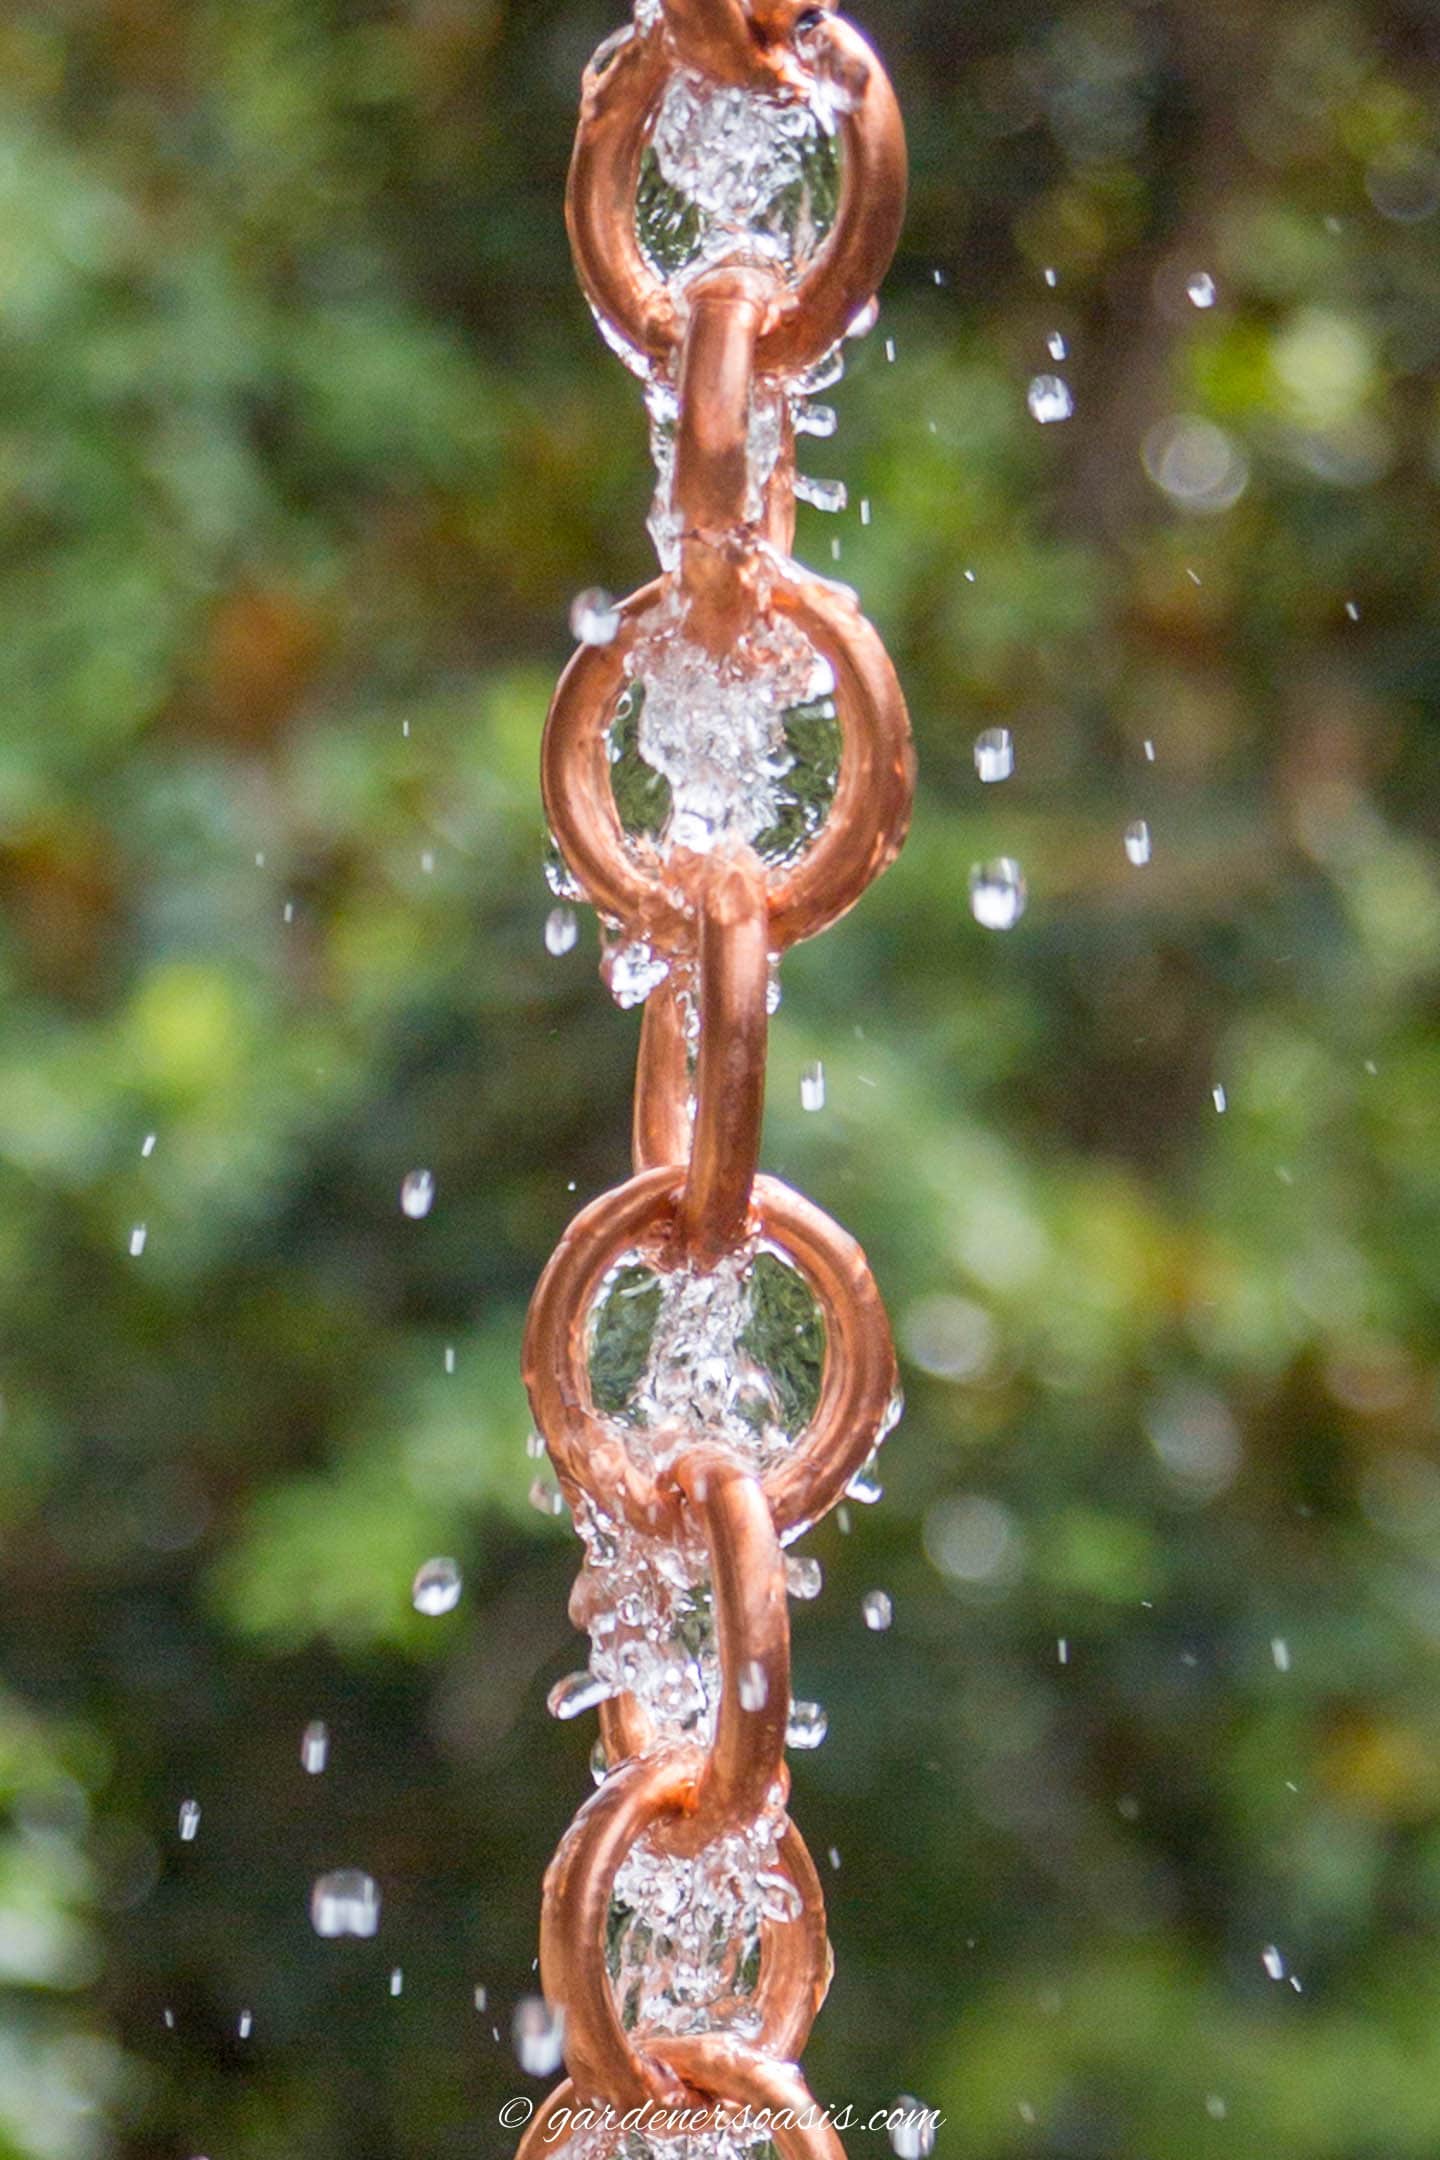
And you're done. Enjoy your new rain chain!
Other rain chain ideas you might like
Comments or questions about our DIY copper link rain chain? Tell us in the section below.
Pin It So You Don't Forget It!

This post was originally published on July 6, 2016 but was updated with new content on November 23, 2024.
























I liked the step by step instructions with pic’s! Excellent instruction, I want to do this too!
Thanks for sharing
Thanks, Debbie! It really wasn’t as hard as I thought it would be, so I’m sure you’ll have no problem making one, too 🙂
How long was the finished chain when using 20 ft of tubing and using broom stick sized “links”?
It was a little longer than 5 feet…which was just the right length for hanging over a rain barrel from the eaves on the first story of my house.
I like rain chain for our garden club project. I will most likely make the chain parts ahead of time.
Hi Patricia…I think that sounds like a fun garden club project! But I think you’re right that you might want to do some of it ahead of time…some of the steps take a little time to complete.
Maybe when putting the copper in the vise after coiling, you could create a small wooden block. It would be like drilling the coiled copper sized hole in the block, then cutting off approx. the top 1/4th. This wood “mold” would be just deep enough to fit the coiled copper into, and just enough height on the sides to fit against the vice clamps to give more stability to the copper and less chances for damage. The opening at the top for the saw would be about the same as you have pictured to be able to cut the rings. Especially great if you create more rain chains.
Thanks for the suggestion, Mary Beth! That sounds like a good idea for holding the coil in place while you are cutting it…especially (as you say) if you were making a few of them.
Looks great and love the clear instructions. Just one question: How did you keep from cutting fingers and your hands on the metal edges?
Thanks, Dorlis! To be honest, I ended up with a few cuts on my fingers 🙂 That copper sheet metal is really sharp so I tried to be careful when I was cutting the leaves. It might have helped to put on a pair of gardening gloves (the ones that fit pretty tightly so you can still fiddle with them), but that didn’t occur to me at the time.
What about leaves and debris in the gutters? Did they just easily pass through the hole?
Hi Reuben…Yes, the debris usually passes right through. The only time I have to clear it is in the fall when there are a lot of leaves falling…but I used to have to do that when I had downspouts, too.
what is another area I could hang the chain? Does it have to replace a gutter?
Hi Sandy…no, it doesn’t have to replace a gutter. If you want it to be more decorative, you could hang it from a garden hook (the type that you would normally hang a plant from), a tree branch or pretty much anywhere that you will keep it off the ground. Or you could make a fountain out of it…hang the chain up over a basin, then use a pump and water line to pump the water up to the top and let the water run down through the chain. Hope this helps!
This is certainly a lovely way to look, see, and hear rain. Pintrest is the only way I’ve seen them. I have a troublesome down pipe and out flow onto the roadside that was built to puddle not flow past the outlet, so it has always backflowed up my downpipe, causing my gutters to overflow…. and blocked any run off. So..yes my problem will always be run off, even with a pebble install over ground pipes. If I ignored that problem, and still put one there, what would happen to the large single cement block foundation to the house?
Also if the copper pipe coil, was streched, not cut, would that work effectively.
Hi Catherine…I would probably put some kind of rain barrel under your rain chain. It will catch the rain as it falls, and they often come with a drainage hose that you can use to divert the water away from the foundation. I haven’t tried using the copper pipe as a coil instead of a chain, but I think that would probably work, too.
Just found this post while looking for things for my new home! Great ideas, where did you get your rain barrel? Love the chain plan on DIM!!Thanks!
Thanks, Melissa! I got the rain barrel from wayfair.com. I’m not sure that they still carry the exact same one, but if you do a search for rain barrels, a bunch of options should come up.
Thank you sooooo much! I’m so excited to make this!!!
Hi there! We are thinking of making this with our MS students for our spring auction.
A couple questions:
– how long did it take you?
– did you use copper sheeting or copper flashing (less $)
– What is the thickness of the sheeting?
Thanks so much,
Julie
Hi Julie…I think this would be a great student project! The plain rain chain went together pretty quickly…about an hour. Adding the leaves takes longer…about 2 hours to cut out and attach. I used copper sheeting, but I think copper flashing might work, too. The thickness I used was .020 inches. Good luck with it!
which method did you end up using to attach the chain?
Hi Sherry…I went with the V-hook. My gutters are not flat, so the water ended up running under the plate of the store-bought one, which causes it not to run down the rain chain.
When I try to wind the tubing around the pole, it always flattens. How do you get around that?
Thanks.
Hi Deb…I didn’t run into that problem when I was making them. Maybe the tubing you’re using is softer? I would try winding the tubing around more loosely or using a thicker pole so it doesn’t have to bend as tightly. I hope that helps!
I’ll try that. Thanks.
Hi, what was the cost of the materials for your project… love it.
Hi Lisa…I think the cost was about $20…but I made them 3 or 4 years ago so I’m not sure if that is still true.
could you please tell me what size of copper sheets you used and how many sheets it took to make your rain chain?
Hi Deborah…I used 1 12″x24″ piece of copper sheet to make the rain chain leaves (there was some left over). But how much you will need will depend on how big you make the leaves and how much space you leave between each one on the chain.
Thank you so much for taking the time to share your great idea! I am curious to know if over the years since you installed this beautiful creation, if it naturally tarnished with that beautiful blue/green (teal?) patina that copper gets? If so, Id love to see a photo of it! Thanks again. I think I need to go find some copper piping!
Hi Alana…no, it hasn’t tarnished. They must put some kind of coating on the copper to prevent that because I was expecting it to 🙂
Thank you for this guide! I just have one question – what thickness/gauge copper sheet did you use for the leaves? You linked to a product that was thinner than I expected and it was copper/aluminum, so, before I bought that, I wanted to see if its actually what you used. It turned out great.
Hi Morgan…the copper/aluminum sheet in the link was what I used. You don’t want it too thick or it will be too hard to cut…and I think having aluminum in it makes it less expensive 🙂
I’m afraid to ask, 😖…..
How much did yours cost? 😱
It is beautiful❣️
Hi Ashlyn…The rain chain supplies were about $20, so it wasn’t that bad. Although that was a few years ago, so some of the supplies might have gone up by now 🙂