Craft Your Own Stunning Copper Rain Chain: A Budget-Friendly DIY Guide
Want to replace your downspout with a rain chain but don't want to spend too much money? Learn how to use copper tubing to make your own DIY rain chain with this easy step-by-step tutorial.
Rain chains are one of my favorite outdoor home accessories.
Like water features and garden art, they look beautiful in your yard and they're functional, too!
But they can be a little expensive.
So I decided to see if I could come up with an easy way to make my own.
And I have to say it turned out even better than I thought it would!
Here are the step-by-step instructions for making a DIY rain chain with copper tubing.
Supplies
Materials
- Flexible copper tubing* – I used 1/4″ thickness that was 20′ long. The chain ended up being 5′ long. If you want a longer chain, you'll need more copper tubing.
Tools
- Broom handle or other long round object
- Bench vise*
- Reciprocating saw*
- Metal cutting reciprocating saw blade*
- Pliers – 2 of them makes the job easier
How to make a copper link rain chain
1 | Wind the tubing
The first part of the process is to form the copper tubing into the shape of chain links.
Before you do this, cut 15″ off the end of the wire tubing. We'll use this to make a gutter hanger for the rain chain.
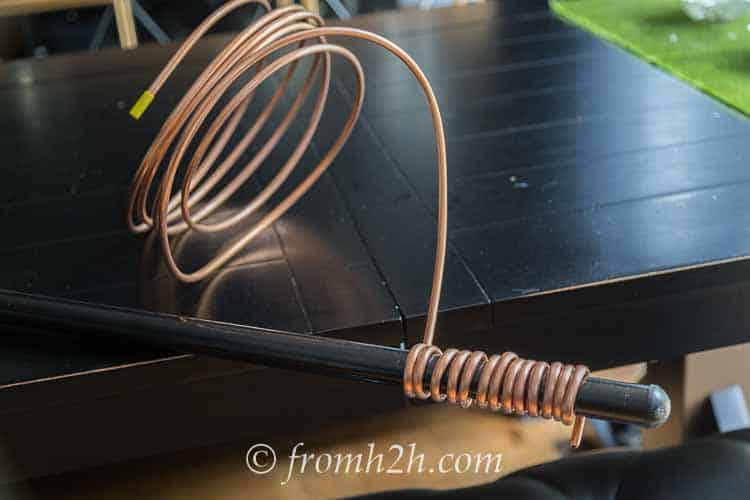
To do this, you will need to wind the copper tubing around a long round object.
I used the end of a broom stick, but you could use any long round object (such as PVC pipe) that is at least 1½” in diameter.
The larger the diameter of the pole, the larger the links in your chain will be.
Start near the end of the broom stick and wrap the copper tubing around the pole. Try to get it as close to the pole as you can. That will give you the best round shape.
Wrapping the copper around the pole can be a little tough, so after you have a few rings to hold on to, try pushing it on to the pole instead of wrapping it.
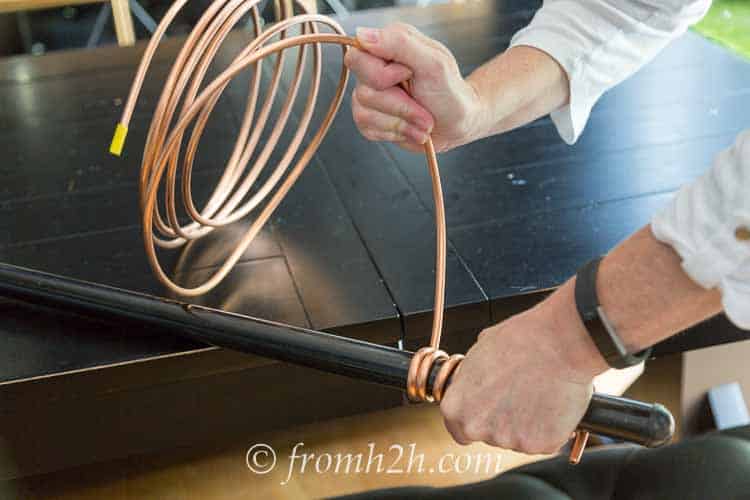
To do this, start with the copper behind the pole.
Hold on to the rings that have already been wound. Then push the copper tubing over the pole to the opposite side.
When the tubing has wound around to the other side of the pole, rotate the pole backwards so that the loose end of the copper is back on your side of the pole, and repeat.
I also found that the rings came out more even by pushing the copper over the pole this way.
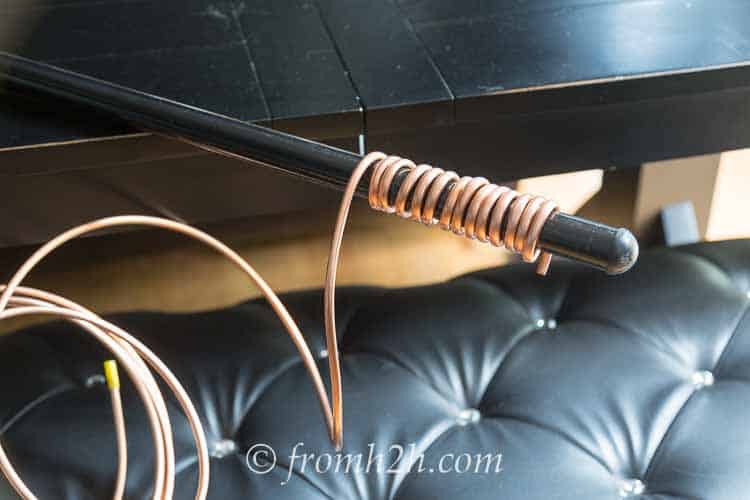
Keep doing this until you have wound all of the copper tubing around the pole.
Remove the wound copper from the pole by pulling it off the end.
I found it was easier to do this by rotating the copper in the direction it was wound as I was pulling.
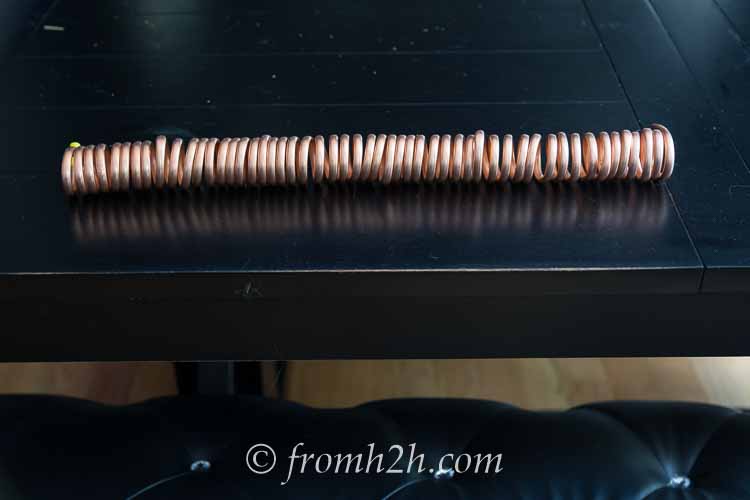
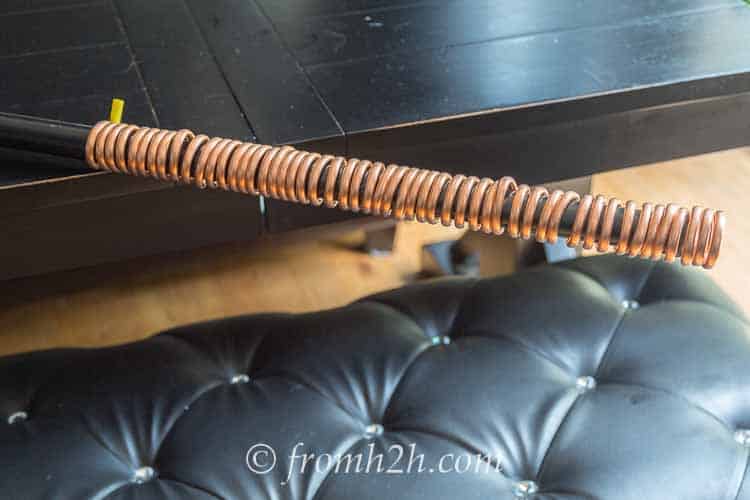
You should end up with a roll of copper tubing that looks something like this.
2 | Cut The Links
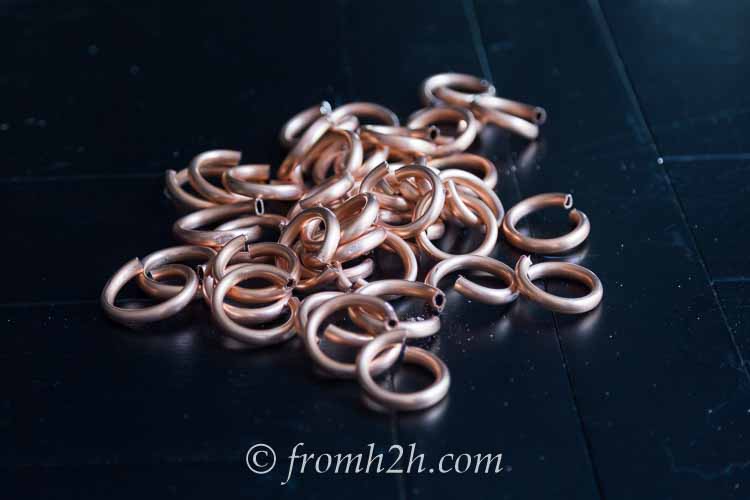
Next you will need to cut the copper tubing to form individual links.
I tried a couple of options before finding the solution that worked the best (and fastest!)
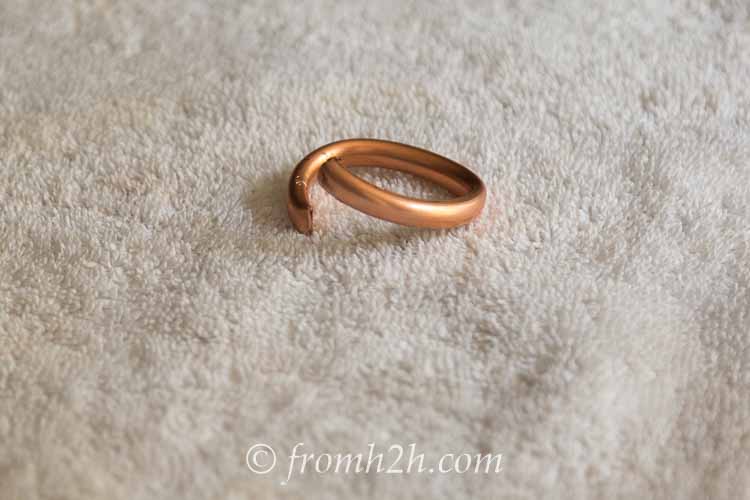
My first option was to use pliers or tin snips to cut the tubes. Which worked but caused the ends to flatten. Not what I wanted for a chain!

Next I tried a hacksaw blade (the blade was easier to use by itself than it was with the saw).
This also worked, and did not flatten the tubes. But it took forever!
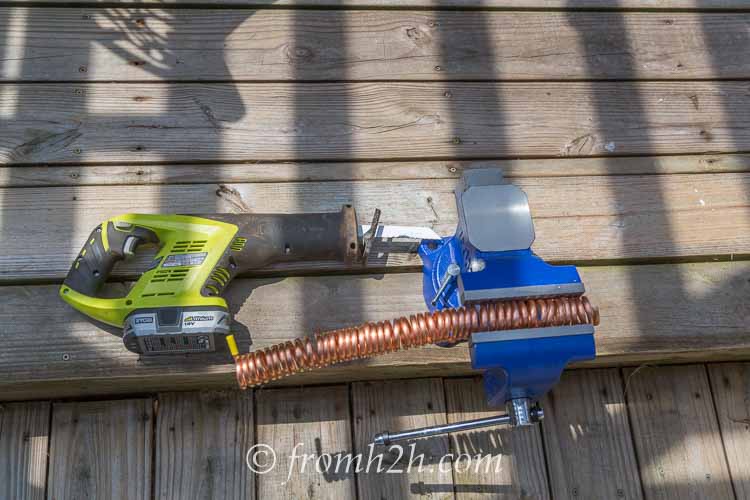
Finally, I decided to put the copper tubing into a bench vise and use a reciprocating saw with a blade meant for cutting thin metal.
This worked perfectly!
Make sure not to put too much pressure on the copper (you don't want your links to lose their shape).
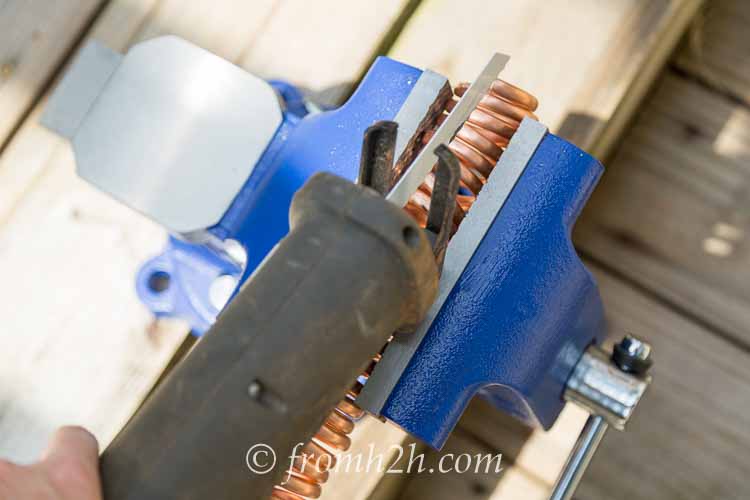
Rest the bottom of the reciprocating saw on the top of the bench vise to give it some stability.
Also make sure to saw at an angle so that you don't cut through the bottom of the links as well.
Then saw away.
When you get to the last few links that are still in the vise, you will need to move them up to the front.
This helps to keep them stable in the vise which makes cutting easier.
With this method, I was able to cut the whole length of tubing in less than 10 minutes.
3 | Assemble the Chain
Now you will make a chain out of the links.
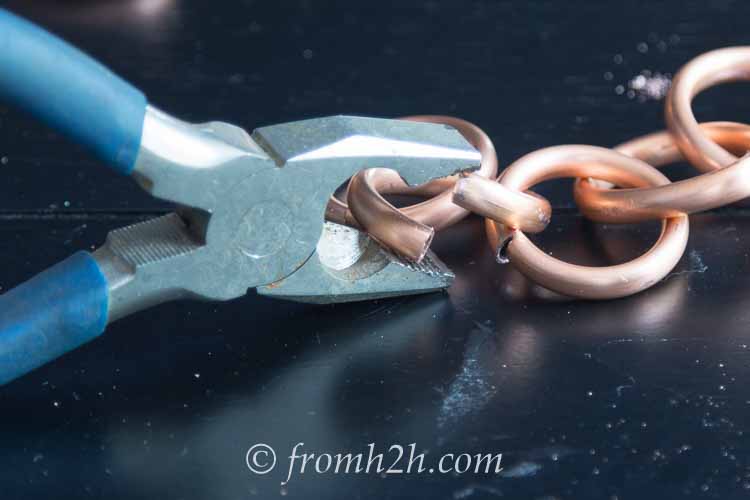
Use the pliers to open the ends of one of the links.
Make sure the gap is wide enough for another link to fit through.
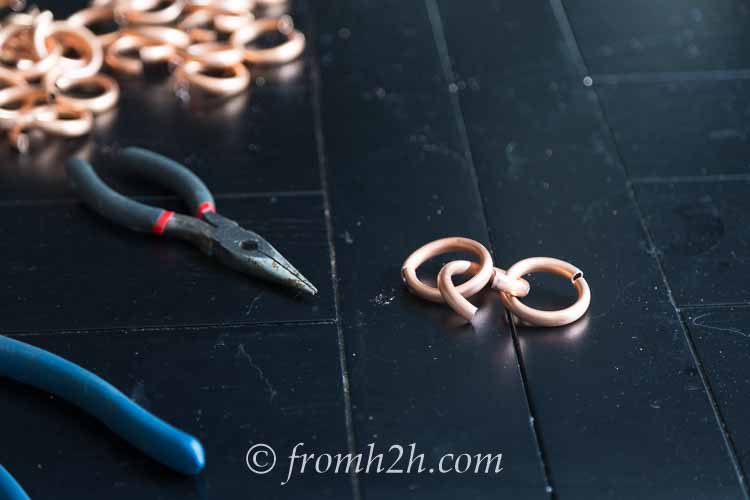
I found that using two pairs of pliers (one on each end of the ring) was the easiest way to open the link.
Next, find a ring that has the ends pretty well aligned already.
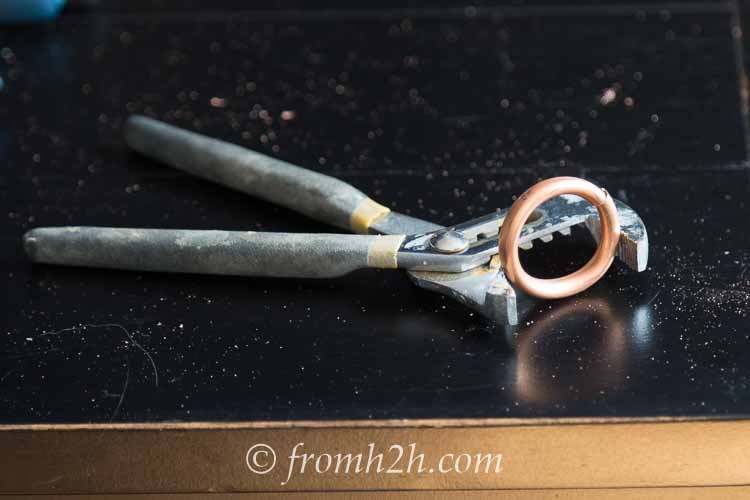
Use pliers to close the gap. Groove joint pliers work well if you need to squeeze the ends together from outside the ring.
Add the closed ring on to the open ring.
Then use the pliers to squeeze the ends of the loop back together on the first link.
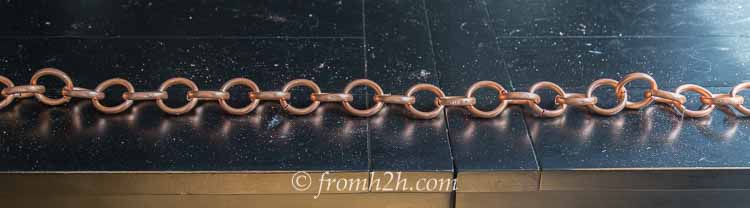
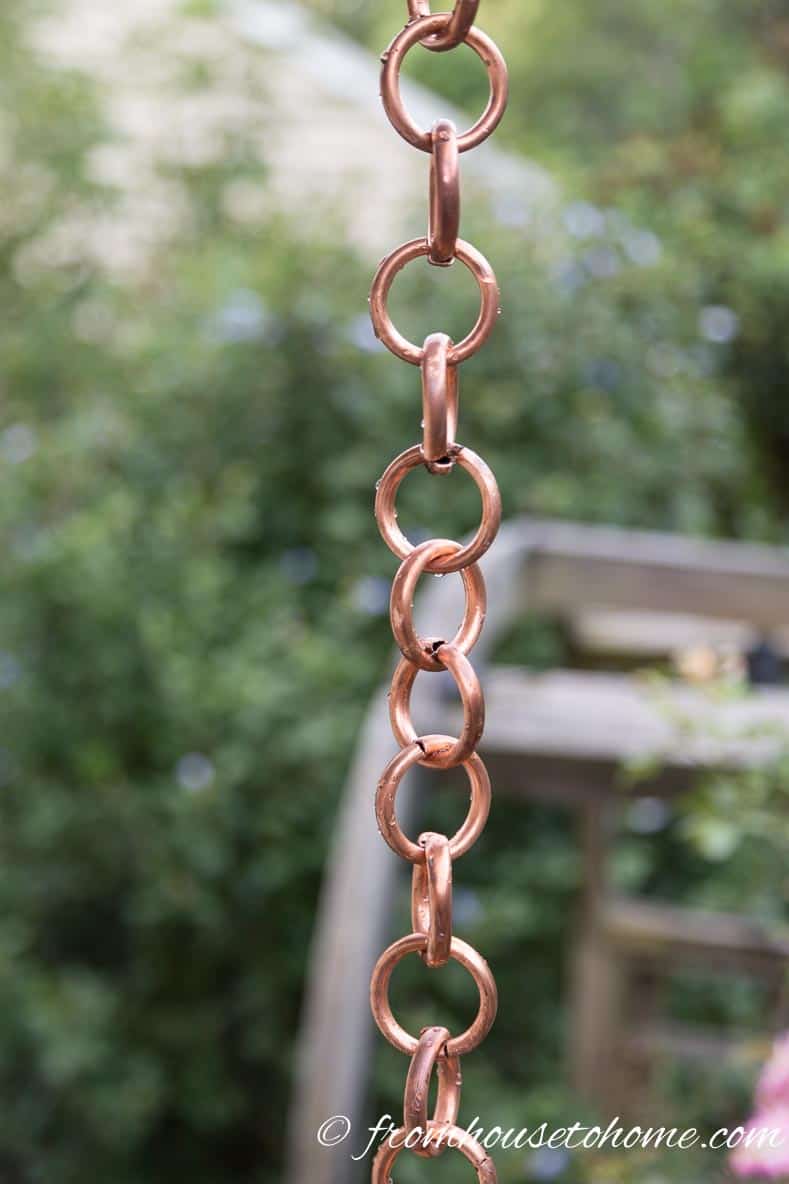
Continue adding rings alternating an open ring and a closed ring until you reach your desired chain length.
For me, the 20′ length of tubing created a chain that was a little more than 5′ long. This was pretty close to the length I wanted it to be since I was hanging it over a rain barrel.
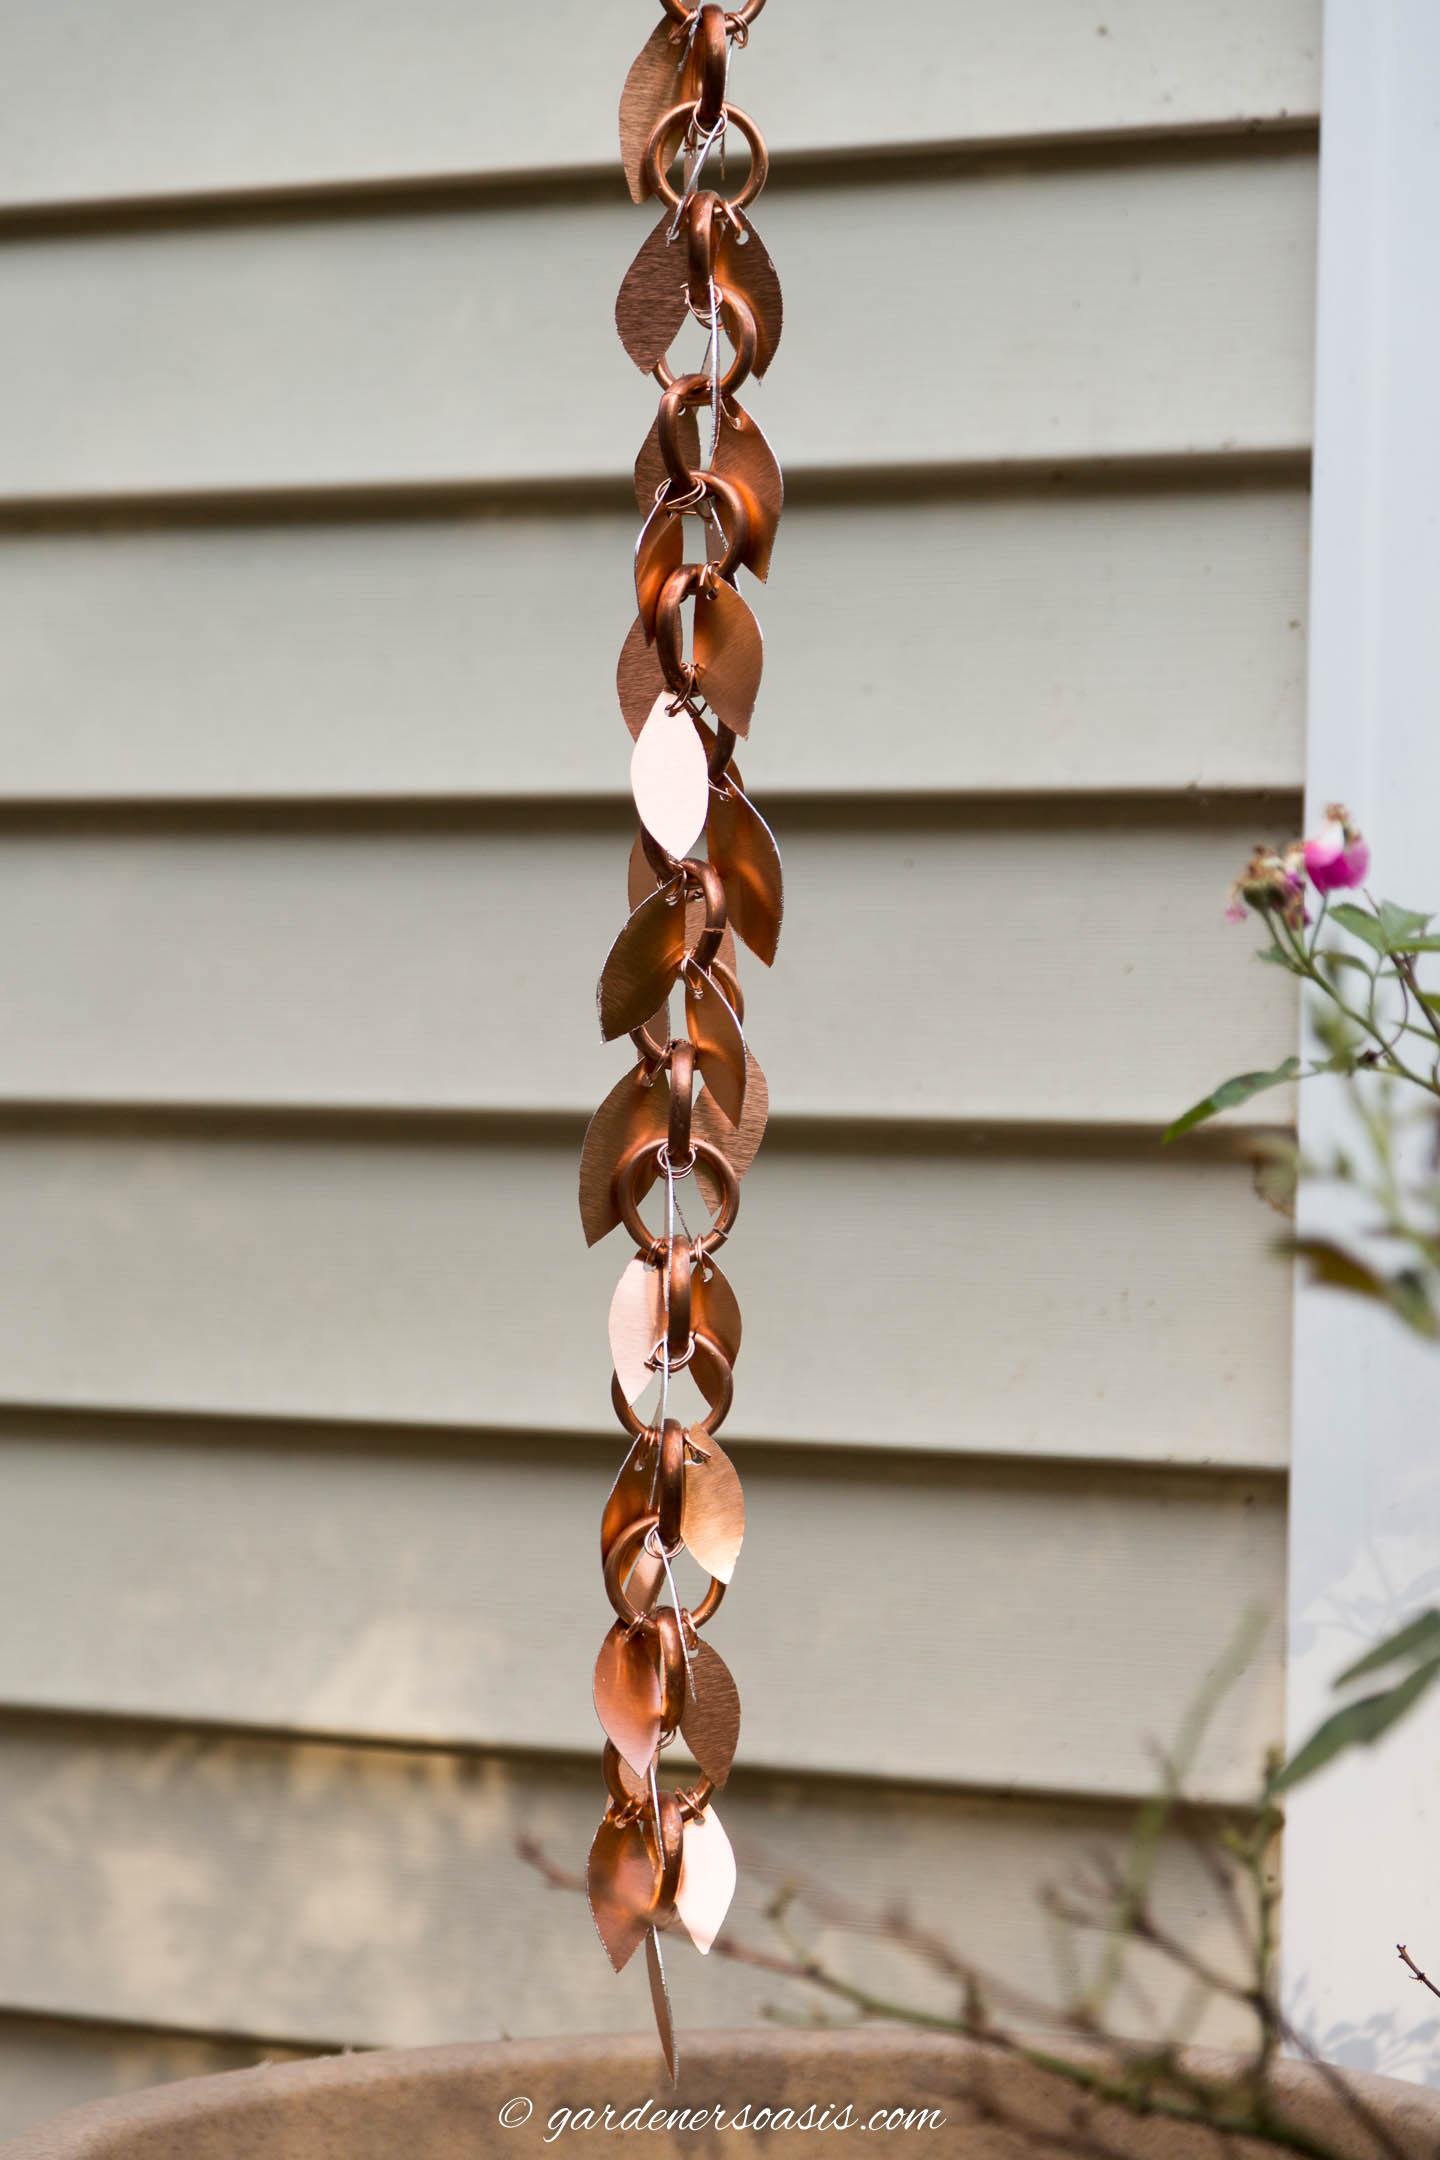
If you want a fancier rain chain, you can hang crystals or beads from it to dress it up.
Or cut some other shapes out of copper sheet (like the leaves above) and attach them to the rings.
To get more details, read our tutorial on how to make a DIY copper leaf rain chain.
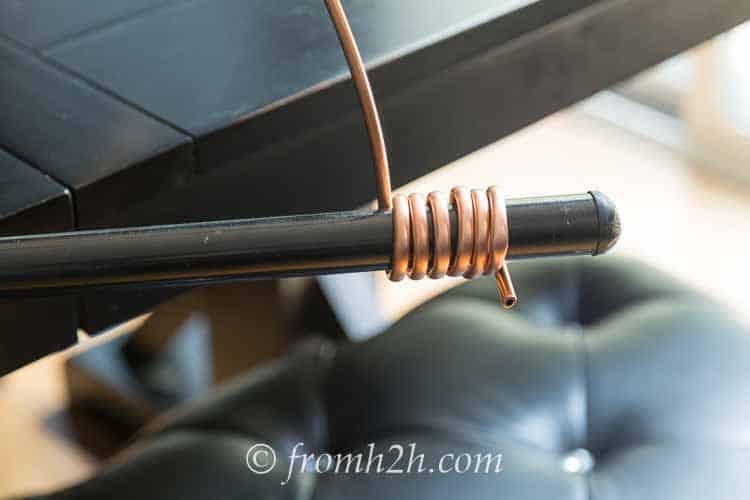
Hang the rain chain
Now you're ready to hang your rain chain.
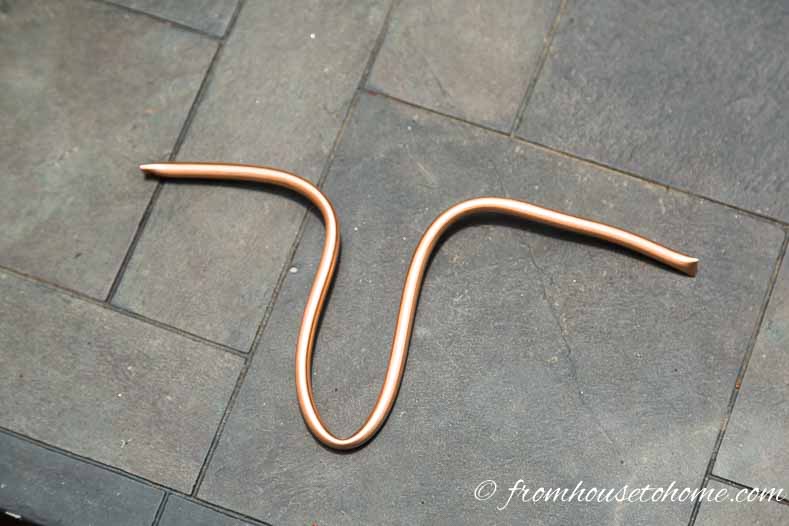
To make a rain chain hanger, bend the 15″ piece of copper tubing that we cut at the beginning into a V shape with ends.
Remove the downspout where you want to hang your rain chain. Or drill a hole in the bottom of the gutter that is large enough for your chain to fit through.

Thread the rain chain up through the hole so that it hangs over the edge of the gutter.
Then attach the gutter installer to the end of it.
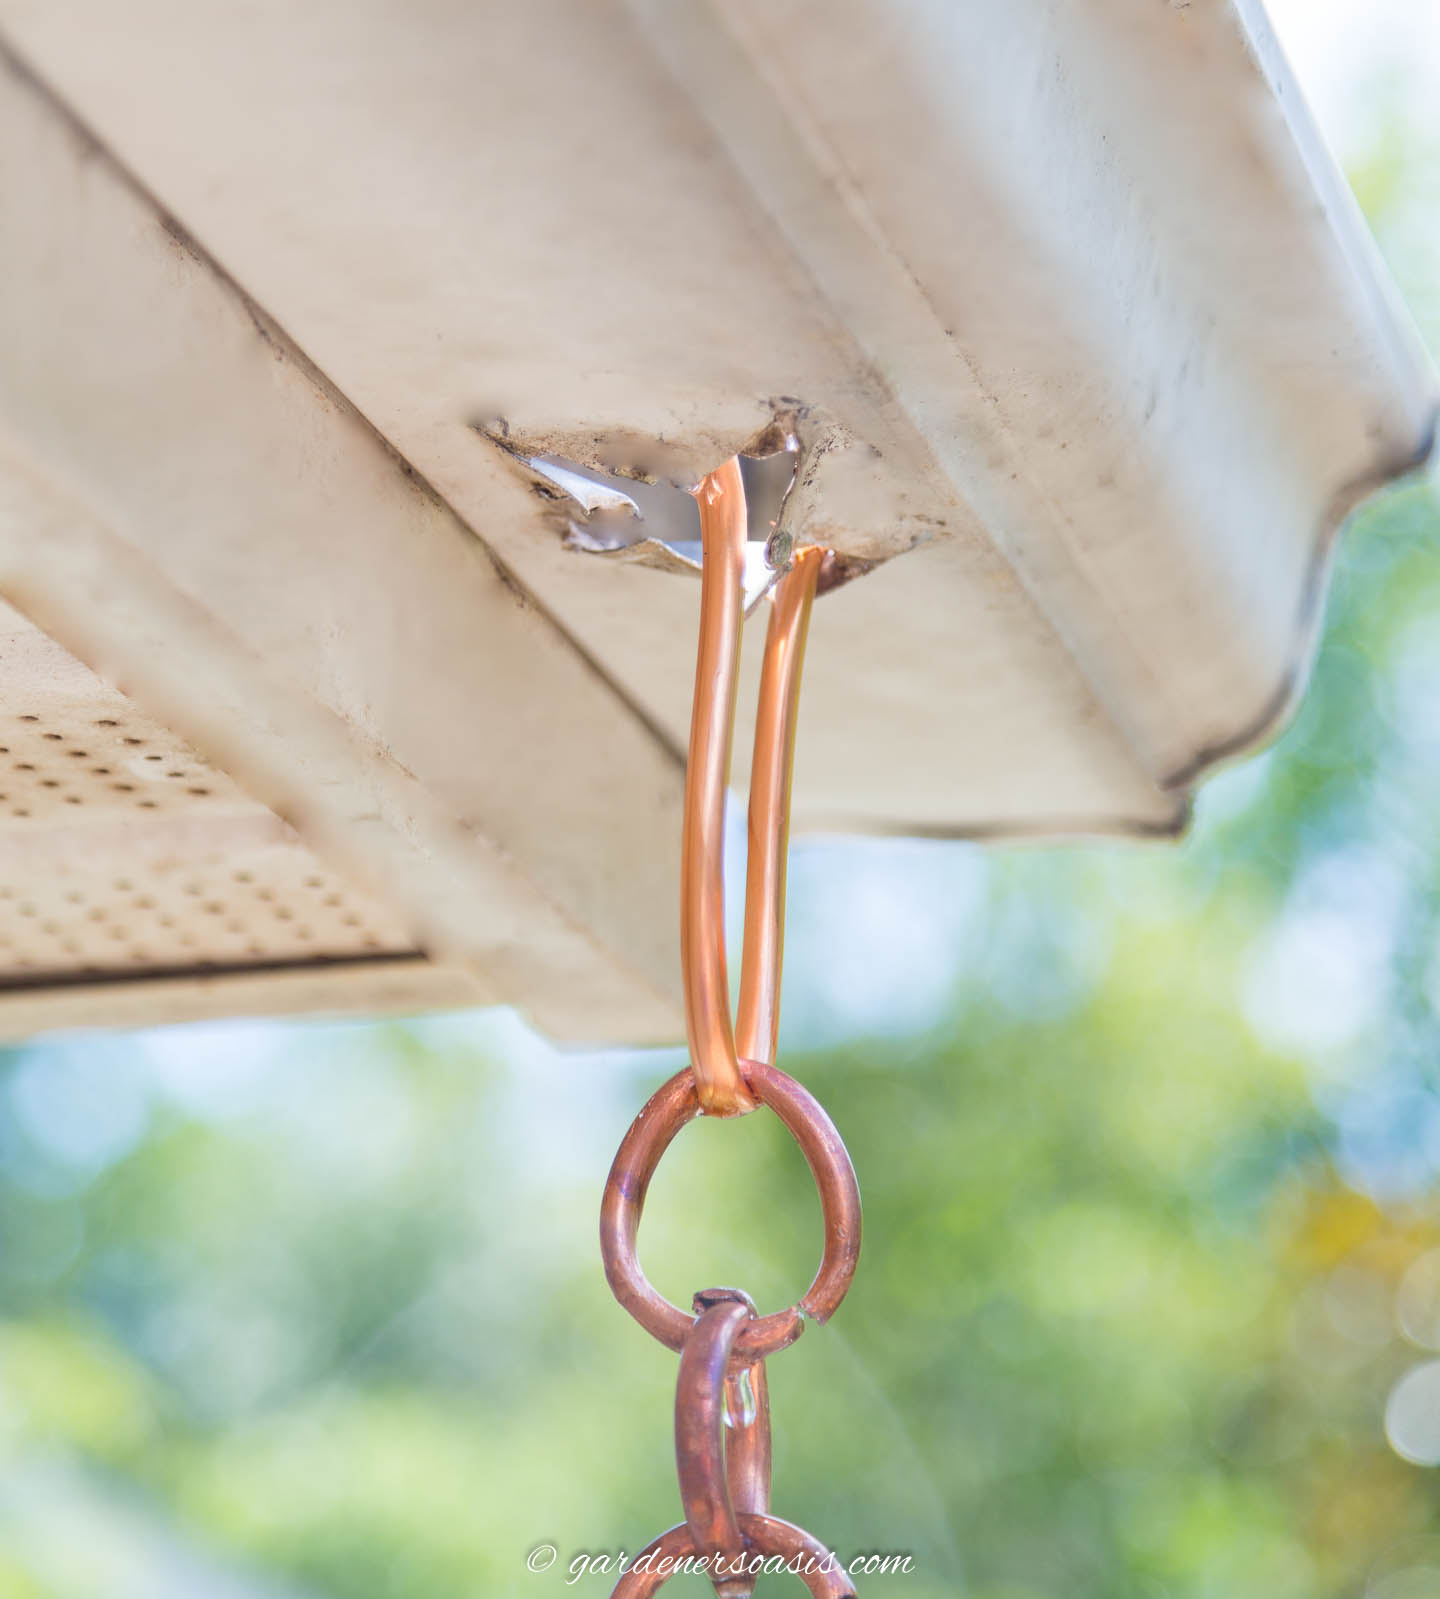
Let the chain fall back down through the hole so that the V comes through the hole. The ends of the “V” should hold it in place.
For more details or to find out about using a rain chain installation kit, read our guide on installing rain chains.
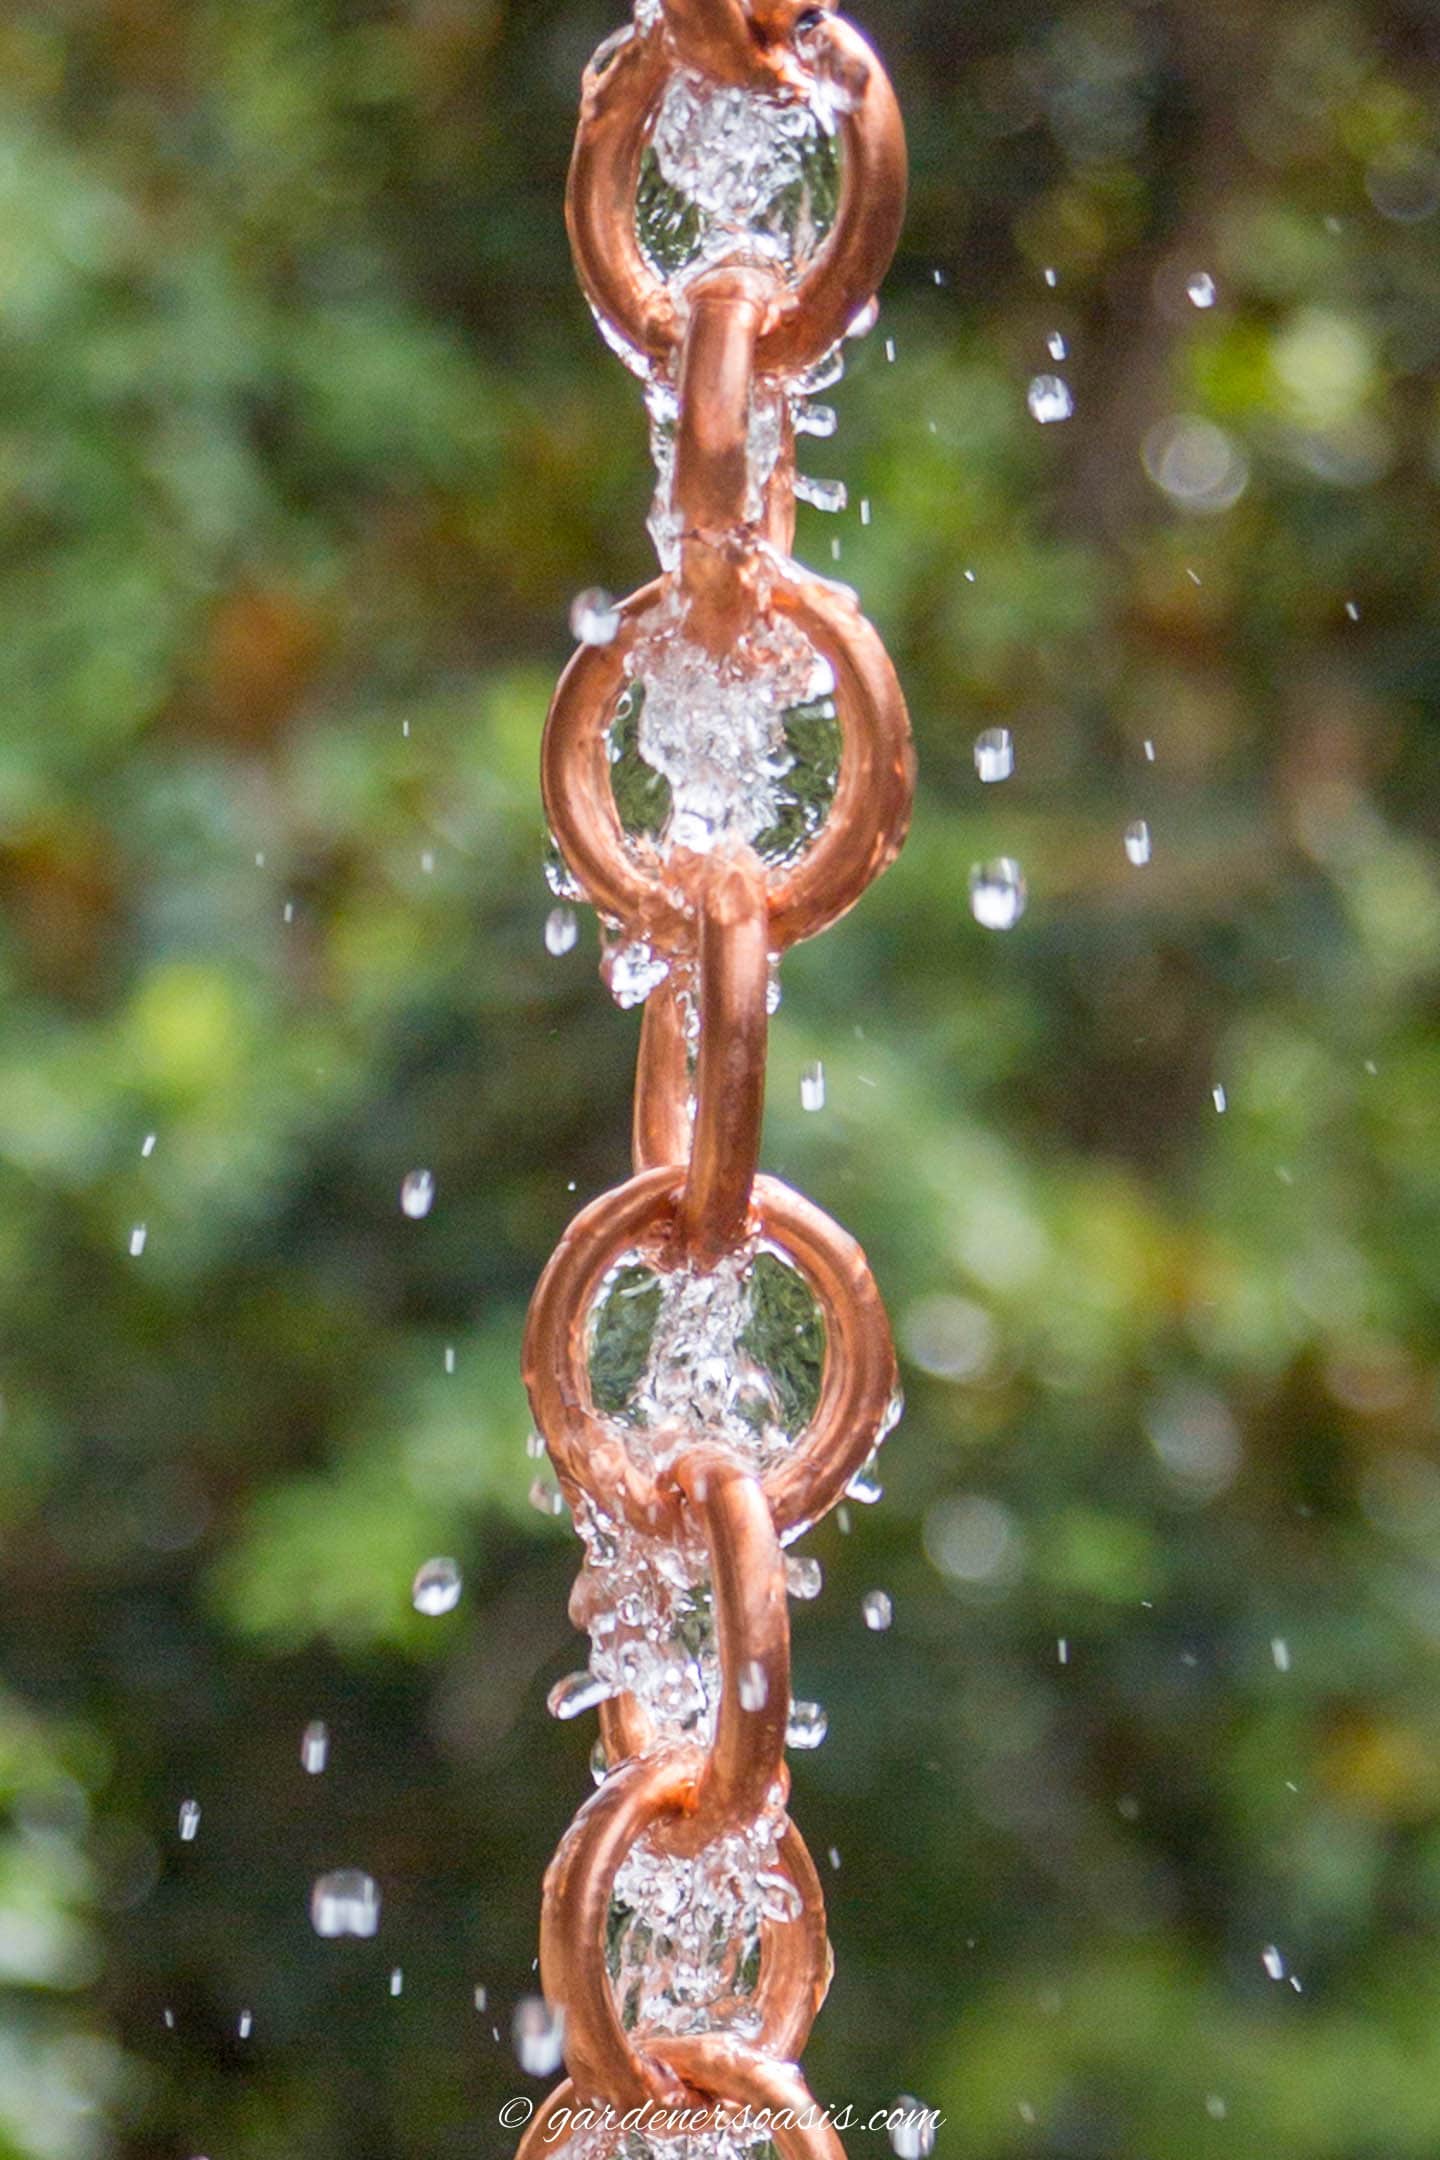
Test the water
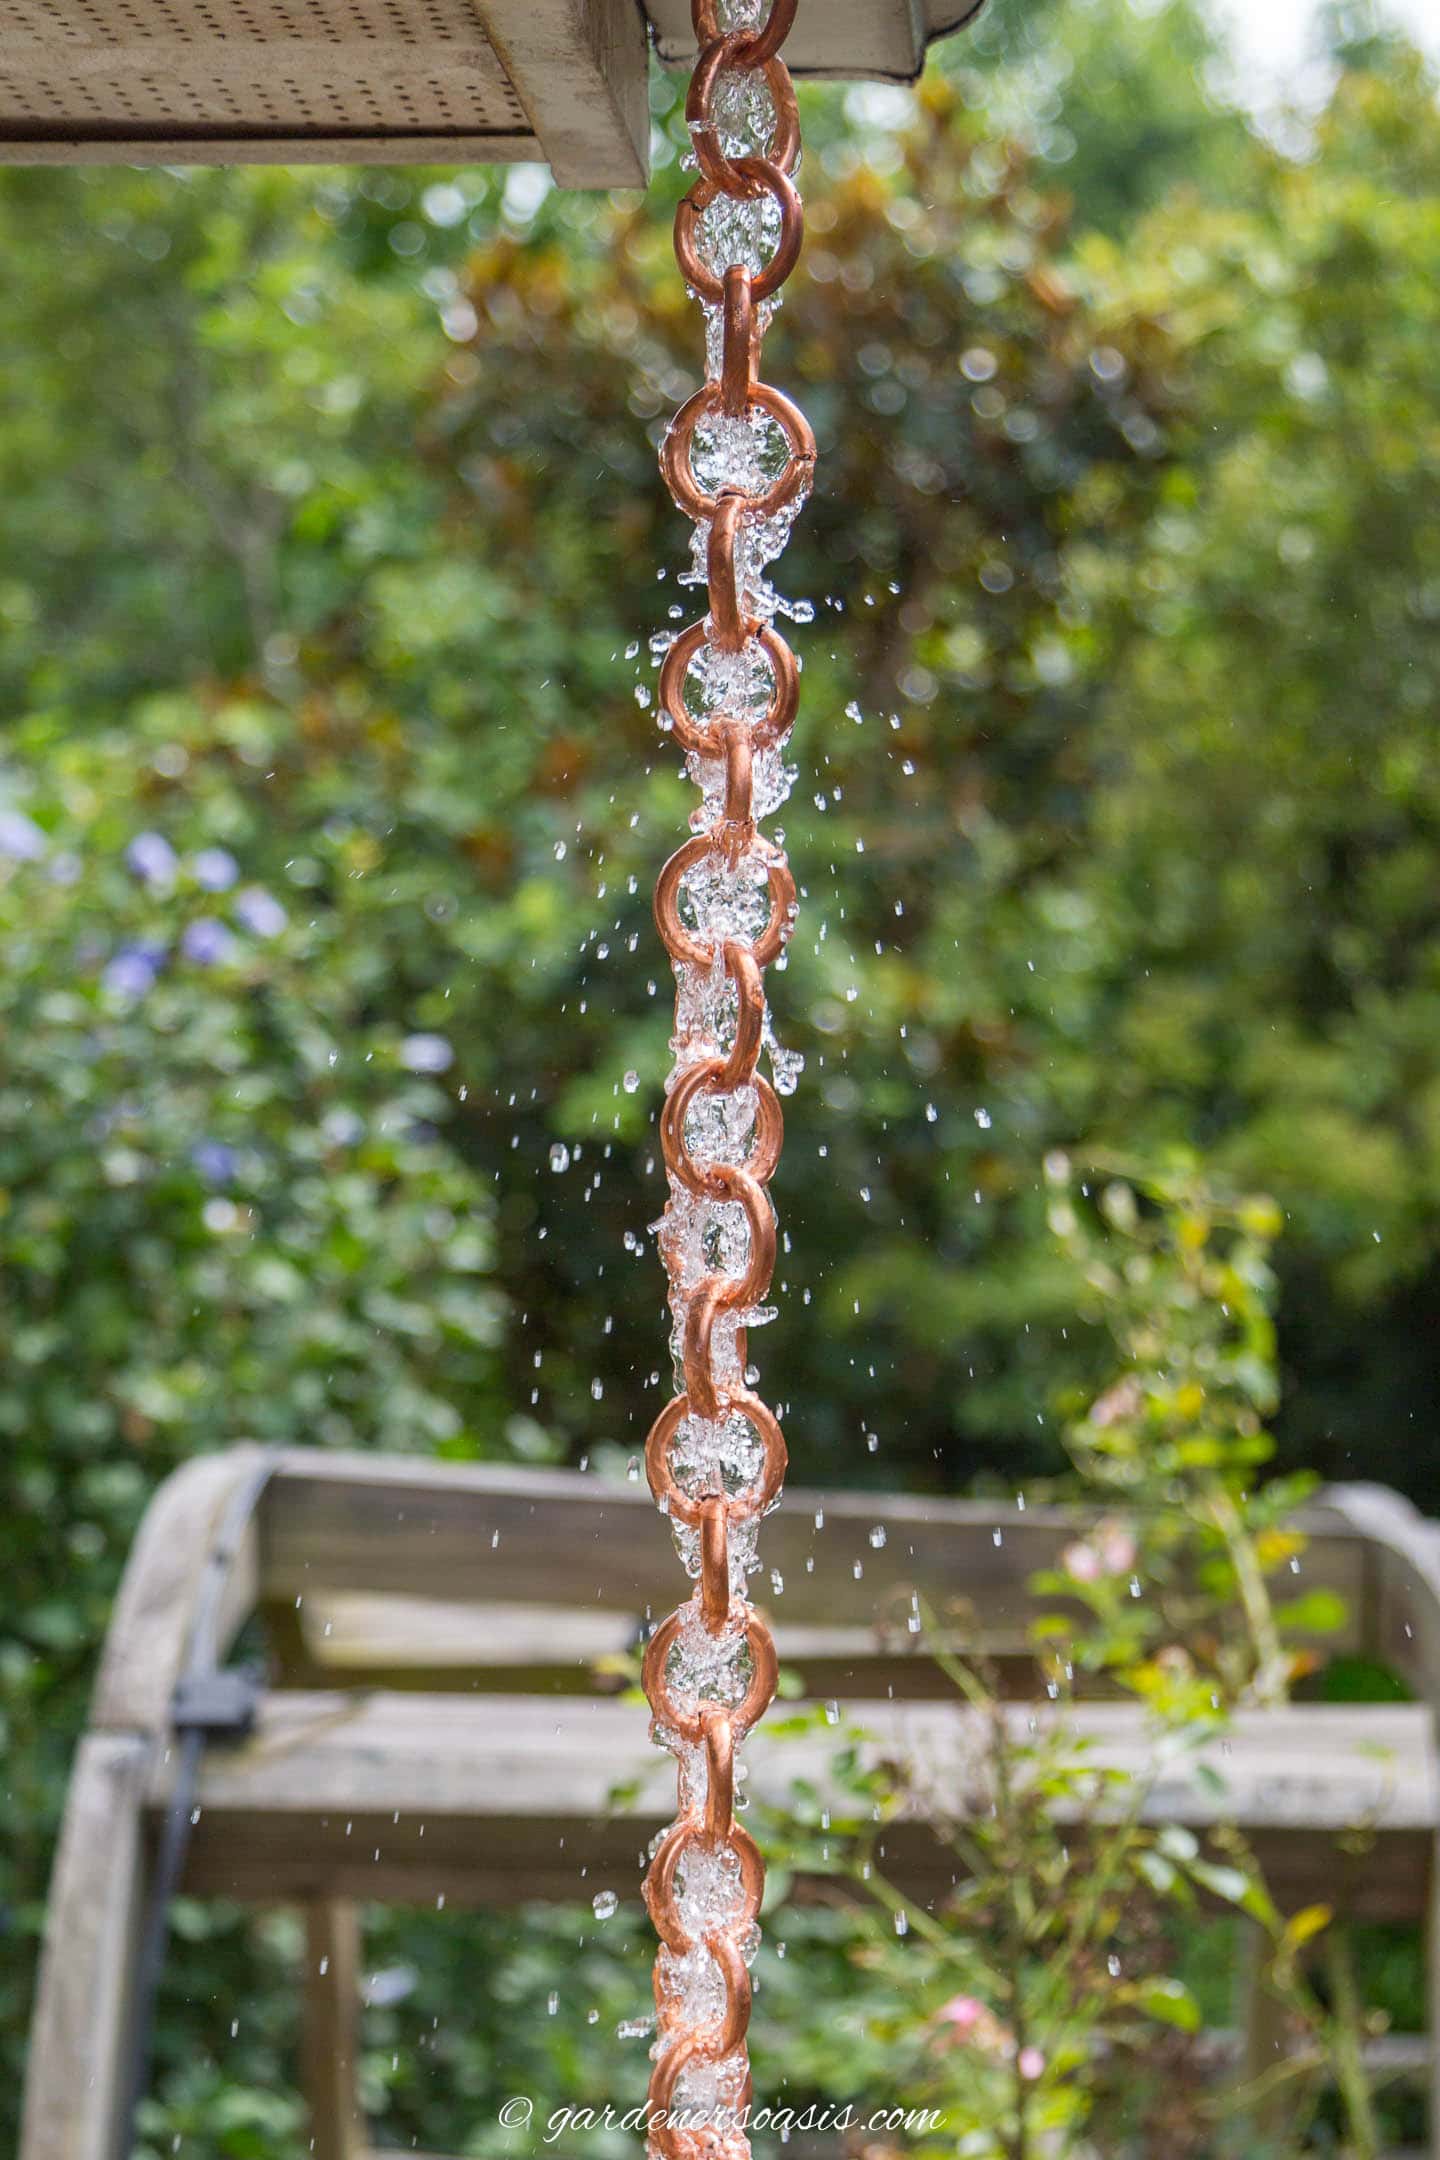
The last step is to test the water to make sure it runs smoothly down the chain.
To do this, put a hose up in the gutter and turn the water on.
If the water is not funneling down onto your chain, you may need to adjust the flaps around the top of it.
And you're done. Enjoy your new rain chain!
Other rain chain ideas you might like
Comments or questions about our DIY copper link rain chain? Tell us in the section below.
Pin It So You Don't Forget It!